


September Landscape Quilt Class - Lesson Three
teresa_nc7
16 years ago
Sort by:Oldest
Comments (5)
Related Stories

LIFEDesign Lessons My Mother Taught Me
In honor of Mother’s Day, professionals on Houzz reflect on the design and style wisdom their mothers passed on
Full Story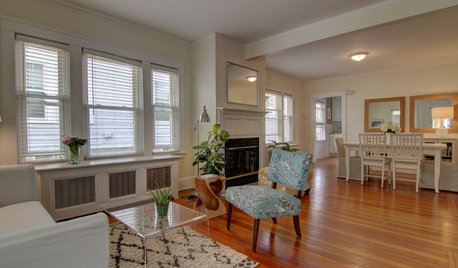
SELLING YOUR HOUSEA Moving Diary: Lessons From Selling My Home
After 79 days of home cleaning, staging and — at last — selling, a mom comes away with a top must-do for her next abode
Full Story
DECORATING GUIDESLessons in Living Comfortably: Embrace the Scratches and Dents
When you celebrate wear and tear, you send a message that your home is designed for relaxation
Full Story
ARTSee Winning Modern Quilts on Display at QuiltCon 2015
Top quilts have been chosen from among hundreds at the international show in Austin through February 22. View them and others here
Full Story
HOUSEKEEPINGTo-Dos: Your September Home Checklist
Boost the comforts of home for fall with a few of these ideas for stocking up and staying cozy
Full Story
ARTShow News: Rare Quilts Get Museum Time
See 6 intricate designs from a California exhibition and get tips for building your own quilt collection
Full Story
DECORATING GUIDESCelebrating the Great American Quilt
They speak of family, history and beauty. Is it any wonder quilts transcend design styles?
Full Story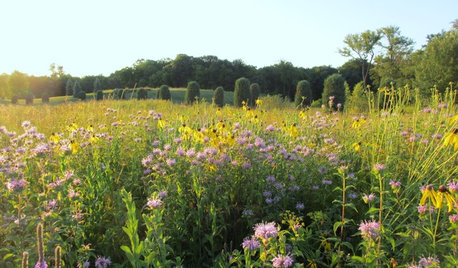
GARDENING GUIDESWhat Prairies Teach Us About Garden Design
Wild spaces offer lessons for home gardeners about plants, pollinators and the passage of time
Full Story
PETS6 Ways to Help Your Dog and Landscape Play Nicely Together
Keep your prized plantings intact and your dog happy too, with this wisdom from an expert gardener and dog guardian
Full Story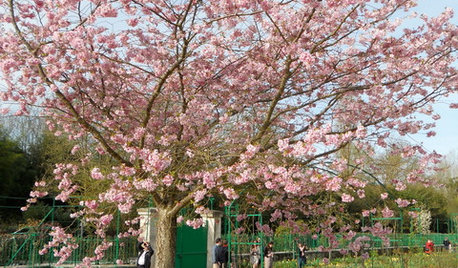
INSPIRING GARDENSTake a Mini Springtime Tour of Monet's Giverny Gardens
Virtually stroll through the inspiring French gardens, gathering an eyeful of spring blossoms and painterly views
Full Story


new2quilting
new2quilting
Related Discussions
Landscape Quilt Class - Supply List
Q
September Landscape Quilt Class - Lesson One
Q
October Kaleidoscope class - Lesson 1
Q
September Landscape Quilt Class - Final Lesson
Q
teresa_nc7Original Author
love2sew
roobee