


Cabinet color question & salvaging old cabinets for reno
renorooki
10 years ago

Sort by:Oldest
Comments (36)
Related Stories
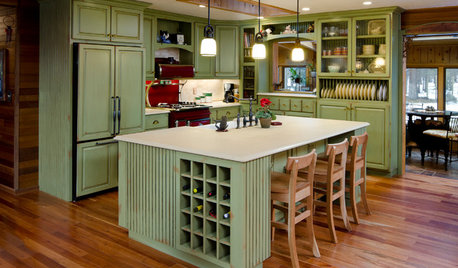
MOST POPULARHow to Reface Your Old Kitchen Cabinets
Find out what’s involved in updating your cabinets by refinishing or replacing doors and drawers
Full Story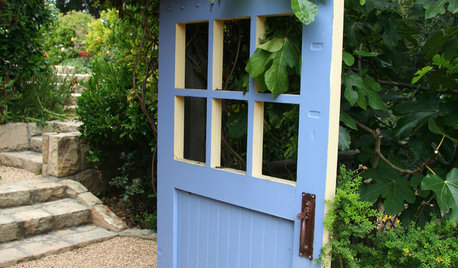
LANDSCAPE DESIGNArtful Salvage: Old Doors Decorate the Garden
In a fence or leading only to imagination, salvaged doors can create lots of intrigue for little cash
Full Story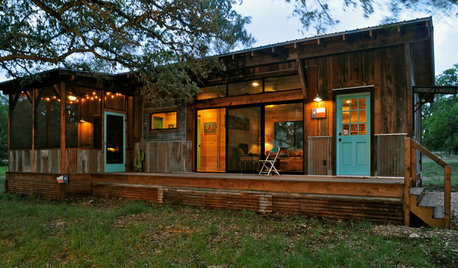
RUSTIC STYLEHouzz Tour: Salvaged Parts Form a New-Old Texas Hideaway
Reclaimed timbers and metal give an Austin-area prefab bygone soul
Full Story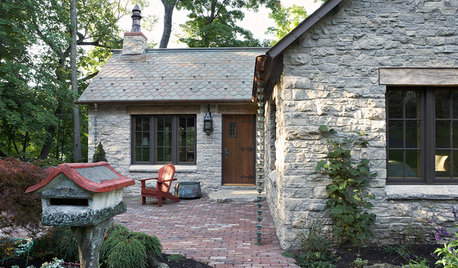
GREEN BUILDINGHouzz Call: What Have You Salvaged for Home Use?
If your floors, furniture, exterior materials or other home elements have a past life, we'd like to hear the story
Full Story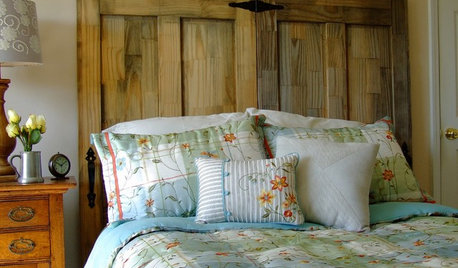
DIY PROJECTSMake Your Own Rustic-Chic Headboard From Salvaged Doors
Turn old doors into a charming headboard with these step-by-step instructions from an expert woodworker
Full Story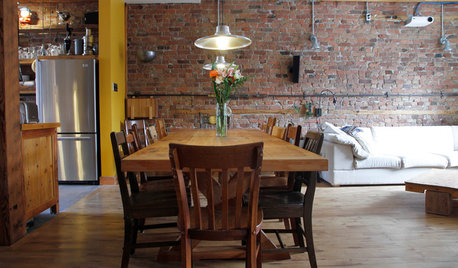
ECLECTIC HOMESMy Houzz: Ecofriendly and Salvaged Style in a Montreal Triplex
Repurposed materials, graywater reuse, and no-VOC paints make for a resourcefully earth-friendly home in Quebec
Full Story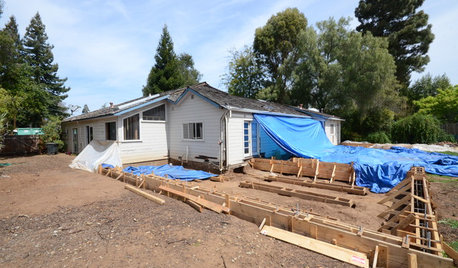
REMODELING GUIDESSurvive Your Home Remodel: 11 Must-Ask Questions
Plan ahead to keep minor hassles from turning into major headaches during an extensive renovation
Full StoryREMODELING GUIDESConsidering a Fixer-Upper? 15 Questions to Ask First
Learn about the hidden costs and treasures of older homes to avoid budget surprises and accidentally tossing valuable features
Full Story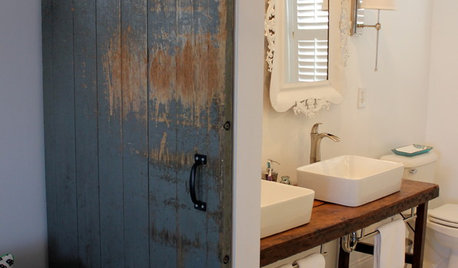
DIY PROJECTSReinvent It: Salvage Savvy Keeps an Urban-Farmhouse Bath on Budget
See how resourceful shopping and repurposing gave a homeowner the new bathroom she wanted at the right price
Full Story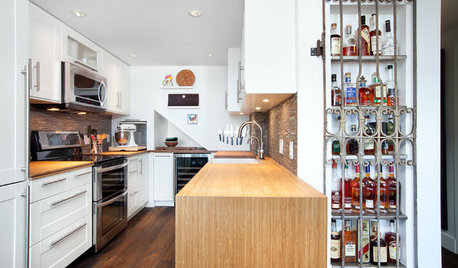
KITCHEN DESIGNKitchen of the Week: Salvage Meets High End in Vancouver
Reclaimed fir floors and a salvage-yard gate cozy up to choice appliances in a warm and sophisticated Canadian kitchen
Full Story


Texas_Gem
renorookiOriginal Author
Related Discussions
Has anyone replaced newer windows with old salvaged ones?
Q
Old world kitchen--countertop/cabinet color scheme
Q
Cabinets ordered, reno starting this week & now the fun begins!!!
Q
how to salvage slightly mauve kitchen cabinet color?
Q
Texas_Gem
fishymom
amck2
renorookiOriginal Author
Errant_gw
renorookiOriginal Author
amck2
schicksal
Errant_gw
peony4
CEFreeman
CEFreeman
CEFreeman
annkh_nd
CEFreeman
annkh_nd
CEFreeman
Texas_Gem
greenhaven
annkh_nd
lam702
feisty68
CEFreeman
lam702
CEFreeman
lam702
lam702
CEFreeman
amberm145_gw
CEFreeman
lam702
CEFreeman
lam702
Sandra Arvidson