


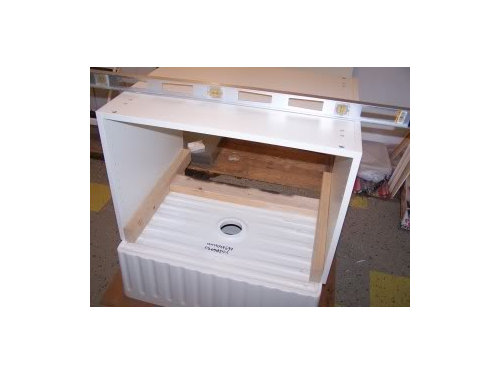
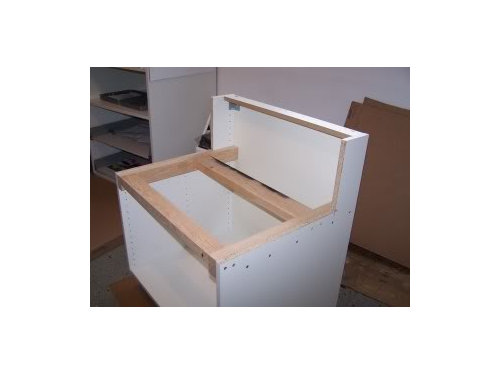
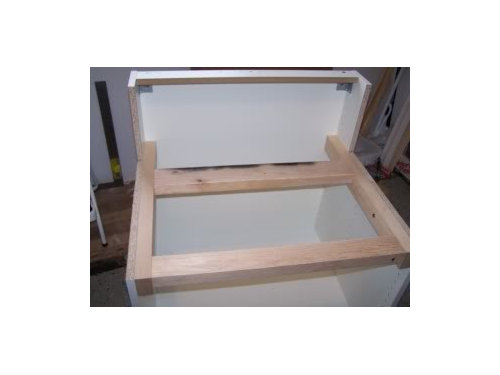
For busybme--Base Mod for Apron Sink
shelayne
15 years ago
Comment
Related Stories
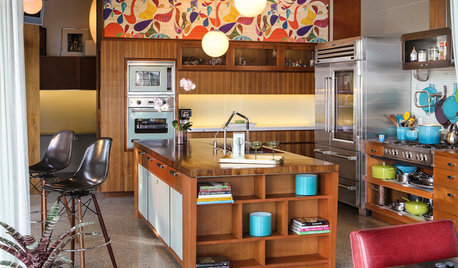
COLORFUL KITCHENSKitchen of the Week: A Midcentury Marvel in Santa Barbara
Globe lights, pegboard and walnut evoke 1950s flair — and you'll love the indoor-outdoor breakfast bar
Full Story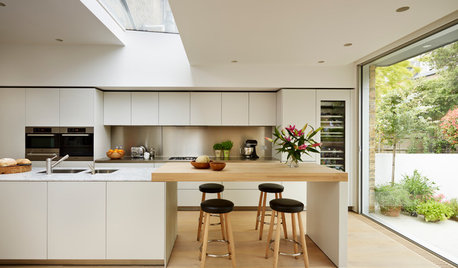
MATERIALSKitchen Ideas: How to Choose the Perfect Backsplash
Backsplashes not only protect your walls, they also add color, pattern and texture. Find out which material is right for you
Full Story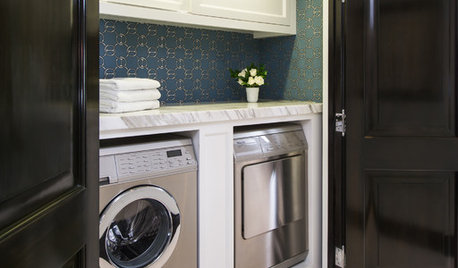
LAUNDRY ROOMSHouzz Call: Show Us Your Wonderfully Efficient Laundry Room
Got a drying rack, a folding table or clever storage in your laundry room? We want to see it!
Full Story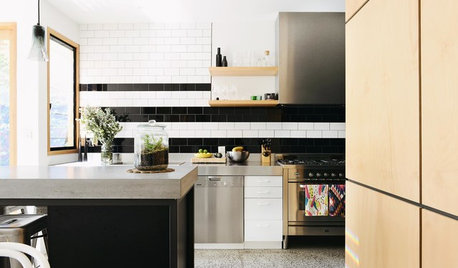
COLOR10 Pair-Ups for Black in the Kitchen
Combine black with other colors to add drama, polish and modernity. It also can make a kitchen look more spacious
Full Story
MOST POPULARThanksgiving Tales: When the Turkey Tanks
Houzz readers prove adept at snatching victory from the jaws of entertaining defeat
Full Story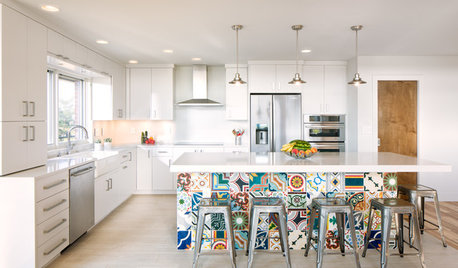
KITCHEN DESIGNNew This Week: 4 Ways to Punch Up a White Kitchen
Avoid the hospital look by introducing a bit of color, personality and contrast
Full Story
MOST POPULARHouzz Tour: Going Off the Grid in 140 Square Feet
WIth $40,000 and a vision of living more simply, a California designer builds her ‘forever’ home — a tiny house on wheels
Full Story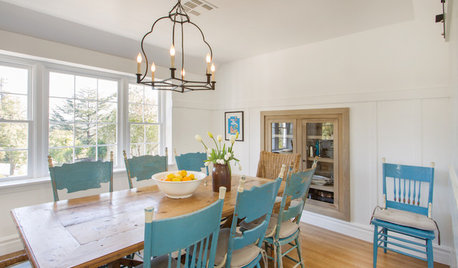
DINING ROOMS12 Touches to Add Farmhouse Style to Your Dining Room
A farm table, a salvaged-wood wall or a simple barn light can bring casual, homey comfort to any space
Full Story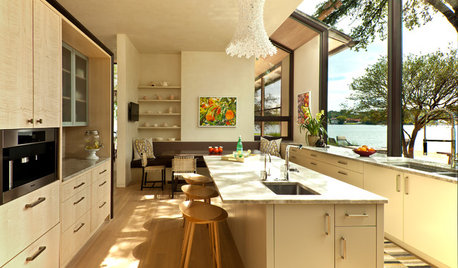
MOST POPULARHouzz Quiz: What Style of Kitchen Should You Have?
Should you be cooking up a storm in a modern, traditional, farmhouse or another style of kitchen? Take our quiz to find out
Full Story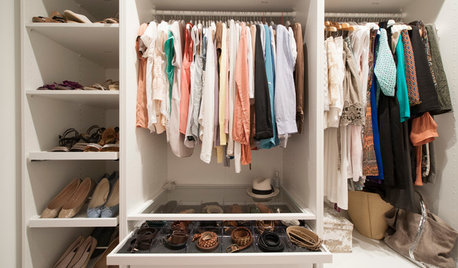
MOST POPULAR10 Tips for Organizing Your Closets and Cabinets
Add to the enjoyment of your home with these easy organizing strategies and containers — after you pare down, of course
Full Story

Related Discussions
Stainless steel apron front sink?
Q
Vent in Front of Kitchen Sink
Q
Kitchen sinks--utility and esthetics
Q
Ikea vanity - Godmorgon with non-Ikea sink
Q