


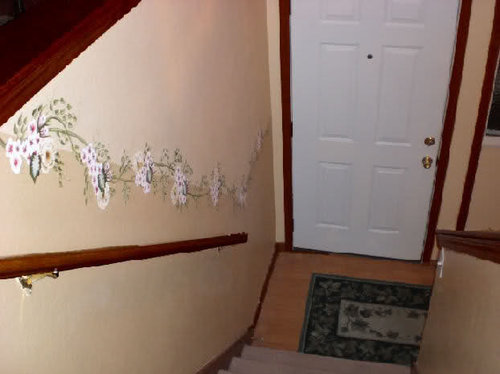
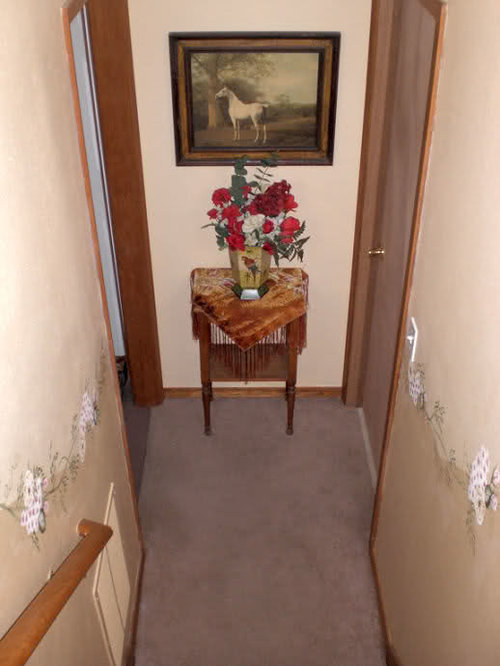
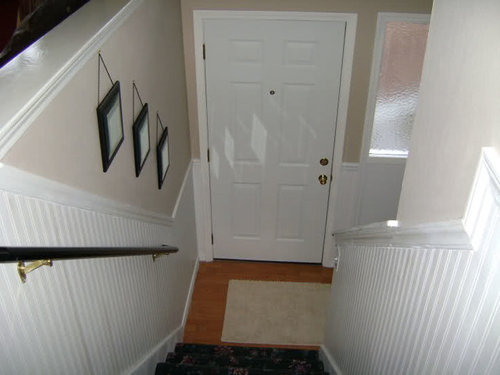
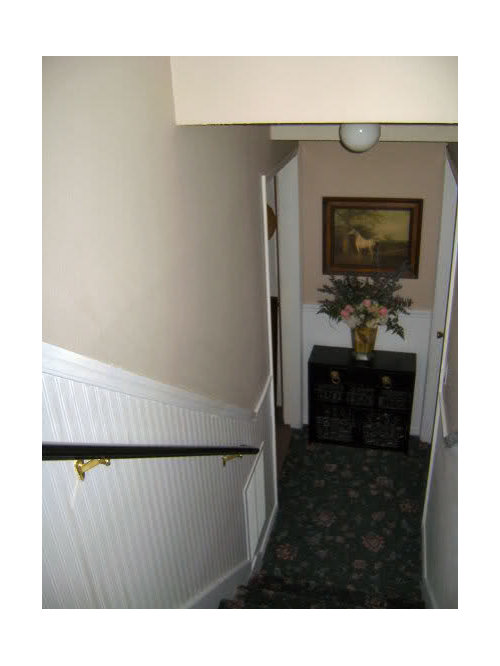
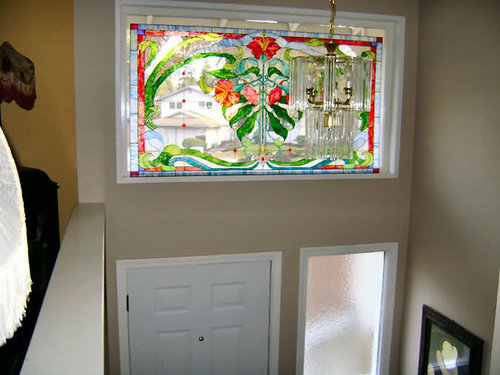
New and improved entry hall/stairs!
oceanna
15 years ago
Sort by:Oldest
Comments (79)
Related Stories
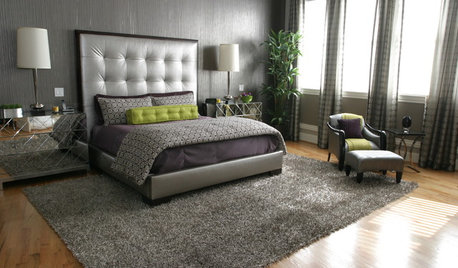
LIFEImprove Your Love Life With a Romance-Ready Bedroom
Frank talk alert: Intimacy and your bedroom setup go hand in hand, says a clinical sexologist. Here's her advice for an alluring design
Full Story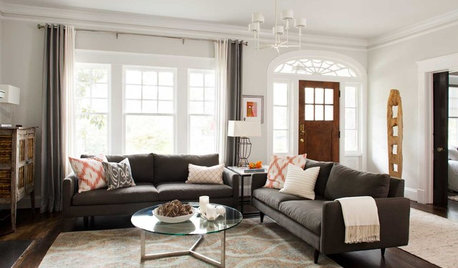
ENTRYWAYSNo Entryway? Create the Illusion of One
Create the feeling of an entry hall even when your door opens straight into the living room. Here are 12 tricks to try
Full Story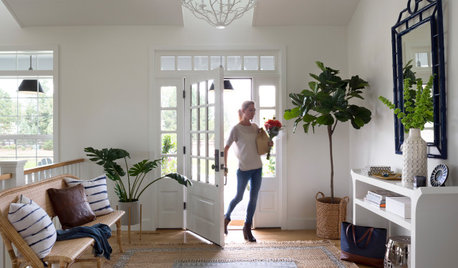
HOUSEKEEPING7-Day Plan: Get a Spotless, Beautifully Organized Entry Hall
Take your entry from scuffed up to spiffed up — restoring total cleanliness and order in just a week
Full Story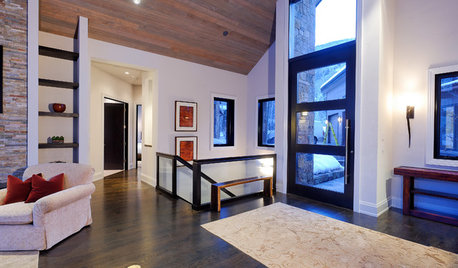
ENTRYWAYSDefining Spaces: 6 Ways to Work With an Open Foyer
No entry hall? Here's how to get the look of one anyway
Full Story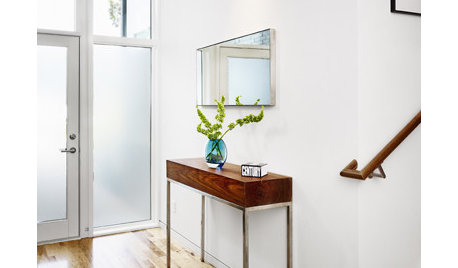

DECORATING GUIDESExpert Talk: Entryway Wallpaper Ushers In Style
Set the right tone from the first step inside with this insight from pro designers on how to use wallpaper in an entry hall
Full Story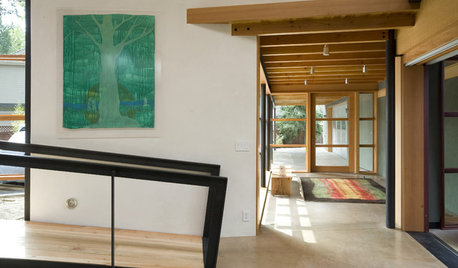
GREAT HOME PROJECTSHow to Add an Indoor or Outdoor Ramp
Improve accessibility and safety by swapping stairs for ramps in your home or yard
Full Story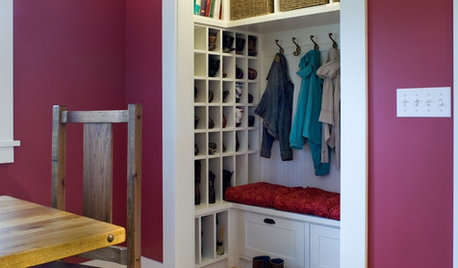
THE HARDWORKING HOMEHow to Tap Your Hall Closet’s Storage Potential
The Hardworking Home: Check out these design ideas for every space and budget
Full Story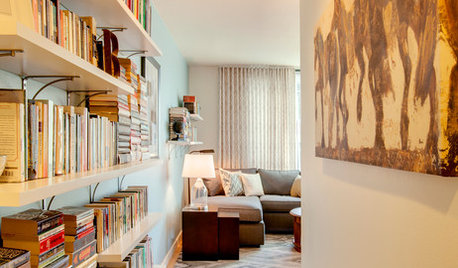
THE HARDWORKING HOMEIdeas for Making the Most of Your Hallway
The Hardworking Home: Halls can do more than connect rooms. Here are hallways that house bookcases, cabinets, office space and more
Full Story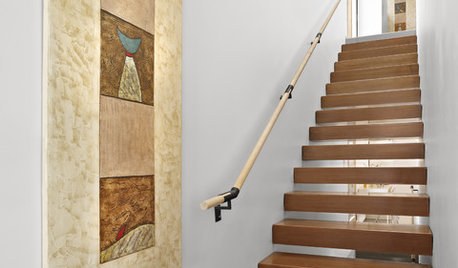
KNOW YOUR HOUSEStair Design and Construction for a Safe Climb
Learn how math and craft come together for stairs that do their job beautifully
Full Story


awm03
oceannaOriginal Author
Related Discussions
Crosswise or longwise wood direction for entrance hallway?
Q
Entry Hall Almost Done (pics & others for reference)....
Q
Entry hallway runner - what size/style would fit best?
Q
Entry Hall table with mirror.
Q
christina923
oceannaOriginal Author
teeda_2006
texashottie
dilly_dally
Cyndi Charney
n2cookin
cooperbailey
mahatmacat1
paint_chips
paint_chips
bodiCA
oceannaOriginal Author
gracie01 zone5 SW of Chicago
saltnpeppa
Robbi D.
mistybear11
nanny2a
christina923
chloe_s_mom
oceannaOriginal Author
jlc712
pollyannacorona
oceannaOriginal Author
pollyannacorona
oceannaOriginal Author
skypathway
mistihayes
southernheart
oceannaOriginal Author
littledog
Valerie Noronha
mistihayes
User
teacats
moonkat99
artlover13060
chloe_s_mom
oceannaOriginal Author
mistihayes
lynninnewmexico
alohamillion123
lisa_mocha
artlover13060
juddgirl2
kpaquette
buddyrose
gldnfan