


Help! Sealer from manufacturer doesn't match for island.
User
14 years ago
Sort by:Oldest
Comments (51)
Related Stories

DECORATING GUIDESHow to Match Colors From Photos to Real Life
Differences in lighting and device screens can drastically change how a color looks. Here's how to correct for it
Full Story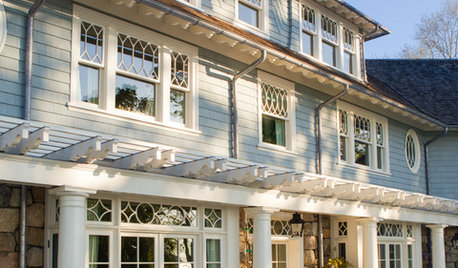
TRADITIONAL HOMESHouzz Tour: New Shingle-Style Home Doesn’t Reveal Its Age
Meticulous attention to period details makes this grand shorefront home look like it’s been perched here for a century
Full Story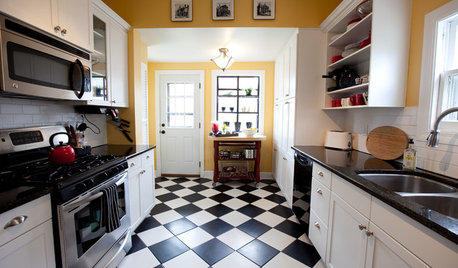
KITCHEN DESIGNKitchen Flooring 101: Find Your Material Match
From cork to concrete, our guide will help you pick the perfect surface for your kitchen floor
Full Story
COLORPick-a-Paint Help: How to Create a Whole-House Color Palette
Don't be daunted. With these strategies, building a cohesive palette for your entire home is less difficult than it seems
Full Story
KITCHEN CABINETSKitchen Confidential: 7 Ways to Mix and Match Cabinet Colors
Can't decide on a specific color or stain for your kitchen cabinets? You don't have to choose just one
Full Story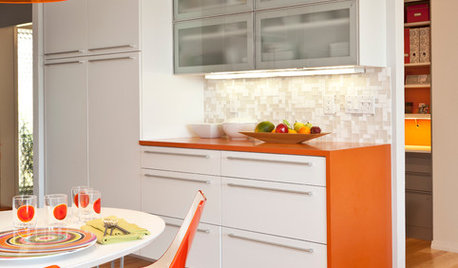
KITCHEN DESIGNCountertop and Backsplash: Making the Perfect Match
Zero in on a kitchen combo you'll love with these strategies and great countertop-backsplash mixes for inspiration
Full Story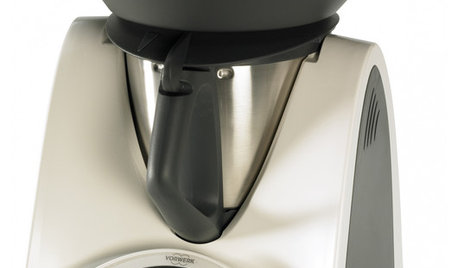
HOME TECH3 Kitchen Contraptions You Won’t Believe
Pizza hot from the printer, anyone? These cooking gadgets harness imagination and high tech — and have price tags to match
Full Story
WORKING WITH PROSHow to Find Your Renovation Team
Take the first steps toward making your remodeling dreams a reality with this guide
Full Story
KITCHEN DESIGNKey Measurements to Help You Design Your Kitchen
Get the ideal kitchen setup by understanding spatial relationships, building dimensions and work zones
Full Story
MOST POPULARFrom the Pros: How to Paint Kitchen Cabinets
Want a major new look for your kitchen or bathroom cabinets on a DIY budget? Don't pick up a paintbrush until you read this
Full StorySponsored

UserOriginal Author
UserOriginal Author
Related Discussions
Absolute black granite doesn't need sealer?
Q
White Oak Floors Expansion doesn't match.....What to do?
Q
Help, my marble tile floor doesn't match my marble slab countertops.
Q
Quartz Counter installed doesn't look like sample!!
Q
UserOriginal Author
justgotabme
UserOriginal Author
moonshadow
UserOriginal Author
k9arlene
moonshadow
moonshadow
2ajsmama
natesgram
hoosiergirl
barb5
UserOriginal Author
UserOriginal Author
hoosiergirl
2ajsmama
natal
sombreuil_mongrel
squirrelheaven
UserOriginal Author
natal
2ajsmama
UserOriginal Author
squirrelheaven
2ajsmama
UserOriginal Author
2ajsmama
jan_in_wisconsin
k9arlene
ruthy1
UserOriginal Author
2ajsmama
UserOriginal Author
2ajsmama
UserOriginal Author
2ajsmama
2ajsmama
UserOriginal Author
UserOriginal Author
UserOriginal Author
2ajsmama
UserOriginal Author
UserOriginal Author
2ajsmama
UserOriginal Author
moonshadow
2ajsmama
UserOriginal Author