


Coolant changes & additives
piddlerdad3
18 years ago
Sort by:Oldest
Comments (11)
Related Stories

TRANSITIONAL HOMESHouzz Tour: Change of Heart Prompts Change of House
They were set for a New England look, but a weekend in the California wine country changed everything
Full Story
SHOP HOUZZShop Houzz: Fall Back, Change Your Clocks
Get ready for the end of Daylight Saving Time with new picks from the Houzz Shop
Full Story0
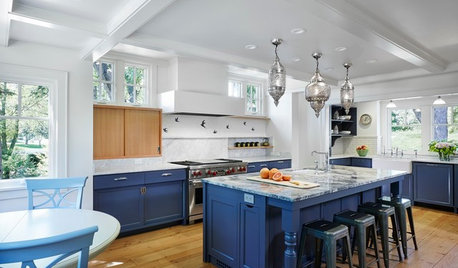
RANCH HOMESHouzz Tour: Ranch House Changes Yield Big Results
An architect helps homeowners add features, including a new kitchen, that make their Minnesota home feel just right
Full Story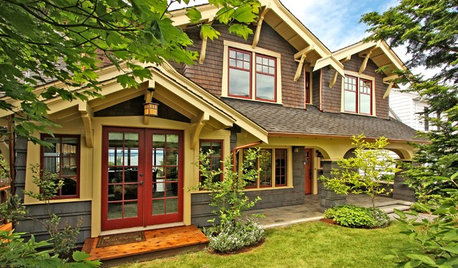
HOUZZ TOURSHouzz Tour: Major Changes Open Up a Seattle Waterfront Home
Taken down to the shell, this Tudor-Craftsman blend now maximizes island views, flow and outdoor connections
Full Story
FARM YOUR YARD9 Ways to Change Up Your Vegetable Garden for the Coming Season
Try something new for edible plantings that are more productive than ever
Full Story
GARDENING AND LANDSCAPINGHouzz Tour: Convertible Courtyards Change the Game in Australia
See an ingenious design that brings new meaning to ‘indoor-outdoor connection’
Full Story
REMODELING GUIDESMovin’ On Up: What to Consider With a Second-Story Addition
Learn how an extra story will change your house and its systems to avoid headaches and extra costs down the road
Full Story
DECORATING GUIDES8 Quick Changes for the Impatient Decorator
Change the Lampshade and Roll Up the Rug! A Fresh Look Can Be Easier Than You Think
Full Story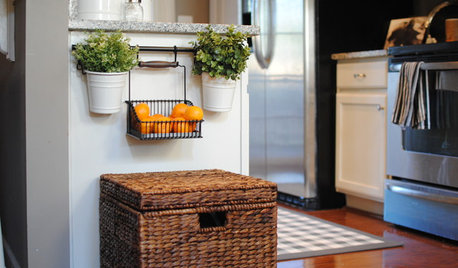
KITCHEN DESIGNEasy Green: 10 Small Kitchen Changes to Make Today
Taking small steps in going green can lead to big results over time, and starting in the kitchen is a smart choice
Full Story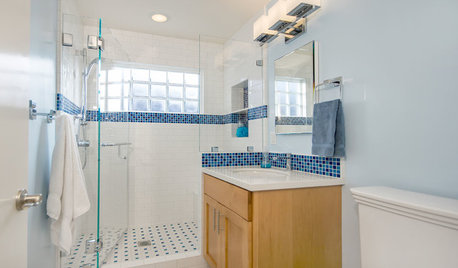
BATHROOM DESIGNLight-Happy Changes Upgrade a Small Bathroom
Glass block windows, Starphire glass shower panes and bright white and blue tile make for a bright new bathroom design
Full StorySponsored
cowboyind
earthworm
Related Discussions
Change 6-Year Old Coolant?
Q
insurance void if additions or changes made
Q
Addition changes, savings not passed on
Q
change of roof line after addition is added.
Q
gary__
earthworm
jemdandy
piddlerdad3Original Author
jemdandy
piddlerdad3Original Author
lestrucs_sbcglobal_net
calusioj_yahoo_com
gary__