


repairing slope of shower floor
wildeyes
13 years ago
Featured Answer
Sort by:Oldest
Comments (6)

helpmyhome
13 years agoRelated Discussions
Shower pre-slope discussion
Comments (6)Bill, I ripped out the mortar, membrane and lower ~18" of backerboard (again). I am going to re-installing the original fiberglass shower pan. My other post about the treat lumber curb is where I am now. I will cut that out down to the floor due to numerous 3 inch screws and liquid nail the previous guy used to secure the 2x4s to each other and to the subfloor and I pretty sure I don't want treated lumber in the bathroom area. As for the rest of the bathroom, we have 1/4" backboard on the horizontal surface of the tub deck (on top of 5/8" plywood underlayment) and the vertical backsplash and front surface tiled except grout. I will post some photos on Flickr so you can see what we are doing. Oh yeah, the floor has 1/2" backerboard down and is ready for heating coils and tiling. On the tub deck.... 1. Do you put a grout or caulk line on the corners where the horizontal bull nose meets the vertical straight cut tile or overhang a bullnose piece and grout or caulk underneath? In the shower... 1. Do you caulk the corners where the tiles meet or grout? I planned on using clear silicone in the corners but have heard that grout is just as effective. 2. When I removed the shower pan during demo, there was nothing underneath. I am now reading that one should lay mortar or foam underneath the pan. You thoughts?...See MoreShower slope
Comments (33)Passed inspection. The flood test is awesome. Has not budged off it's mark. The pressure test however on the water lines was harder. This was my first time testing Worsebo Pipe and the pipe kept slacking off the 200PSI mark. 6:00 AM I cranked it up. 6:30 checked and the pressure dropped to 140 PSI 6:30 AM I cranked it up again - back to 200 PSI 7:00 AM down to 160 PSI Tighten the hose connection at the pump. Cranked back up to 200 PSI at 7:00 AM checked at 8:00 and it was down to 180 PSI. Checked the hose connection at the body jet location and re cranked it up to 200 PSI. Checked at 9:00 and the PSI reading was 195 PSI. So I cranked it up to 205 PSI and it dropped to 200 PSI. It held this pressure from 9:30 AM till 3:30 PM when the inspector showed up. Thank God. I told the inspector the issue and he mentioned that that pipe can be difficult to get the pressure to hold just right. These new Stainless Steel Flood Test testing Rings of mine make marking a flood test so much easier. See the water crossing the ring? There are scratches in the ring right where the water passes so precise measurements can be had. The ring is heavier guage and Marine grade for a life time of service. Had to get creative on this install. The top clamping ring shown did not have weep channels under the top collar so I made them. The brown/black waterproofing is Ardex 8+9 - it should not be used with a clamping drain. The inspector did not ask me about this yesterday only felt the product. What you can not see in this picture is how I used one large sheet of Laticrete Hydro Ban Sheet membrane to cover the entire shower base and up the walls and curb. That by itself would be fine - IF - laticrete allowed the use of it's membrane with a clamping drain. So below that I used a NobleFlex Flashing. A lot of trouble - next time I will just use on piece of NobleSeal CIS like I normally do. But this job I had none and wanted to use up some left over materials. I have lots of Laticrete Hydro ban sheet membrane left over from the steam shower I just built so you will see more of this coming up....See MoreSloped concrete next to foundation. Need ideas for repair.
Comments (8)I don't think it could be mudjacked enough to get proper slope, might have to demo and repour. You can save a fair amount by doing the demo yourself, rent a demolition hammer for the day and have at it. Start at the edges and work your way in. I would recommend the 20 lb Makita over any of the heavy 65 lb hammers so you don't wear yourself out. Then your going to need to increase the amount of dirt around the house to get proper grade before a repour. Pavers with a slope away from the house are a better DIY option than concrete pads if hiring out isn't in your budget. I wouldn't recommend doing concrete pads DIY, too much weight and labor, might hurt your back, too hard for one person unless you have a family with multiple men able to mix, pour, level, in a timely fashion and have experience doing so....See MoreShower curb repair
Comments (46)I'm very sorry this has happened to you with your shower. I can sympathize. The shower in my old house started leaking a small amount and we had to replace it. A warning: once we started tearing out the old shower, we found significant water damage from what was probably years of minor leaking that rotted framing and subfloor. There was a lot of structural repair work necessary. I have done a fair amount of DIY including a tub/shower combo and the shower to replace the leaking one. As mentioned by @Stonetech the www.johnbridge.com site can be helpful for DIY learning. John Bridge also published a book Tile Your World. I found it and a few other published books to be helpful. When it came time to replace my leaking shower, I loved the idea of curbless shower but the correct way to build one was not something I wanted to take on. I decided to use the suggested Schluter Kerdi shower system because it solves some of the most challenging parts of building a properly waterproofed shower (pre-sloped pan, water proof drain, water proofing system, niches, etc). I cannot say who is and who is not capable of building a DIY shower properly. But I will say that the two that I've done were a ton of work, including hard physical labor, and required meticulous planning and execution. The last thing you want is to spend a substantial amount of money and time on a DIY shower that ends up leaking. There is definitely a reason why a good pro isn't cheap and why for most, they are well worth the money....See Moredon92
13 years agobill_vincent
13 years agoUser
13 years agojohnfrwhipple
12 years ago
Related Stories

BATHROOM DESIGNWhat to Use for the Shower Floor
Feeling Good Underfoot: Shower Tiles, Mosaics, Teak Slats and Pebbles
Full Story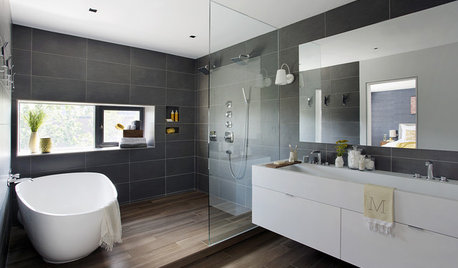
SHOWERSYour Guide to Shower Floor Materials
Discover the pros and cons of marble, travertine, porcelain and more
Full Story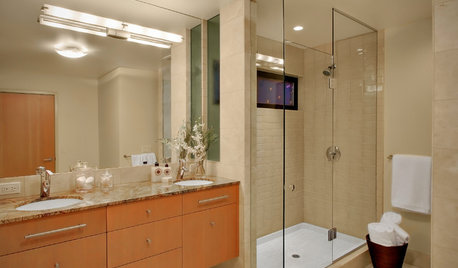
BATHROOM DESIGN7 Reasons Why Your Shower Floor Squeaks
No one wants to deal with a squeaky fiberglass shower floor. Here's what might be happening and how to fix it
Full Story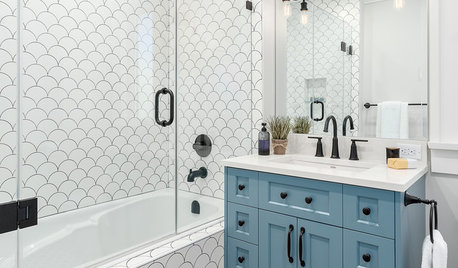
BATHROOM DESIGNShower Curtain or Shower Door?
Find out which option is the ideal partner for your shower-bath combo
Full Story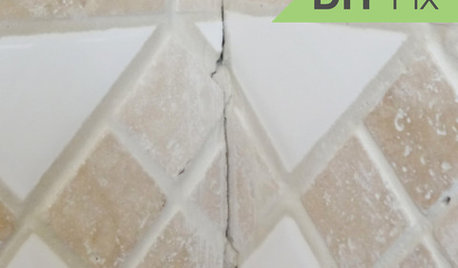
BATHROOM TILEQuick Fix: Repair Cracked Bathroom Grout
Banish an eyesore and safeguard your bathroom from water damage in 30 minutes or less with this DIY repair
Full Story
MOST POPULARPhoto Flip: 50 Showers That Create a Splash
Find fresh inspiration in these bathrooms with mosaic and large-format tiles, pebble flooring and more
Full Story
HOMES AROUND THE WORLDHouzz Tour: House on a Slope Goes Upside Down to Let In Light
The living areas in this contemporary Australian home move to the top floor, with the bedrooms down below
Full Story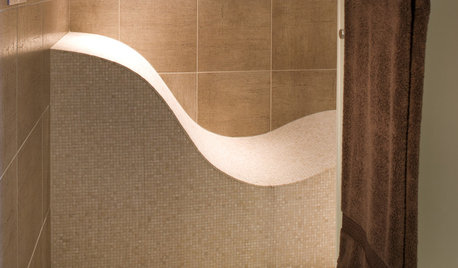
REMODELING GUIDESTop 10 Tips for Choosing Shower Tile
Slip resistance, curves and even the mineral content of your water all affect which tile is best for your shower
Full Story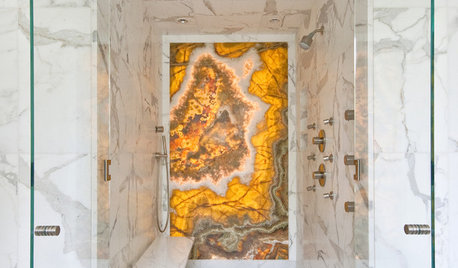
BATHROOM DESIGNHow to Build a Better Shower Curb
Work with your contractors and installers to ensure a safe, stylish curb that keeps the water where it belongs
Full Story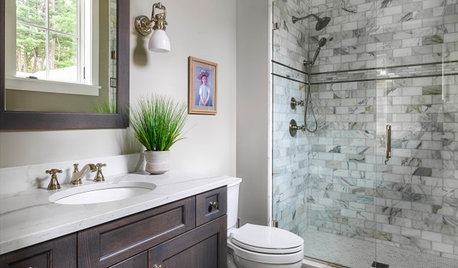
BATHROOM DESIGNNew This Week: 5 Bathrooms With a Curbless or Low-Curb Shower
Design pros, including one found on Houzz, share how they handled the shower entrances and other details in these rooms
Full Story

bill_vincent