Resizing photos for posting with Irfanview.
bob414
17 years ago
Related Stories

DECORATING PROJECTSWhat to Do With Old Family Photos
Find out how to research, share and preserve images that offer a connection to the past
Full Story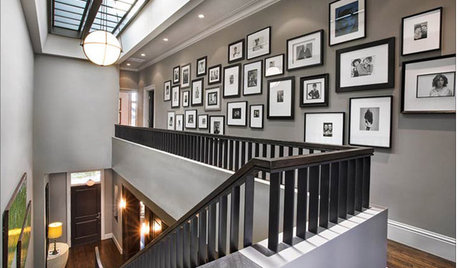
GREAT HOME PROJECTSHow to Design a Family Photo Wall
New project for a new year: Display your favorite images of loved ones for the most personal gallery wall of all
Full Story
ARTHouzz Call: Show Us Your (Functional?) Art
We want to see how art plays a part in your home
Full Story
INSIDE HOUZZInside Houzz: Explore Sketch, a New Way to Bring Design Ideas to Life
Update your Houzz app to get Sketch for iOS and Android
Full Story
KITCHEN DESIGNHouzz Call: Pros, Show Us Your Latest Kitchen!
Tiny, spacious, modern, vintage ... whatever kitchen designs you've worked on lately, we'd like to see
Full Story
DECORATING GUIDESMake a Cool Block-Printed Coat Rack
Hang fall's hats and scarves on great patterned coat hook you can make for less than $25
Full Story
FIREPLACESThe Right Built-ins for Your Fireplace
Building the perfect storage around your fireplace starts with deciding what it's for. These 14 examples will get you started
Full Story
MOST POPULARFalling for Color: 9 Ways With Pumpkin Orange
From racing stripes to accent walls, see how to work this vibrant hue into your home
Full Story
LIFEA Quick Downsizing Quiz for the Undecided
On the fence about downsizing? We help you decide whether that fencing should encircle a mansion or a mini trailer
Full Story
CURB APPEAL10 Gorgeous Gates That Make a Stylish Statement
From wrought iron masterpieces to simple wooden designs, there’s a gate for any garden
Full StorySponsored


gailr
bob414Original Author
Related Discussions
Irfanview and AdAware Questions
Q
Advice on firniture placement, please! (Re-post w/ re-sized pics)
Q
Software for photo resizing
Q
Getting ready to post final pics...how do you resize?
Q
jmc7104
IndianaKat
bob414Original Author
gailr