


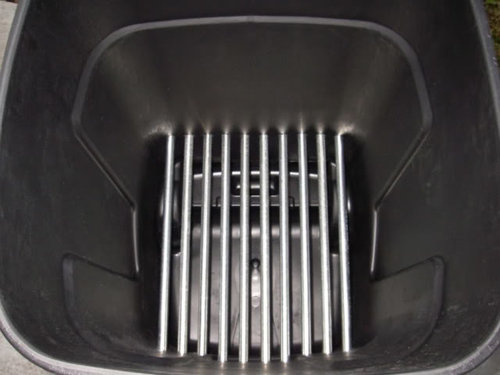
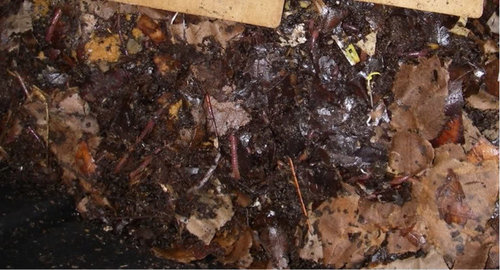
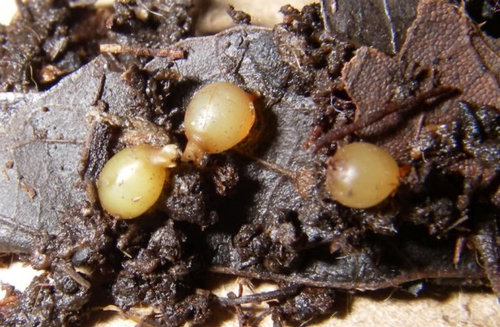
Pics of my first bin
geauxworms
14 years ago


Sort by:Oldest
Comments (4)
Related Stories
DECLUTTERINGTame the Toy Chaos: Bin Storage for All
New project for a new year: With bins, totes and shelves, a clutter-free playroom can be yours
Full Story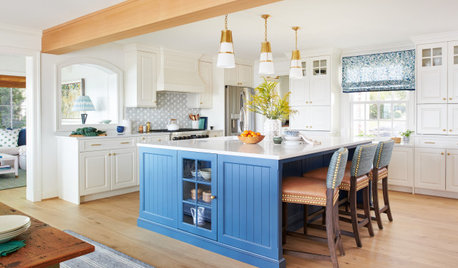
MOST POPULAROrganizing? Don’t Forget the Essential First Step
Simplify the process of getting your home in order by taking it one step at a time. Here’s how to get on the right path
Full Story
GARDENING GUIDESHouzz TV: Make a Worm Bin for Rich Soil and Happy Plants
A worm-powered compost bin that can fit under a sink turns food scraps into a powerful amendment for your garden. Here’s how to make one
Full Story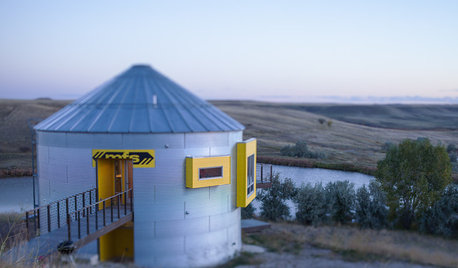
HOUZZ TOURSHouzz Tour: Prairie Grain Bin Turned Bucolic Retirement Home
An agrarian structure and a big dream combine in this one-of-a-kind home that celebrates 250 acres of Montana grasslands
Full Story
MOST POPULARArchitectural Icon: The World’s First Bauhaus House
The Haus am Horn in Weimar is the first architectural example from the famed school, and the only one in the German city where Bauhaus began
Full Story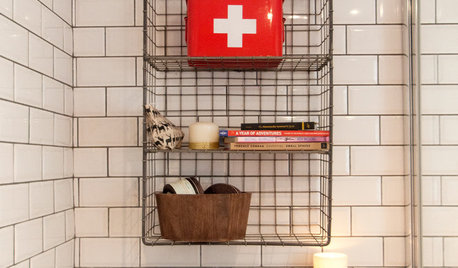
LIFEYour First-Aid, Emergency and Medical Supply Checklist
Don’t wait until you need them to stock your first-aid kit and emergency stash. Here’s what to get and where to keep it
Full Story
KITCHEN DESIGNHouzz Call: Tell Us About Your First Kitchen
Great or godforsaken? Ragtag or refined? We want to hear about your younger self’s cooking space
Full Story
LIFEHouzz Call: Who'll Post the First Snow Photo of 2013?
If the weather's been flaky in your neck of the woods, please show us — and share how you stay warm at home
Full Story
KITCHEN DESIGNKitchen of the Week: Function and Flow Come First
A designer helps a passionate cook and her family plan out every detail for cooking, storage and gathering
Full Story
FURNITURESecond-Life Sofas Show First-Rate Style
With unexpected upholstery, antique sofas can live happily in modern interiors
Full StorySponsored
eric30
rickd59
Related Discussions
My first bin: is 30 gallons large enuf?
Q
My first compost bin!
Q
'my first bin 'question
Q
My first worm bin :)
Q
geauxwormsOriginal Author
eric30