


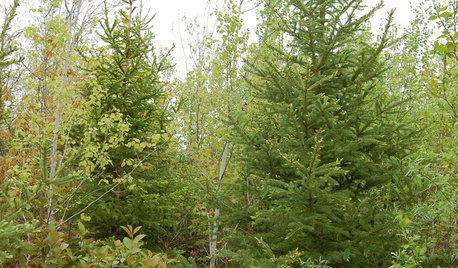
Picea glauca 'Pendula' VS Picea omorika 'Pendula Bruns'
ricksample
12 years ago
Sort by:Oldest
Comments (36)
Related Stories
GARDENING GUIDESGreat Design Plant: Picea Glauca
Its sculptural form and evergreen foliage provide year-round beauty and wildlife shelter. Its cones offer important winter songbird food
Full Story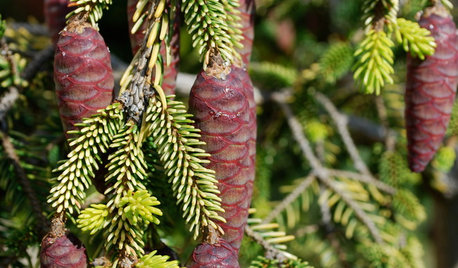
GARDENING GUIDESGreat Design Plant: Skylands Oriental Spruce, a Favorite Conifer
Brighten up a drab corner of your garden with Picea orientalis ‘Skylands’, a smaller spruce that a bird family might just call home
Full Story
PLANTING IDEASDesigning With Conifers: How to Unite Your Landscape
Create a landscape full of intrigue and artistry with the right placement of conifers and their supporting players
Full Story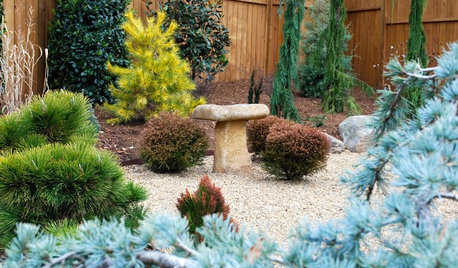
PLANTING IDEASDesigning With Conifers: Personality and Form in the Garden
Unique and full of interest, well-shaped conifers await a place your yard
Full Story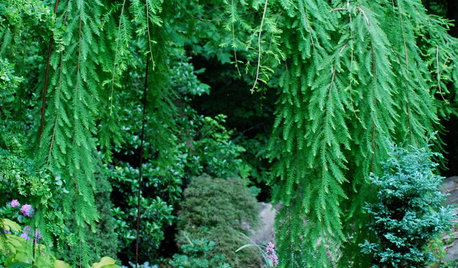
LANDSCAPE DESIGNThe Weepers and the Creepers: 10 Intriguing Trees for Your Garden
Bring something a little different to your landscape with a tree that dives, twists or crawls
Full Story
PLANTING IDEASDesigning With Conifers: Layers of Texture for Your Garden
Sharp and prickly or fine like ferns, richly textured conifers bring unexpected interest to the landscape
Full Story
LANDSCAPE DESIGNThe 7 Best Plant Types for Creating Privacy and How to Use Them
Follow these tips for using different kinds of plants as living privacy screens
Full Story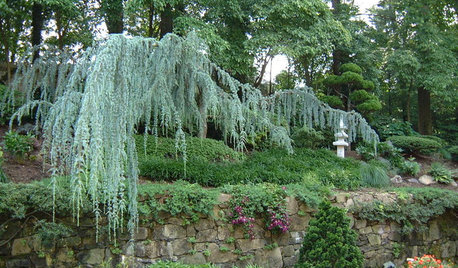
PLANTING IDEASDesigning With Conifers: Exploring Color
Colorful, structural and adaptable, conifers are waiting to transform your garden
Full Story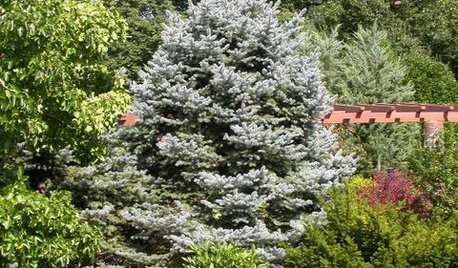
LANDSCAPE DESIGN10 Evergreens for Beautiful Foliage All Year
Give your landscape consistent color and structure with the emeralds, chartreuses and blues of evergreen trees and shrubs
Full StorySponsored
Columbus Area's Luxury Design Build Firm | 17x Best of Houzz Winner!


firefightergardener
coniferjoy
Related Discussions
Picea omorika 'Pendula Bruns'
Q
How close to walkway can Picea omorika 'Pendula Bruns' be planted
Q
Is this a Picea omorika 'Pendula Bruns'?
Q
Picea omorika 'Pendula Bruns'
Q
dcsteg
whaas_5a
ricksampleOriginal Author
tsugajunkie z5 SE WI ♱
dcsteg
gardener365
whaas_5a
ricksampleOriginal Author
gardener365
whaas_5a
ricksampleOriginal Author
dcsteg
whaas_5a
ricksampleOriginal Author
dcsteg
ricksampleOriginal Author
Cher
dcsteg
ricksampleOriginal Author
whaas_5a
ricksampleOriginal Author
whaas_5a
dcsteg
ricksampleOriginal Author
dcsteg
ricksampleOriginal Author
ricksampleOriginal Author
whaas_5a
ricksampleOriginal Author
whaas_5a
dcsteg
ricksampleOriginal Author
dcsteg
ricksampleOriginal Author