


Hi, WS newbie here looking for advice!:)
agirlsgirl
16 years ago
Sort by:Oldest
Comments (31)
Related Stories
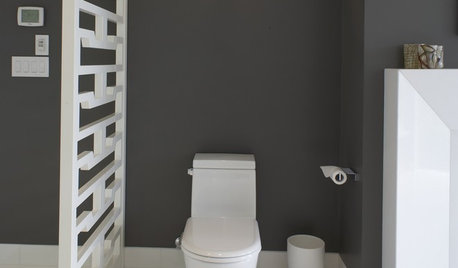
BATHROOM DESIGNHere's (Not) Looking at Loo, Kid: 12 Toilet Privacy Options
Make sharing a bathroom easier with screens, walls and double-duty barriers that offer a little more privacy for you
Full Story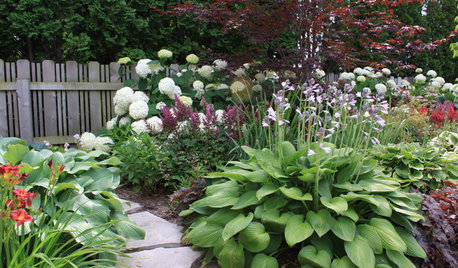
MOST POPULARSpring Gardens Are Blooming — Here’s What to Do in April
Get the guide you need for gardening in your U.S. region, with tasks, climate-appropriate plantings and more
Full Story
REMODELING GUIDESContractor Tips: Advice for Laundry Room Design
Thinking ahead when installing or moving a washer and dryer can prevent frustration and damage down the road
Full Story
DECORATING GUIDES10 Design Tips Learned From the Worst Advice Ever
If these Houzzers’ tales don’t bolster the courage of your design convictions, nothing will
Full Story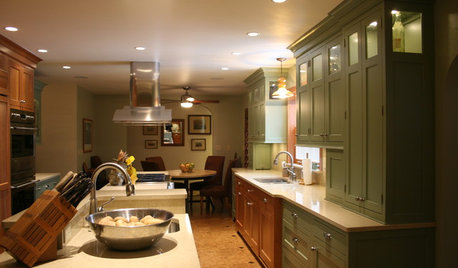
KITCHEN DESIGNSmart Investments in Kitchen Cabinetry — a Realtor's Advice
Get expert info on what cabinet features are worth the money, for both you and potential buyers of your home
Full Story
GREAT HOME PROJECTSConsidering Wallpaper? Here's How to Get Started
New project for a new year: Give your room a whole new look with the color, pattern and texture of a wall covering
Full Story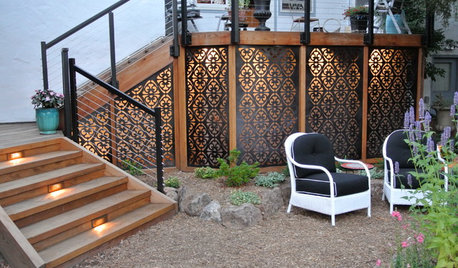
THE ART OF ARCHITECTURELaser-Cut Focus: The Future of Design Is Here
Discover how this laser technology can make almost any pattern a reality
Full Story
BATHROOM DESIGNSweet Retreats: The Latest Looks for the Bath
You asked for it; you got it: Here’s how designers are incorporating the latest looks into smaller master-bath designs
Full Story
LIFEYou Said It: ‘They Looked at Me Like I Had 10 Heads’
Design advice, inspiration and observations that struck a chord
Full Story
BUDGET DECORATINGBudget Decorator: 8 Ways to Make Old Furniture Look Brand New
Learn stripping, staining, painting and reupholstering basics to make bargain-basement furniture worthy of center stage at home
Full StorySponsored
Columbus Design-Build, Kitchen & Bath Remodeling, Historic Renovations
bakemom_gw
trudi_d
Related Discussions
newbie loves ws and thanks the vet ws'ers
Q
Looking for WS newbies
Q
hi newbie here and a ? on seed comp
Q
Newbie here looking for advice
Q
albertar
mudinmyshorts
shimla
agirlsgirlOriginal Author
etravia
agirlsgirlOriginal Author
squirrel_girl
trudi_d
shimla
agirlsgirlOriginal Author
agirlsgirlOriginal Author
carrie630
naturenut_ohio
stage_rat
strouper2
agirlsgirlOriginal Author
etravia
agirlsgirlOriginal Author
mudinmyshorts
kqcrna
dorisl
shilohyn
dorisl
squirrel_girl
shimla
tom_n_6bzone
goozylucy
kilngod
stage_rat