


My New Greenhouse -- Warning, LOTS of Photos
hartwood
15 years ago
Sort by:Oldest
Comments (10)
Related Stories
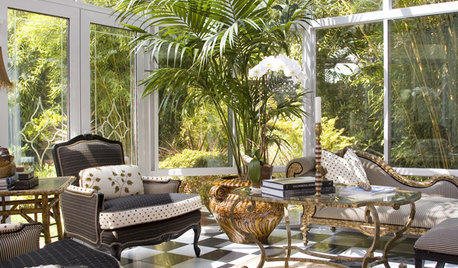
DECORATING GUIDESGo for a Greenhouse Effect With an Exotic Conservatory
Cultivate a rarified hothouse feel with or without all-glass walls; these inspiration photos and product picks show you how
Full Story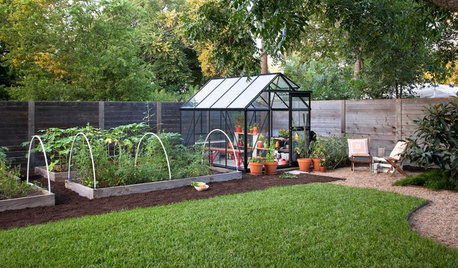
EDIBLE GARDENSA Formerly Weedy Lot Now Brims With Edibles and Honeybees
Photographers transform their barren backyard into an oasis filled with fruit, vegetables, honey, eggs and more
Full Story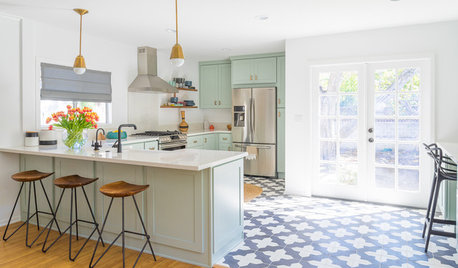
WHITE KITCHENSKitchen of the Week: An Open and Airy Space With Lots of Function
A remodel turns a dated cottage-style bungalow kitchen into a stylish cooking and entertaining space with an open feel
Full Story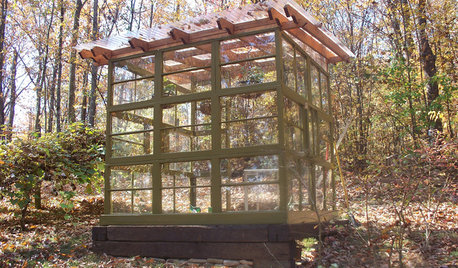
GARDENING AND LANDSCAPINGSee a Family Greenhouse Grown From Scraps
Can-do resourcefulness and less than $400 lead to a new 8- by 8-foot home for plants on a Tennessee family's property
Full Story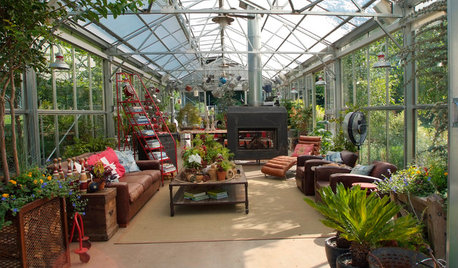
LANDSCAPE DESIGNA Luxury Greenhouse Lures Manhattanites to the Country
Industrial meets rustic in this stunning new structure for living and entertaining in rural Pennsylvania
Full Story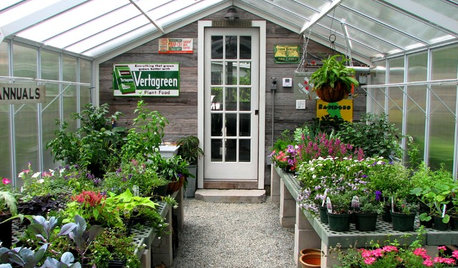
OUTBUILDINGSRoom of the Day: An Old Shed Becomes a Spa and Greenhouse
A garden-loving couple create the perfect place to have a soak and putter with their plants year-round
Full Story
GARDENING AND LANDSCAPINGReaders' Choice: The Top 20 Patios of 2011
Be warned — the most popular patio photos from 2011 may make you long for summer
Full Story
LIFEShare Your Winter Storm Jonas Photos and Survival Tips!
Let’s see your pictures and hear your ideas on how you’re keeping your house warm and staving off cabin fever
Full Story
LIFEHouzz Call: Who'll Post the First Snow Photo of 2013?
If the weather's been flaky in your neck of the woods, please show us — and share how you stay warm at home
Full StoryKITCHEN DESIGNTrending Now: 25 Kitchen Photos Houzzers Can’t Get Enough Of
Use the kitchens that have been added to the most ideabooks in the last few months to inspire your dream project
Full Story
ucovinero
msmacgyver
Related Discussions
pictures of my pond - warning! lots of pictures
Q
Lyon Arboretum - Warning! Lots of photos.
Q
Last for tonight - photos and greenhouse news
Q
Warning: Lots of photos
Q
rosepedal
funnylady
Nell Jean
fool4flowers
flavio
rjinga
hartwoodOriginal Author
rjinga