


Almost finished my compost bin...(Pics)
harleysilo
17 years ago
Sort by:Oldest
Comments (18)
Related Stories

MODERN HOMESHouzz TV: Seattle Family Almost Doubles Its Space Without Adding On
See how 2 work-from-home architects design and build an adaptable space for their family and business
Full Story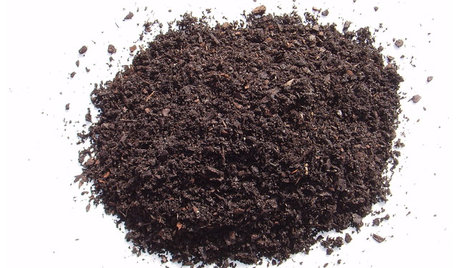
GARDENING GUIDESGet on a Composting Kick (Hello, Free Fertilizer!)
Quit shelling out for pricey substitutes that aren’t even as good. Here’s how to give your soil the best while lightening your trash load
Full Story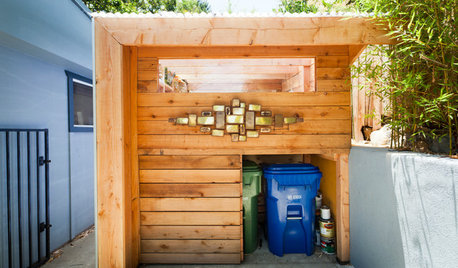
CURB APPEALHouzz Call: How Do You Hide Your Trash?
No one wants to see those trash and recycling bins. So where do you stash them while you wait for the garbage truck? Show us your designs!
Full Story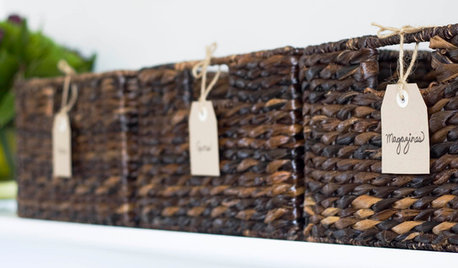
ORGANIZINGGet Organized: Are You a Piler or a Filer?
Tote out the bins and baskets and learn how to be an organized piler if file cabinets leave you cringing
Full Story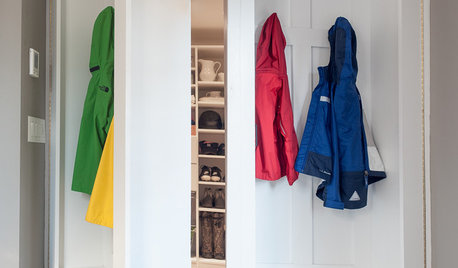
MUDROOMSRoom of the Day: This Mudroom Is Just Plain Hot
Wait till you see what’s behind the hooks and bins in this genius family drop zone
Full Story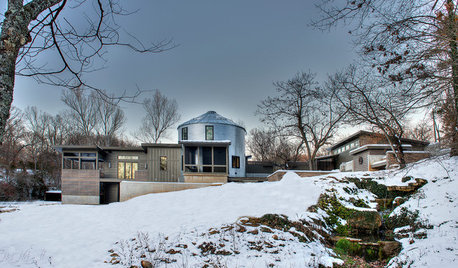
INDUSTRIAL STYLEHouzz Tour: Going Against the Grain in a Missouri Silo
See how a creative couple turned a metal grain bin into a most unusual container for living
Full Story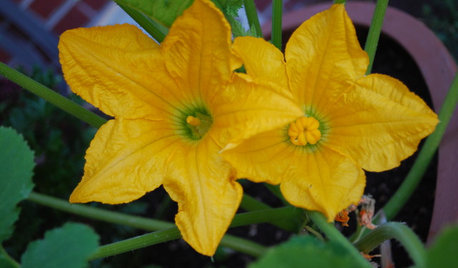
EDIBLE GARDENSSummer Crops: How to Grow Squash
Almost foolproof and with cheerful flowers, squash comes in a wide range of varieties to plant in spring
Full Story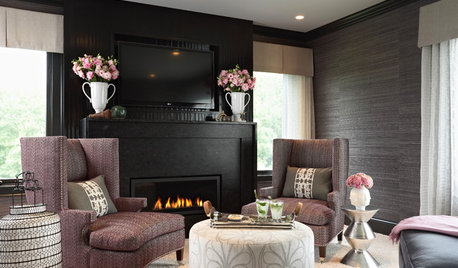
DECORATING GUIDESTGIR: The Case of the Disappearing TV
They Got It Right: If you can’t beat it, camouflage it. See how these designers made TV screens almost unnoticeable
Full Story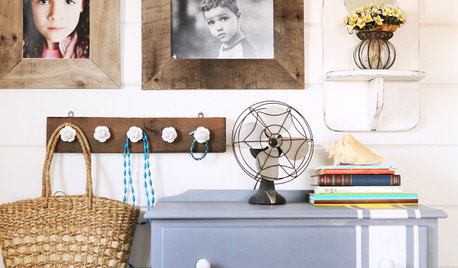
DIY PROJECTSTurn a Wooden Pallet Into Unique Photo Frames
Free wood? We're so in. Salvage a pallet or other cast-off wood to make delightfully distressed frames that fit almost any decor
Full Story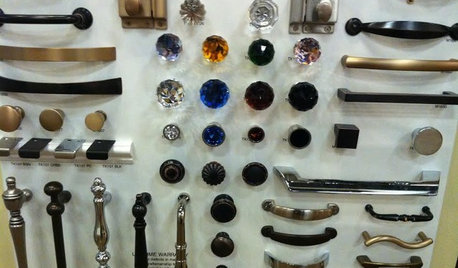
KITCHEN DESIGNGet a Grip on Kitchen Cabinets With the Right Knobs and Pulls
Here's how to pair the right style, type and finish of cabinet hardware with your kitchen style
Full StorySponsored
Franklin County's Preferred Architectural Firm | Best of Houzz Winner

blutranes
harleysiloOriginal Author
Related Discussions
Pics of my compost bin
Q
My first compost bins (pics)
Q
Things growing in my compost bin! Brought a smile!
Q
Almost finished composting for 2008
Q
pablo_nh
harleysiloOriginal Author
harleysiloOriginal Author
pablo_nh
pablo_nh
farmersteve
newtxan
blutranes
Monte
treelover
pablo_nh
blutranes
harleysiloOriginal Author
Monte
mommyandme
blutranes