


Turn a Wooden Pallet Into Unique Photo Frames
Free wood? We're so in. Salvage a pallet or other cast-off wood to make delightfully distressed frames that fit almost any decor
Julie Ranee
April 2, 2013
Houzz Contributor. I am a photographer with a passion for interior design. My favorite moments to capture are families enjoying the spaces in which they live.
Houzz Contributor. I am a photographer with a passion for interior design. My favorite... More
What is it about shipping pallets that is so endearing? For me it is the rustic, aged quality of the wood, combined with the mystery of what kinds of goods the pallet may have supported. When left out in the elements, the wood of pallets can take on a gorgeous distressed look. So rather than leave a discarded pallet found at my church to be hauled away, I got permission to take it and embarked on another father-daughter DIY project. This time we made three frames in different sizes to display family photos.
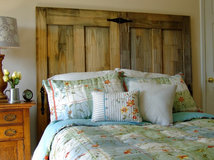
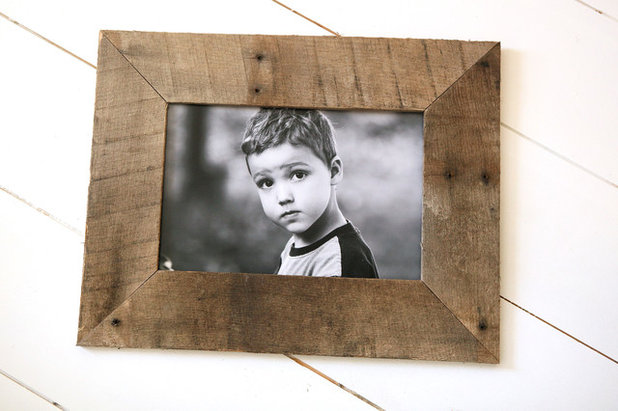
Dressing up a wall vignette are three rustic frames made with wood from a reclaimed pallet to fit photographs in the following sizes: 8 by 10 inches, 8 by 12 inches and 12 by 12 inches.
Time: 1 hour
Skill level: Moderate
Materials cost: $5 plus wood pallet or other reclaimed wood. (Our pallet was free. Be sure to ask permission before taking pallets you find behind a business; some may not actually be discarded.)
Time: 1 hour
Skill level: Moderate
Materials cost: $5 plus wood pallet or other reclaimed wood. (Our pallet was free. Be sure to ask permission before taking pallets you find behind a business; some may not actually be discarded.)
How to Make the Rustic Wood Picture Frames
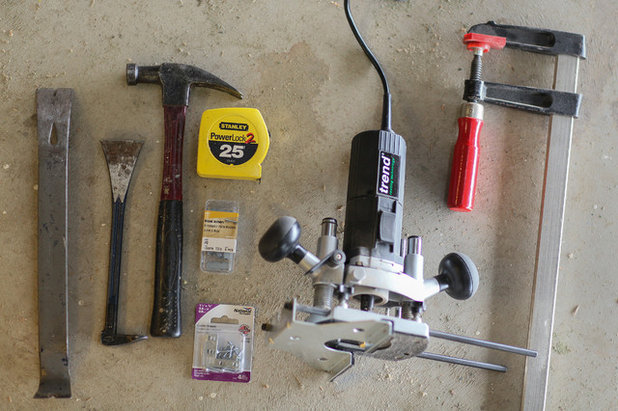
Tools
Tools
- Hammer
- Nail pullers
- Measuring tape
- Miter saw (not shown here)
- Router
- Drill
- Clamp
- Safety goggles
- Gloves
- Shipping pallet
- Corner braces (1 1/2 inches by 3/8 inch)
- Triangular picture hangers (not shown here)
- Wire (not shown here)
- Duct tape
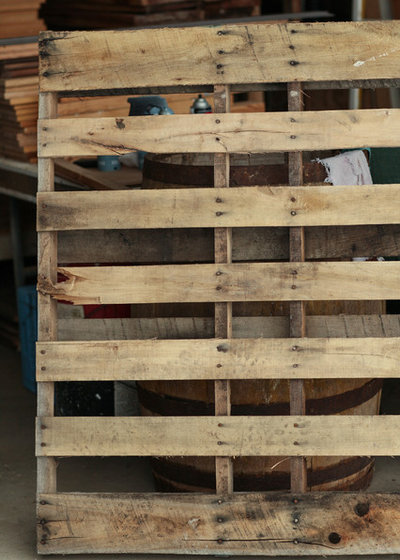
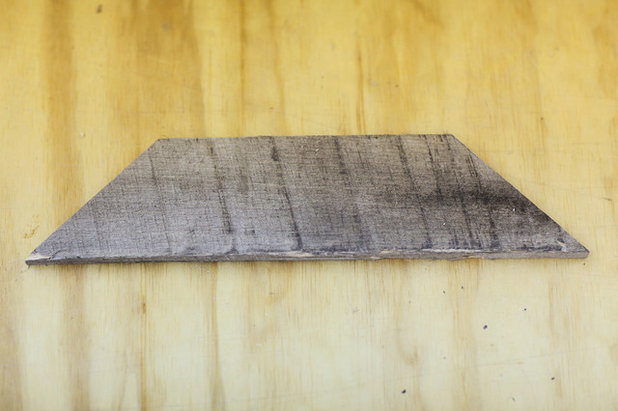
This is what our reclaimed pallet looked like. The wood on the bottom was not usable; we used the boards pictured on this side to make the frames.
1. Wearing safety goggles and gloves, use nail pullers and a hammer to disassemble the pallet. Sort the boards according to width. Use same-width boards for each frame.
1. Wearing safety goggles and gloves, use nail pullers and a hammer to disassemble the pallet. Sort the boards according to width. Use same-width boards for each frame.
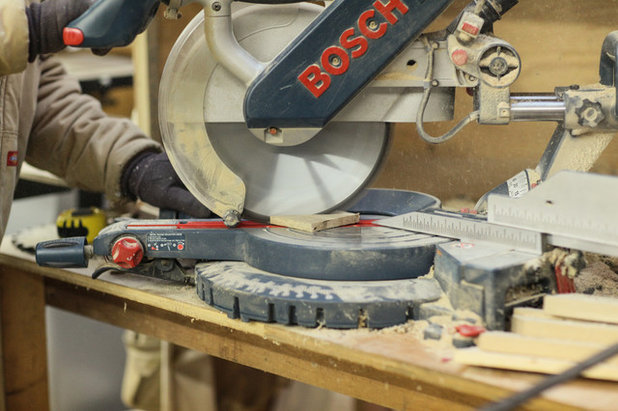
2. Miter the end of the first board by cutting at a 45-degree angle.
Tip: We used a miter saw (shown here), but you can use a circular saw instead. Our pallet was made of hardwood, so some type of power saw was needed.
See more saws
Tip: We used a miter saw (shown here), but you can use a circular saw instead. Our pallet was made of hardwood, so some type of power saw was needed.
See more saws
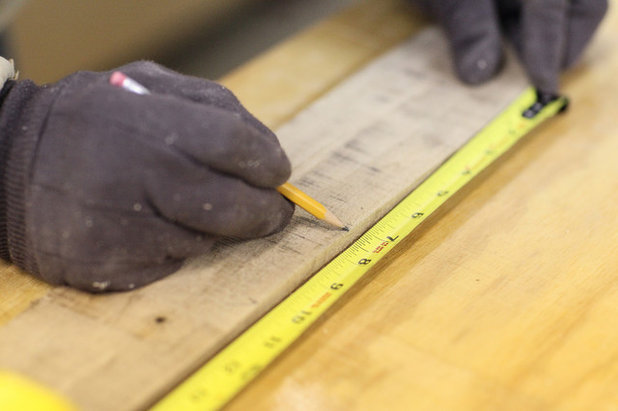
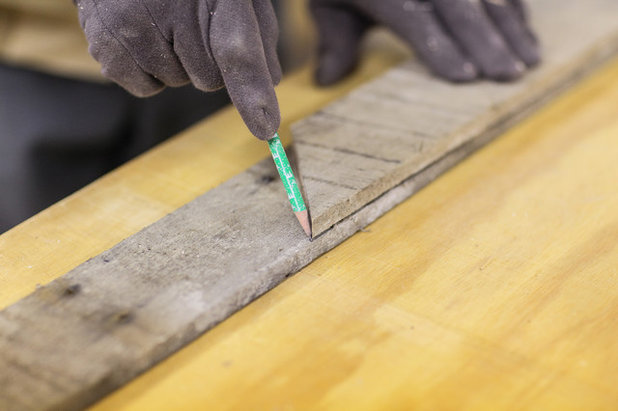
3. Using the measuring tape along the inside edge of the mitered board, measure 1/2 inch less than the picture width and mark with a pencil. For example, here we measured 7 1/2 inches for the 8-inch side of our 8-by-10 frame.

4. Placing the saw blade on the mark you just made, miter (cut at a 45-degree angle) the other end of your first board. If you're using a miter saw, rrotate the blade to cut the other corner, so you'll make the second 45-degree cut in the opposite direction of the first.
This is what your board should look like with both ends mitered at 45 degrees. The inside length is 7 1/2 inches.
5. Use the board you just finished to mark the cuts on the next board.
For a square frame, you will repeat this step four times, since all the sides are the same length. For a rectangular frame, go back to step 2 to complete the other two sides of the frame, taking into account the length of the sides (mark 1/2 inch less than the size of the photo you plan to display).
For a square frame, you will repeat this step four times, since all the sides are the same length. For a rectangular frame, go back to step 2 to complete the other two sides of the frame, taking into account the length of the sides (mark 1/2 inch less than the size of the photo you plan to display).
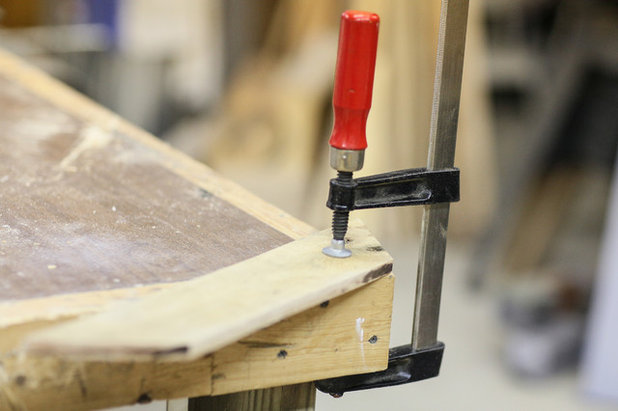
6. Clamp the board to the edge of a workbench to prepare for routing, which will create the ledge on which the photograph will rest.
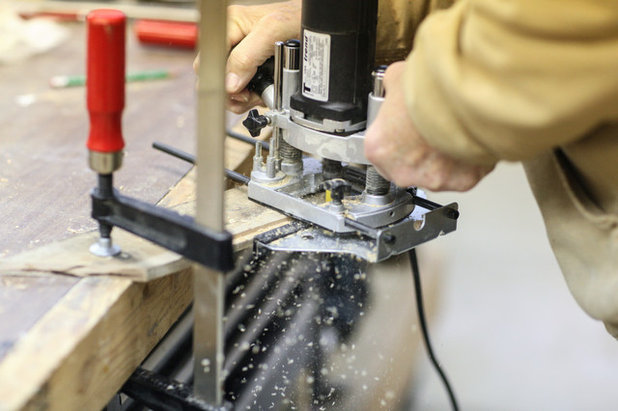
7. Route each board. We used a 1/2-inch router bit and adjusted the router so it was 1/4 inch in and 1/4 inch deep. Route half of the board.
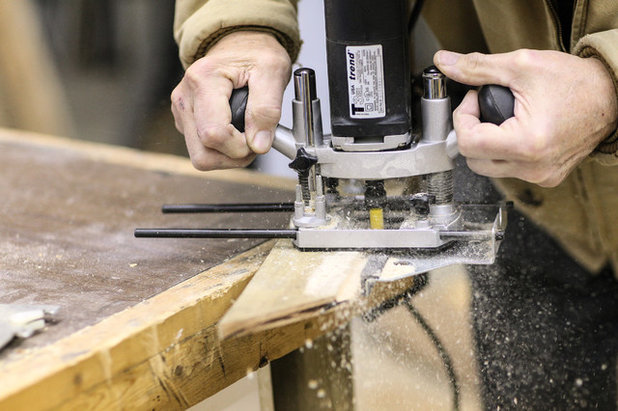
8. Reclamp the board to finish the other half.
Tip: Test the router on a piece of scrap board. Unplug the router before making any adjustments. Make sure you route on the inside edge and back side of the frame.
We cut the boards and then routed, but a better option may be to route the entire board first and then make the cuts.
Tip: Test the router on a piece of scrap board. Unplug the router before making any adjustments. Make sure you route on the inside edge and back side of the frame.
We cut the boards and then routed, but a better option may be to route the entire board first and then make the cuts.
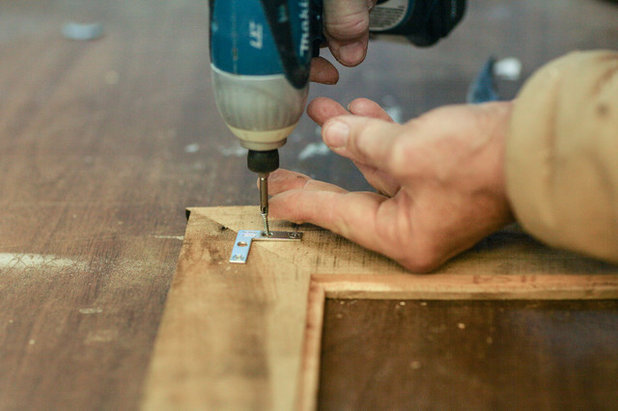
9. Assemble the frames. Drill very shallow pilot holes with a 3/32-inch bit. Use corner braces to attach the sides together. We had to purchase shorter (3/8-inch) screws instead of using the 1/2-inch screws that came with the braces.
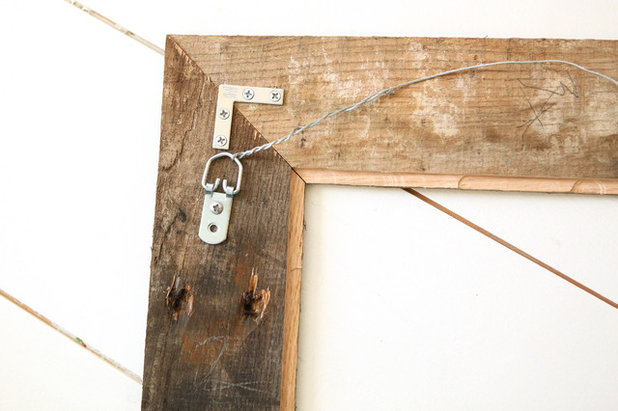
10. Attach the picture-hanging hardware. We used wire and triangular hangers.
11. Insert the picture. I’ll be honest: We tried to use standard picture metal clips inserted in the frame to hold the picture, but this wood was too hard! Instead, we used a few strips of duct tape on the back of the photo and frame.
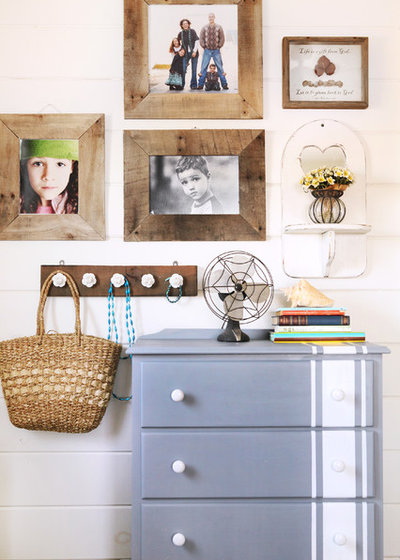
Add more photographs to your gallery wall
Tip: When I get my images printed, I have them mounted on styrene foam boards to make them extra sturdy and have them printed with a matte finish.
Your turn: We’d love to see what you’ve made with reclaimed wood. Please show us below!
More: 14 Power Tools for the Home Shop


KA Builders is a dedicated and innovative remodeling company based in the heart of your city. With our years of... Read More
Related Products

Dream Baths is a complete design-build-remodel firm located in the Historical German Village area of downtown... Read More
Related Stories
Fall and Thanksgiving
DIY: Make a Fresh Magnolia Wreath
Learn how to add a statement piece to your front door with these easy-to-find evergreens
Full Story
Bathtubs
10 Times When Painting a Claw-Foot Tub Refreshed a Bathroom
See how designers and homeowners use colorful paint to give tubs and bathrooms a fresh look
Full Story
Decorating Projects
6 Fun Ways to Decorate With ... Tape?
By Janet Paik
Add a new accent wall, a midcentury closet detail and more with this budget-friendly, multipurpose wonder
Full Story
Decorating Guides
How to Hang a Heavy Mirror
By Erin Carlyle
Here’s what to know about your mirror, wall and hanging hardware to do it right
Full Story

Mother’s Day
Surprise Mom With an Elegant DIY Bouquet
For Mother’s Day, use flowers and branches from your local market or backyard to create this pastel beauty
Full Story

Decorating Projects
12 Projects to Indulge Your Spring Fever
Get busy beautifying your home with one of these budget-friendly DIY decorating projects
Full Story

Entryways
DIY: Corral Your Boots With This Handy Entryway Tray
By Faith Towers
Follow along to make this easy and chic tray to protect your floors when it’s soggy outside
Full Story
Valentine’s Day
Put Together a Romantic and Whimsical Valentine’s Day Bouquet
By Becky Harris
Use American-grown branches and blooms for a truly individual way to show your love
Full Story
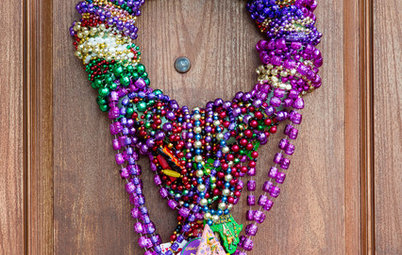
Crafts
Create a Festive, Colorful Mardi Gras Bead Wreath
Reuse collected beads from parades for an easy-to-make front door accent
Full Story
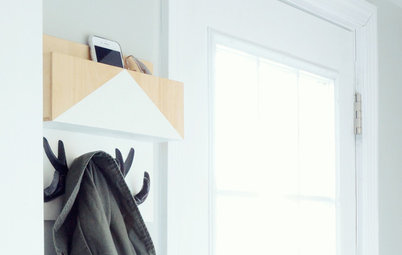
Organizing
DIY: Make a Wooden Wall Organizer to Curb Entryway Clutter
By Faith Towers
Create a hanging catchall for hats, coats, keys and phones
Full Story
Your picture frames look great.I am making some(first time) and I use pine boards that I have cut from our pine trees that we cut down.as i get some made I will post a picture or 2.