


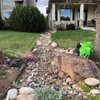
B4 and After Waterfall
madtripper
15 years ago
Sort by:Oldest
Comments (12)
Related Stories
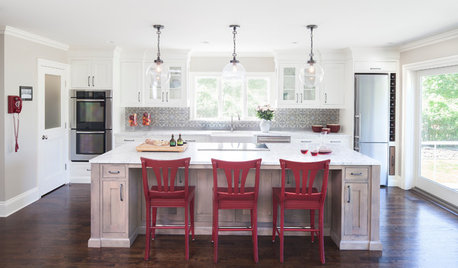
KITCHEN OF THE WEEKKitchen of the Week: The Calm After the Storm
Ravaged by Hurricane Sandy, a suburban New York kitchen is reborn as a light-filled space with a serene, soothing palette
Full Story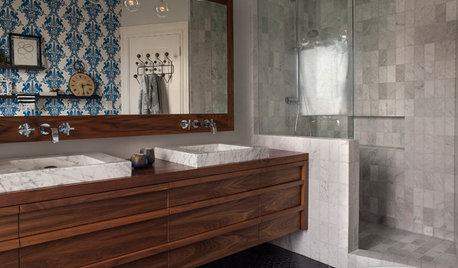
BEFORE AND AFTERSBefore and After: 19 Dramatic Bathroom Makeovers
See what's possible with these examples of bathroom remodels that wow
Full Story
FRONT YARD IDEASBefore and After: Front Lawn to Prairie Garden
How they did it: Homeowners create a plan, stick to it and keep the neighbors (and wildlife) in mind
Full Story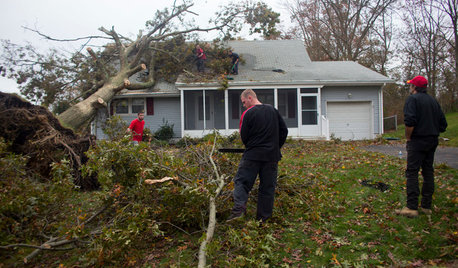
MOST POPULARWhat to Do After a Hurricane or Flood
How you treat your home after a natural disaster can make all the difference in its future livability — and your own personal safety
Full Story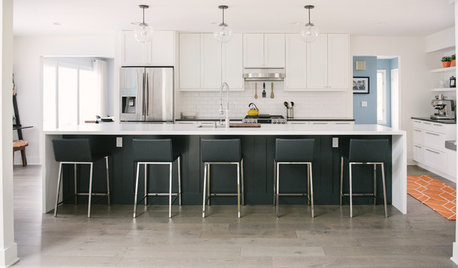
WHITE KITCHENSBefore and After: Modern Update Blasts a '70s Kitchen Out of the Past
A massive island and a neutral color palette turn a retro kitchen into a modern space full of function and storage
Full Story
TRADITIONAL HOMESBefore and After: Beauty and Functionality in an American Foursquare
Period-specific details and a modern layout mark the renovation of this turn-of-the-20th-century home near Boston
Full Story
DESIGNER SHOWCASESBefore and After: See How Rooms Came to Life at the Pasadena Show House
Read the design details behind transformations at the 2016 Southern California showcase house
Full Story
MOST POPULAR9 Real Ways You Can Help After a House Fire
Suggestions from someone who lost her home to fire — and experienced the staggering generosity of community
Full Story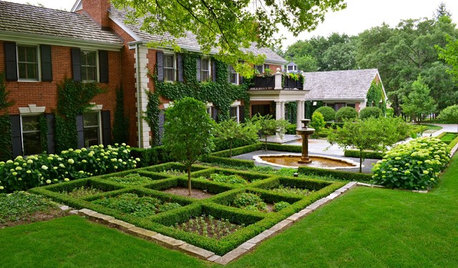
GARDENING GUIDESBoxwood: Still Shape-Shifting After 350 Years
Wild or mild, the humble boxwood still brings style and order to all kinds of gardens
Full Story
DISASTER PREP & RECOVERYHouzz Tour: Family Rebuilds Home and Community After Hurricane Sandy
This restored coastal New Jersey house — now raised 9 feet off the ground — offers inspiration for neighbors considering a return
Full Story
emtnest
gottagarden
Related Discussions
B4 + after- almost complete.
Q
Beginner hosta lover - new bed b4 & after
Q
Doll High Chair B-4 and after
Q
b4 n after
Q
woodyoak zone 5 southern Ont., Canada
harryshoe zone6 eastern Pennsylvania
mjsee
karinl
rhodium
madtripperOriginal Author
mjsee
Prettypetals_GA_7-8
madtripperOriginal Author
Prettypetals_GA_7-8