


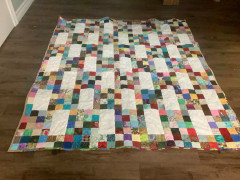
Busy cutting and sewing squares
nannykins
last month
Featured Answer
Sort by:Oldest
Comments (22)
Related Discussions
sewing box cushions--how to make snug?
Comments (24)I realize I'm several years late to this posting, but I think I have a VERY GOOD formula for boxed cushions. Please bear in mind though, I've only used this formula with indoor/outdoor fabric like Sunbrella and Crypton that has little to no give. Okay, so If I had a 24" x 24" piece of foam 3" thick, I would cut my top and bottom plates 24" x 24" (exact width and length of foam). Where I would allow for zipper plaques and seam allowances is in the BOXING (the strip that goes around the cushion). Since my foam is 3" thick, I would cut my boxing strips 4" wide; that gives you a 1/2" seam allowance for the entire cushion. Also, if you find with your fabric that it's still too loose, or too tight, (even though it's a pain) it's much easier just to take off the boxing and either cut it down or a cut a larger strip. Always doing your adjustments in the boxing REALLY saves fabric (and most of the outdoor stuff is "through the roof" expensive as it is). Adding an inch to the boxing always makes the top of my cushions look taught, flat, and plump....See MoreSewing Machine Scam
Comments (7)OK, not 15 minutes after my original post, I was FINALLY able to get through to the Singer Consumer Affairs desk. The district manager of the store that hosted the sale had emailed Singer about my situation. As a result, a Singer Consumer Affairs rep had called me twice this week. I was unavailable both times, but have spent hours today trying to return the calls. The Singer rep listened to my story, and said it lined up with the email she had received from the store district manager. She told me it was not a scam, that Singer wanted to make things right and that she had permission from her manager to offer me an upgraded machine (a CG 550). I was a little leery of her offer ---- after all, I know nothing about sewing machines. (We may as well be dealing in airplane parts here!) She led me to their website and to the photo and specs on the CG 550. She seemed sincere in saying it was a true upgrade and not "a pig in a poke." All I need to do is fax her my receipt and she will mail me a label to slap on that old machine for return. The new machine will be sent to me next week. Since there was no hope of a refund, I took her offer. I hope this ends this little chapter in my sew-sew life. But I still stand by my recommendation to avoid this kind of too-good-to-be-true purchase....See MoreBeen busy lately- sewing
Comments (4)Your pictures remind me of sewing I once did to use up fabric I had accumulated. Every winter I made stacks of shorts and t-shirts in varying children's sizes. In the Spring I gave them to a nun who worked in a very poor section of Cincinnati. She would distribute them to families who needed them. In later years I made all sorts of pajamas for the St. Vincent hotel which took in homeless people, especially families . I double stitched everything as I knew they would be washed every day. Once in a while I used a pattern for a really pretty little girl's nightie and always hoped it gave a tot a happy night....See MoreEasy to sew valance directions
Comments (18)Hi sheesharee, Let me take these in order - Lining fabric is sold at any store that carries home dec fabric. It's usually white or off-white and comes 54" wide. I buy mine on eBay about 20 yards at at time, since I use quite a bit of it. It comes in all cotton, all poly and cotton/poly blends. Joann Fabric has many different linings. Pin your fabric ALL the way around. I use a pin about every 3". You can leave the opening for turning on the top, side or on the bottom. As noted above, if the openings you leave on the sides near the top are large enough, based on the type of curtain rod you are using, these openings may be large enough to use for turning the fabric. The opening that you leave for turning your fabric right side out must be left OPEN. You will choose where to leave your opening - I suggest the bottom or on a side. Wherever you leave it - stitch across the top of your valance using a half inch seam. Stitch across the bottom of it next. Now stitch each side, from top to bottom, using the seam allowance. Doing it in this order reduces the chance of puckering. BUT, you must also leave the openings near the top of each side that will become the openings for your rod pockets. If they are large enough, you do not need to leave another opening to turn the fabric. You can stick your hand in the rod pocket openings to turn it. No, if you do it correctly, the opening that you have left open, when you turn and press your valance, will be folded under by ironing. It will fold in itself as you iron. You simply need to cut the fusible tape to the length of that opening, place the tape inside on top of the folded fabric edge, and press it closed. It will look just the same as the stitched fabric above and below it. I suggest cutting off the selvages, which are the white parts with the writing, before you pin the fabric and lining together. This assures that you will not see that writing through the lining when you finish your valance. You will see in the 3rd paragraph above where I say that I use about 1 1/4 yards of fabric for the length of my valances. This extra fabric is needed for the folds that are created when you tie up the fabric. However, if you are making this for a short window, you can buy less. The center 'drop' on my finished valances after tying them up is generally 20" - 24", but there are folds in that, as you see above in the pic, or in the one below that shows it clearly. I'd always err on the side of it being too long, rather than too short. When it's short it looks skimpy and cheap, IMO. You can tie it up as high or as low as you want, but the folds add richness to the valance. Here is a link that might be useful: see lining fabric here on ebay...See More
nannykins
last monthnannykins
last monthlast modified: last monthnannykins
last monthnannykins
last monthnannykins
last monthlast modified: last monthnannykins
last month
msmeow
last month
geezerfolks_SharonG_FL
last monthmsmeow
last monthgeezerfolks_SharonG_FL
last monthgeezerfolks_SharonG_FL
last month
Char
27 days ago

Related Stories
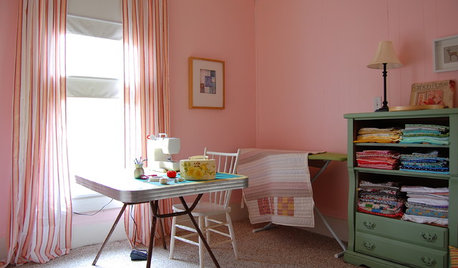
STUDIOS AND WORKSHOPSA Stitch in Time: Creative Sewing Spaces
Sewing rooms have become popular again as people of all ages embrace simple crafts they can do at home
Full Story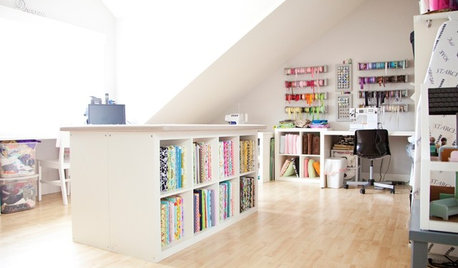
STUDIOS AND WORKSHOPSRoom of the Day: A Dream Sewing Studio for Creative Crafting
A couple make better use of their dead attic space by turning it into a dedicated sewing room
Full Story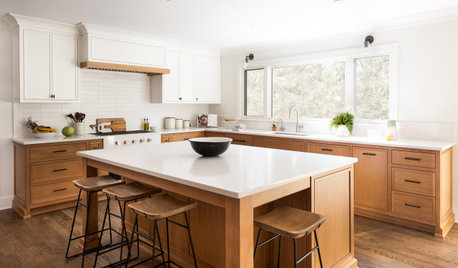
KITCHEN MAKEOVERSKitchen of the Week: White and Wood for a Busy Family of 5
A designer helps a New Jersey couple create a brighter and more efficient space for their active lifestyle
Full Story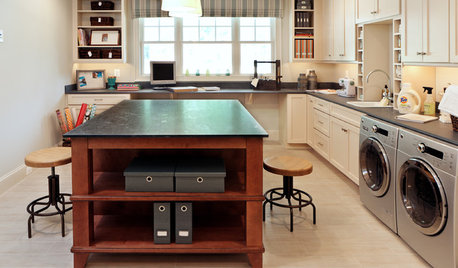
HOME OFFICESSmall-Business Savvy: Set Up a Shipping Station
Packaging and shipping products efficiently is an essential part of your creative business. Is your studio up to the task?
Full Story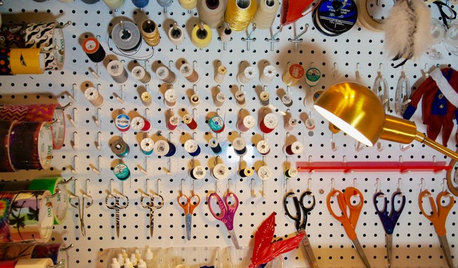
ORGANIZINGRoom of the Day: Cluttered Closet Becomes Tween’s Sewing Nook
A mother helps her 11-year-old daughter create an organized space for her passion
Full Story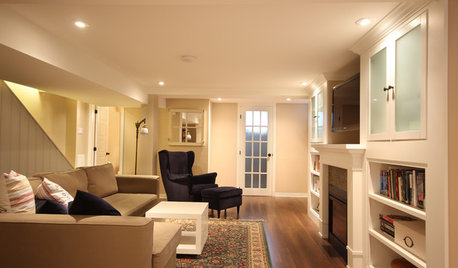
BASEMENTSBasement of the Week: Smart Cost Cutting, Beautiful Results
A stylish multipurpose basement for less than half the usual cost? See the budget-saving tricks that helped this underground space
Full Story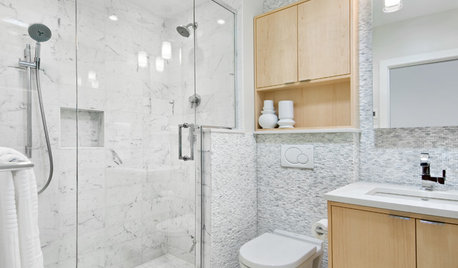
BATHROOM DESIGNBefore and After: 5 Stylish Bathrooms in 40 to 50 Square Feet
Designers use their magic to make these compact spaces feel larger and provide ample storage
Full Story
SMALL HOMESHouzz Tour: Sustainable, Comfy Living in 196 Square Feet
Solar panels, ship-inspired features and minimal possessions make this tiny Washington home kind to the earth and cozy for the owners
Full Story
HOUZZ TVHouzz TV: Fun Family Living in 980 Square Feet
In a place known for going big, a family of 4 opts for creative space savers and subtle luxuries instead
Full Story
SMALL HOMESCan You Live a Full Life in 220 Square Feet?
Adjusting mind-sets along with furniture may be the key to happiness for tiny-home dwellers
Full Story

msmeow