


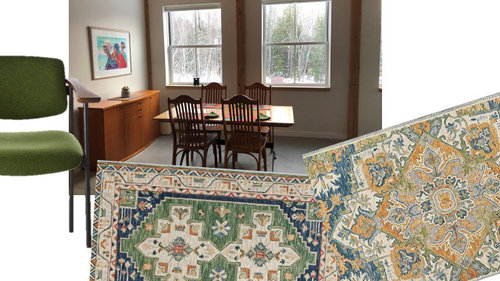
Let's talk about my dining area, it needs a warmth
localeater
3 years ago


Featured Answer
Sort by:Oldest
Comments (21)
Related Discussions
Let's talk about meat rabbits
Comments (44)If skinned properly the skins are pulled off and are like a tube of skin and fir on the inside. We used 1/2" plywood forms to pull the skins onto (fur on inside toward the plywood). We made several different sizes of plywood forms so that the hides were stretched very tight. They were then hung up to dry for about a week to 10 days at which time the fats were pealed off the skin carefully as not to tear the skin. Then we would sell them to a fur dealer who would give us $2 for pure white and for the different colored furs as little as $.50 each. That was good for the late 1950's to early 60's. During the summer I would keep them in large fenced in areas and the feed cost was nothing. We buried the fence 1' deep and 1' flat away for the fenced area like an "L" for a total of 2' under ground. We used several 4'x8' sheets of marine plywood and put these on top of cement blocks so the rabbits had a place the was shaded and gave them cover form weather and hawks and owls. There were many bushes and pines in there for them to nest and hide in also. Only one buck and 20 does were in each 3/4 acre pen. We usually culled the young every 30 days or so and pen raise them to butchering size-about 8-12 week depending on the breed. During the winter only the buck was left in the pens. There was enough food for 1 rabbit for the winter months. Sometimes we would give them so hay if we noticed that they were over browsing the shrubs due to deep snow. They were so much healthier this way. Ma would fry the rabbit that she dipped in her herbal blend of flour mix. After they were 1/2 way cooked she would transfer them to her famous 'Dutch Oven' over low heat and added a cup of cheap wine (MD, it was the brand Charlie Weaver used to push on TV) and of course the cook always saved herself a wee bit of wine to sip on while preparing the rest of the meal. VERY TASTEY-the rabbit I mean....See MoreLet's talk about Lumens - Kitchen Lighting Design
Comments (12)I went to a local lighting store (where I had previously bought fixtures) and got free help with the design. My kitchen is 9.5 x 13 approx., unlike yours I have cabs down both long sides ( one of those sides is shortened by the doorway to the basement steps) so my light is confined to a smaller footprint. I have 5 LED recess kits, 3 on one side with the main counter and sink, 2 on the basement entry side next to the frig and pantry; each 800 lumens I believe (maybe 900) = 3600-4000 lumens, and even dimmed to 75-80%, I have more than enough light for the counters with upper cabs without turning on the UCLs. I really feel that I didn't need all the undercabinet lights -- I rarely turn them on. I am a bit older and really appreciate good lighting -- I go into the kitchen when I need to see small print well. So it seems to me that for your space around 10,000-12,000 lumens would be a ballpark. I have no idea how the use of track lighting for some of that will effect the dispersal and effectiveness of the light, though....See MoreLet's talk about window treatments!
Comments (17)Roman shades don't require very fancy sewing skills, just good measuring and patience and a large working surface for layout and pinning. If you have more will than budget, you can make them yourself for the cost of yardage and the rings, ring hooks, tapes, and cords. You will also appreciate velcro, a staple gun, and a few hunks of wood cut to the right sizes and a weight rod for bottom of each shade. Get a good book from the library, perhaps two or three, since they usually break down the steps differently. There may also be a pamphlet of directions at the fabric store. If you spend more than $50 per shade, you're having too much fun. "Drapery" fabric costs more than fabrics in the regular part of the store. Now that Scotchguard is no longer sold, you don't gain a lot by buying in the drapery dept. except that drapery fabrics are 60 wide, are designed to be seen from a distance and are planned with interior decoration colors in them. Unless you want the drape to admit filtered light, be sure to use a good sturdy drapery lining--this will extend the life of the fabrics by blocking sun that can rot fabric. Personally, I'm going to make my next roman shades from two Marimekko tablecloths from Crate and Barrel. Lots of choices there, even in the "Clearance" section of the website. Once you get to the point of fabric fading or you need a new look, you can buy another fabric, use the old curtain as a prototype, and recycle the rings and tapes if you need to. Don't try to get too tricky on your first roman shade project. Just buy fabric that you really like and can afford. You can make Victorian balloon shades with overlaid fringe trims on your second go-round. The more trims you put on the face of the shade, the more you complicate the folds. Best to start with simple design. If you plan to wash your own romans once or twice a year, be sure to prewash fabric sternly and dry it just in same way as you plan to dry the shade (I dry in open air, never a dryer). When you wash made-up flat panel romans, just untie the knots at bottom of panel and leave the cords strung up. This is sadder but wiser Florantha telling you this--the stringing of the romans is my least favorite part of the project and if I have to restring them, it's a week of adjusting and readjusting knots afterwards if I don't plan ahead. Fabric is the single simplest way to make a change in a kitchen and it allows countless ways to add or subtract "personality" in an interior design....See MoreLet's talk about being afraid to decorate.
Comments (41)gyr_falcon LOL That sounds like my preteen room back in the days of posters all over the walls. melis918, I think part of the problem is there are so many choices to make now that you didn't know about 30 years ago. You named the reasons for that too. The internet and online forums. My advise? Back away from the computer, head to a brick and mortar store and make your choices from what's available in your area. The reason I know this is because, though I don't fear actually doing it, what I do fear is that I'll miss something going on in the virtual world instead of doing what needs to be done in real life. Which is why a couple weeks ago I decided to challenge myself to getting things done that have needed to be done. I'm pleased to say it's working! Here's one of the things that needed to be done that I did. A couple years ago a cleaner leaked under our sink causing the pressed wood floor to swell. Instead of really fixing it, I covered it with some vinyl wallpaper I had to use as shelf lining. Which I don't have a picture of. This is the damage done by the leaky cleaner. It would not have been possible to actually replace the floor as corner cabinets are not full cabinets. They come with the front piece and a square floor piece for the installers (hubby and I in this case) to figure out how to put together. I came up with the idea of piano hinges to attach the front to the adjoining cabinets. Anyway, my solution to this dilemma was to use scrapes of Masonite we had from other projects because of their flexibility. The next picture was before I nailed the pieces in place using our finish nail gun. And here is the finished flooring with peel and stick tile to protect the floor underneath from any future mishaps. I've also done the two shelves in the corner cabinet above where I keep brushes and such needed for washing dishes and the floor of the cook top cabinet with this same peel and stick tiles. Before I'm done with kitchen challenge I'll use them for the recycle cabinet too....See More
localeater
3 years ago
Olychick
3 years ago
Sueb20
3 years agoOlychick
3 years agolast modified: 3 years ago
bbstx
3 years ago
nutsaboutplants
3 years ago
mtnrdredux_gw
3 years ago
pudgeder
3 years ago
tartanmeup
3 years ago
Allison0704
3 years ago
lyfia
3 years ago
Arapaho-Rd
3 years agolocaleater
3 years ago
Fori
3 years ago
rubyclaire
3 years agoArapaho-Rd
3 years agolast modified: 3 years agomtnrdredux_gw
3 years agolast modified: 3 years agobbstx
3 years agolast modified: 3 years ago


Related Stories
TILELet’s Talk Tile: An Alphabetical Guide to Tile Terminology
Get set for a tile project with this handy glossary of shapes, materials, finishes and more
Full Story
GREEN BUILDINGLet’s Clear Up Some Confusion About Solar Panels
Different panel types do different things. If you want solar energy for your home, get the basics here first
Full Story
ADDITIONSA 1930s English House Gets a New Kitchen and Dining Area
The addition respects the home’s era while anticipating the changing needs of a modern family of 5
Full Story
BASEMENTSRoom of the Day: Family Digs In for a Chic New Kitchen and Dining Area
When a homeowner needs to free up kitchen space for her home bakery business, the only way to go is down
Full Story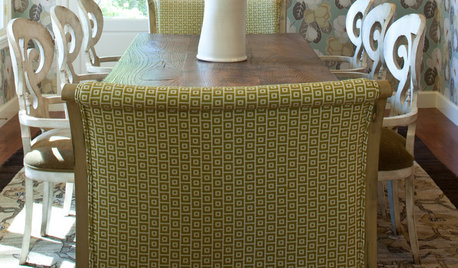
DINING ROOMSExpert Talk: Treat the Eyes to Dining Room Wallpaper
For a visual feast and plentiful servings of style in the dining room, pro designers show how wallpaper fits the bill
Full Story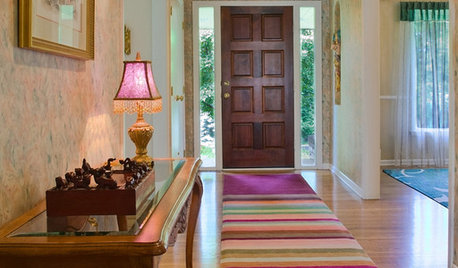
DECORATING GUIDESGet Clever With Area Rugs for Warmth and Beauty
Give feet a soft landing, protect your floor, hide a stain ... with area rugs in your arsenal, you can win any flooring battle
Full Story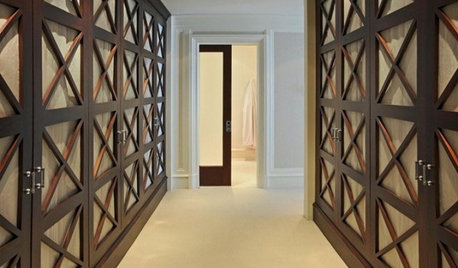
DECORATING GUIDESExpert Talk: Designers Open Up About Closet Doors
Closet doors are often an afterthought, but these pros show how they can enrich a home's interior design
Full Story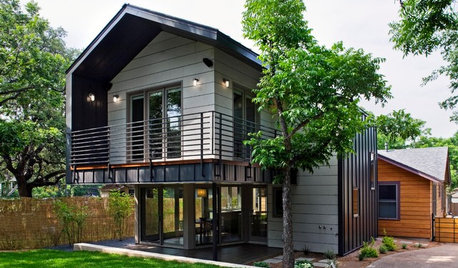
CONTRACTOR TIPSContractor Tips: 10 Home Areas That Likely Need a Pro
Safety, less cost and better aesthetics on a home improvement project may rest in the hands of an expert
Full Story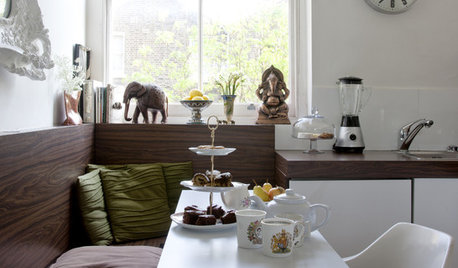
DECORATING GUIDES10 Savvy Ways to Style a Small Dining Area
Bite-size dining spaces don't have to mean scrimping on comfort, eye-catching design or the ability to enertain
Full Story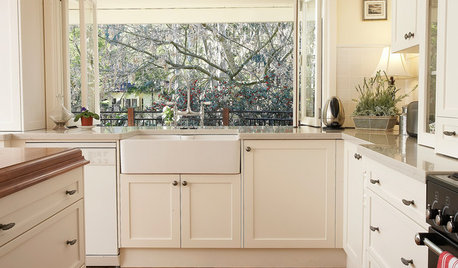
KITCHEN SINKSEverything You Need to Know About Farmhouse Sinks
They’re charming, homey, durable, elegant, functional and nostalgic. Those are just a few of the reasons they’re so popular
Full Story

Jilly