

No Knead Bread Technique
6 years ago
last modified: 6 years ago
Featured Answer
Sort by:Oldest
Comments (27)
Related Discussions
Jim Lahey's Revolutionary No Knead Bread!
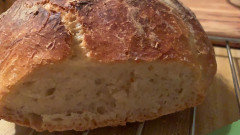
Comments (26)Well, we've made at least four batches of this no knead bread. It's really GOOD! Yesterday morning we turned out our first batch of no knead sourdough bread. It came out very well. I suspected, however, that when they said that one only has to use a 1/4 cup of sourdough starter instead of a 1/4 teaspoon of instant yeast (no mention of baking soda), for this bread, that they were using "fake sourdough." "Fake sourdough," is simply a yeast culture, used like sourdough, but which started with packaged yeast. "Real sourdough" starts out as a "captured yeast culture," without any commercial yeast added. It tends to be stronger than packaged yeast. So, when we did our sourdough no knead bread, we added 1/4 teaspoon of baking soda to the batter. It worked. I might even try 1/3 teaspoon of baking soda, since our sourdough was, well... a little sour. Still, it's good enough that I have to be careful not to eat too much! The beauty of the no knead method is that one can through it together in less than 10 minutes. Let sit for at least 18 hours (I have let it sit 24 hours) and then there's less than five minutes of work before a 1 1/2 hour rise and one pops it in the oven. 45 minutes after that presto! One has a really crispy tasty bread, very much like a good French bread. It's very little work, but one does need to time things. George...See MoreNo-knead bread problem
Comments (22)Hi yes I have used the Bread Machine Yeast in the Challah. They call it rapid rise but it is more like Acitve Dry. Yeast is SO confusing !! This will make 3 braids. There are lots of great YouTube videos of braids. Your DD will love looking at some of them for ideas :) Challah is the perfect bread for grilled cheese sandwiches...never will you find better ! It is also wonderful for French toast and croutons when it gets stale. Bread pudding also. Can't go wrong with Challah. I do have a good whole wheat . I will get it out and type it in. You really need to get your starter going and then make SD with a soaker...that means you take the whole grains and soak them overnight. It accomplishes several things. The most important is that the grains are way more digestible and also you get so much more nutrition from the flours and grains when they interact with the enzymes in the SD and you retard the loaves overnight for the bake the next day. The price for Bob's Red Mill on Amazon is great ! You can also sign up for the regular shipments to save even more. They have the bulk yeast too and all is free shipping. Walmart has the best buttermilk. It is called Bulgarian Buttermilk and has more good bacteria in it . Very thick and wonderful. You can use the powdered or just add vinegar or lemon to milk but it isn't nearly as tasty or thick. I have some great rye breads. Will add those too. Please take a look at Wild Yeast Blog..she has a lot of breads that aren't sourdough also . c...See MoreKnead bread help
Comments (5)I have always liked "How to Bake" by Nick Malgieri, it covers pretty much all things baking. My absolute favorite bread only cookbook is ,"Secrets of a Jewish Baker" by George Greenstein. This is a fabulous bread book. The breads taste fab, and I learned some techniques from this book that I was never able to master before I got it. Like how to do a proper six strand braided challah (or hoska), and how to fold vienna rolls to get the right rosette pattern on top (without using a stamp). And the Hungarian Salt Sticks are fab, my father-in-law says they are just like he remembers when he was a boy. There are plenty of great basics too, from milk bread to Jewish (Sour) Rye....See MoreAnnie's No-Knead Bread!
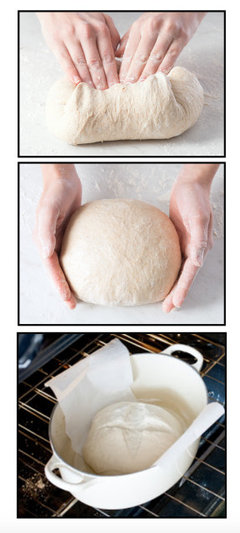
Comments (13)I can't remember what thread it was in originally, but here's the recipe as I copied it. If I got something wrong, maybe Annie will correct it: 3 cups flour 2 teaspoons salt 1 teaspoon Active Dry Yeast 1-1/2 cups room-temperature water Mix all ingredients. Cover bowl (I used plastic wrap) & let sit overnight, 8 - 18 hours. Turn dough out, form into a ball but DO NOT KNEAD. Put on a piece of parchment paper and let rise one hour. 30 minutes into the rising time, put a cast iron Dutch Oven into oven and turn to 450°. When hot, place dough into hot Dutch Oven. Bake with the lid on for 30 minutes, then remove lid and bake another 15 minutes. Cool on rack. And that's it! I think my overnight rise time was about 9 hours. It was nice and bubbly by then....See More 6 years ago
- 6 years ago
- 6 years ago
- 6 years agolast modified: 6 years ago
- 6 years ago





Related Stories
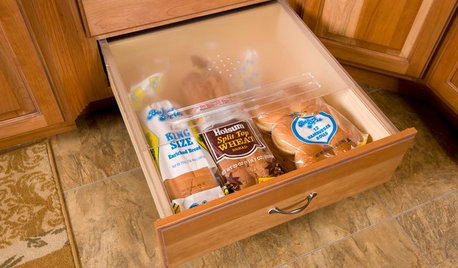
DESIGN POPBakers’ Home Storage Tips for Sliced Bread’s 90th Birthday
In honor of the bread slicer’s debut in 1928, we offer the best bread storage tips since, well ... you get it
Full Story
SELLING YOUR HOUSEHome Staging to Sell: The Latest Techniques That Really Work
Get up to speed on the best ways to appeal to potential buyers through accessories, furniture, colors and more
Full Story
HOUSEKEEPINGHow to Clean Your Cutting Boards
Learn the best techniques for cleaning and sanitizing wood and plastic cutting boards
Full Story
LIFESimple Pleasures: The Joy of Baking
Fill your house with a heavenly scent and your heart with cheer by making time to bake
Full Story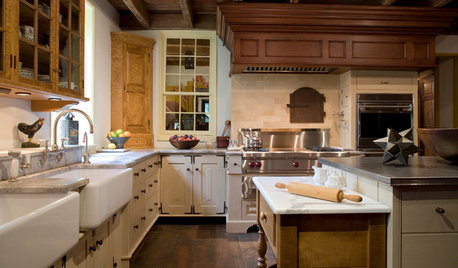
KITCHEN DESIGNHow to Create a Dedicated Baking Station
Avid bakers love having a designated kitchen space. Here’s what to consider when planning yours
Full Story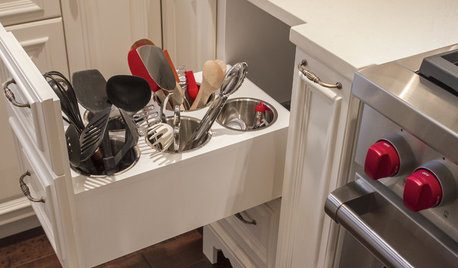
MOST POPULARThe 15 Most Popular Kitchen Storage Ideas on Houzz
Solve common kitchen dilemmas in style with custom and ready-made organizers, drawers, shelves and more
Full Story
PRODUCT PICKSGuest Picks: Set a Beautiful Breakfast Table
Start the day off on the right note with cheery serveware and accessories for kitchen and table
Full Story
COLORColor Feast: When to Use Orange in the Dining Room
Dial up the zest at mealtimes with doses of snappy orange on dining room walls and furniture
Full Story
KITCHEN DESIGNHouzz Call: Tell Us About Your First Kitchen
Great or godforsaken? Ragtag or refined? We want to hear about your younger self’s cooking space
Full Story
SHELTERING AT HOME15 Essentials for the Baker’s Kitchen
You can turn out delicious home-baked goods with ease when you own these utensils, tools and pans
Full Story
annie1992