


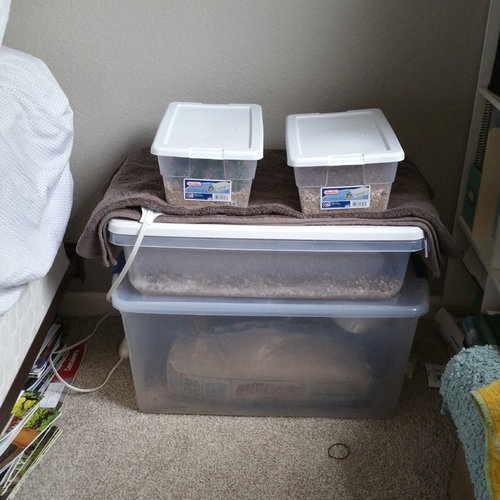
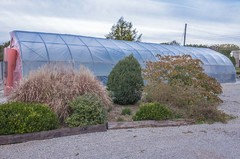
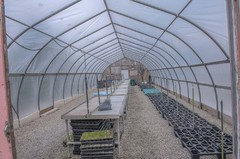
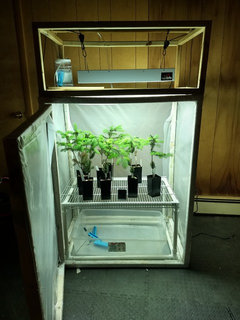
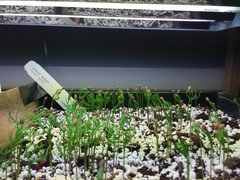
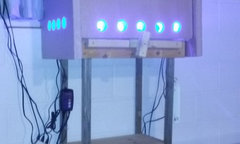
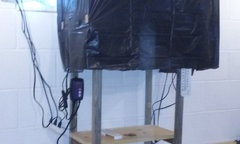
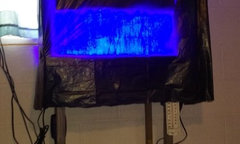
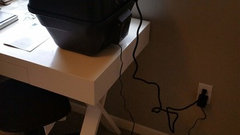
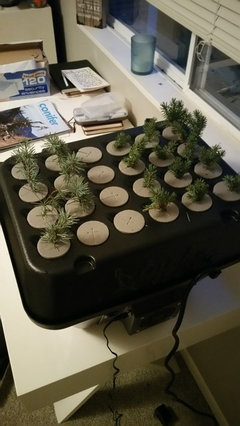
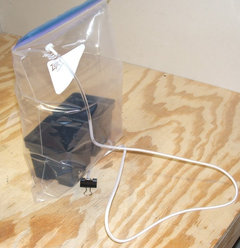
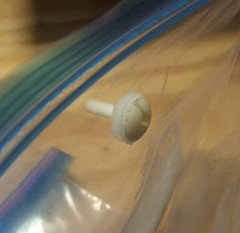
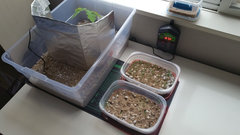
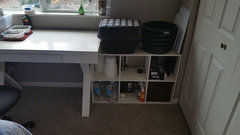
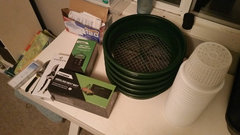
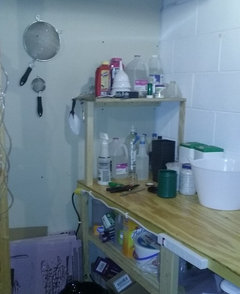
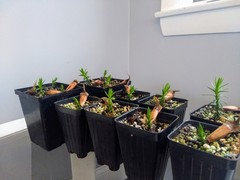
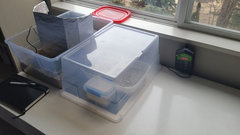
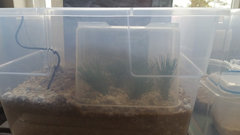
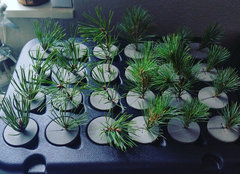
What's your prop stations look like?
Brandon Johnson Zone 5b
5 years ago
Featured Answer
Sort by:Oldest
Comments (80)

User
5 years ago
Jacob Bisharat VA zone 7A/7B
5 years agoRelated Discussions
What does your window look like over your master bath tub?
Comments (17)Well, you sort of have to use your imagination with this photo. It shows the tub location with a moderately sized window right over it. Widow is second floor and overlooks a lake, it's totally private. Put a pleated window shade over it, I think it's Hunter-Douglas? It's a top-down, bottom-up, which is great in a bath. If privacy was a factor, you can use the "bottom-up" feature to just have the shade cover the bottom half of the window, so you still have privacy while still maintaining a bit of the view and a bit of the natural light. In this photo you can see the shade is slightly "bottom-up". Mongo...See MoreQ.O.T.D.: What does your sewing room look like?
Comments (85)Hi, all I have used Garden Web for years for remodeling, never thought to use it for quilting/sewing. I am widowed now, and have 2 bedrooms, one slightly larger than 11x15, serves as a sewing room/guest room. Currently, I have a duplex bed w/frame taking up lots of wall space. My family are all out-of-state and can't visit very often. Perhaps once a year single or couple friends visit. Bed is used only occasionally. I have inflatable queen and twin size mattresses (a couple of years ago, had the family down for Christmas). I'm trying to decide whether to a) lose the bed and rely on inflatables; b) trade the bed for a double or queen-size bed which would gain some wall space, or c) deal with what I have. The room will be repainted soon; there's a very pleasant view outside the window, so the sewing machine stays there. Opposite the window wall is a closet, and a small wicker vanity on a short wall. A wicker dresser (partly seen in pic) and the entry door is opposite the bed wall. I'm left handed, so it's cut, stitch, press; from left to right. I'm looking for a better table/cabinet solution for the area, but this works for now. I'd love room for a 36" cutting table....See MoreWhat does your phone/etc charging station look like?
Comments (19)Are those a thing? HAHAH as above just two of us, two phones...DH charges over night, I charge when I wake, swap the phones out here at the kitchen counter. We have plenty of outlets in our home so not an issue. Back in the day when #1 son purchases his first cell phone I bought this sharp looking wood dresser accessory to hold it, his charger neatly looped into it, wallet..contents of his pockets. Doubt it was ever used. I suggested a friend with many children and a mass of cords and phones she needed to charge, remove from kid hands over night, convert an old roll top bread box to hide the mess....Again sometimes I think the organization takes more time than its worth....See MoreSW white heron, what does it look like in your space?
Comments (40)Isn't it wonderful that we all get to choose how we spend our free time? I have been painting with oils and acrylics for 50 years. I love color. I love studying the science of color, the emotional impact of color, how color impacts our mental health and how color measurement differs from the human perception of color. I enjoy understanding color trends and how they relate to our economy and social structure. I don't look at this as work, it is simply something I enjoy, like baking pastries from scratch, canning fruits and making home made jam, growing roses that have amazing scents, making my own candles and soaps and playing with fragrances, playing with my dog or renovating my home. You must have other interests that are more interesting and provide you with more joy than mixing paint colors to get that illusive shade that is just not quite what SW or BM have decided to produce....See Moresc77 (6b MA)
5 years agolast modified: 5 years agoUser
5 years agoJacob Bisharat VA zone 7A/7B
5 years agosc77 (6b MA)
5 years agolast modified: 5 years agoJacob Bisharat VA zone 7A/7B
5 years agoUser
5 years agodeltaohioz5
5 years agoUser
5 years agolast modified: 5 years agoUser
5 years agoUser
5 years agolast modified: 5 years agoUser
5 years agosc77 (6b MA)
5 years agolast modified: 5 years agosc77 (6b MA)
5 years agolast modified: 5 years agoJacob Bisharat VA zone 7A/7B
5 years agoUser
5 years agolast modified: 5 years agoJacob Bisharat VA zone 7A/7B
5 years agoUser
5 years agoUser
5 years agoUser
5 years ago
Brandon Johnson Zone 5b
5 years agoUser
5 years agoBrandon Johnson Zone 5b
5 years agoUser
5 years agoBrandon Johnson Zone 5b
5 years agoUser
5 years agoBrandon Johnson Zone 5b
5 years agoUser
5 years agoUser
5 years agolast modified: 5 years agogarcanad
5 years agoconiferbros
5 years agoUser
5 years agoBrandon Johnson Zone 5b
5 years agoUser
5 years agoBrandon Johnson Zone 5b
5 years agoUser
5 years agolast modified: 5 years agoBrandon Johnson Zone 5b
5 years agoUser
5 years agoBrandon Johnson Zone 5b
5 years agoUser
5 years agosc77 (6b MA)
5 years agoUser
5 years agoBrandon Johnson Zone 5b
5 years agoBrandon Johnson Zone 5b
5 years agoBrandon Johnson Zone 5b
5 years agoUser
5 years agoBrandon Johnson Zone 5b
5 years agosc77 (6b MA)
5 years agoUser
4 years ago


Related Stories
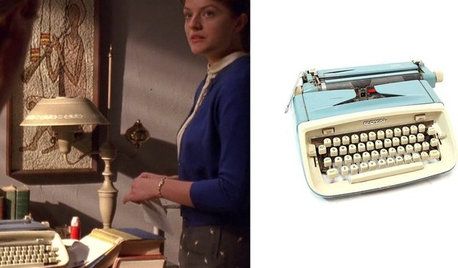
MIDCENTURY STYLEWhich ‘Mad Men’ Prop Would You Like for Your House?
Fancy a pair of Don Draper’s office chairs or Peggy’s blue typewriter? Vintage props from the TV show are up for auction
Full Story
HOLIDAYS9 Ultimate Gift Wrapping and Crafts Stations
Ribbons spooling through an open door; colored paper nipping at your nose — workstations like these make the holiday season even brighter
Full Story
DECORATING GUIDES12 Ways to Style Your Interior Photos Like a Pro
For great home photos, declutter, prop well, and tell a little story
Full Story
KITCHEN DESIGNHot Ideas and Tips for Coffee and Tea Stations
Let options like drawer inserts and built-in coffeemakers percolate now, so your hot-drinks station can best serve holiday guests
Full Story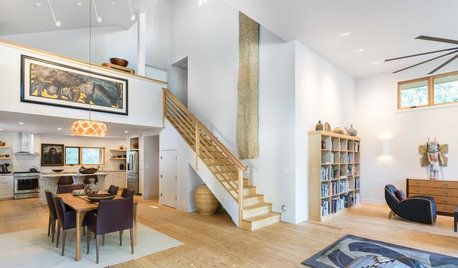
ECLECTIC HOMESHouzz Tour: Renovation Breathes New Life Into a Fire Station
A decommissioned fire station becomes an energy-efficient, clean-lined home with a separate apartment
Full Story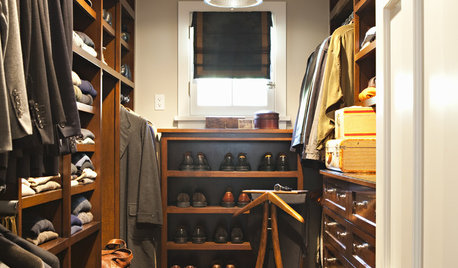
STORAGEMan Space: A Guy Likes a Nice Closet, Too
If clothes make the man, shouldn't a man make a great space for the clothes? Take inspiration from these dream closets for dudes
Full Story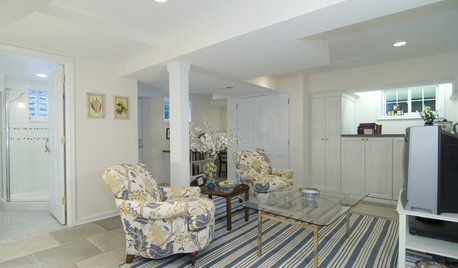
BASEMENTSBasement of the Week: Guests Get a Cottage-Like Stay
Converted to a comfy space with a full bath, a bedroom and extra amenities, this Maryland basement is great for visitors and the owner alike
Full Story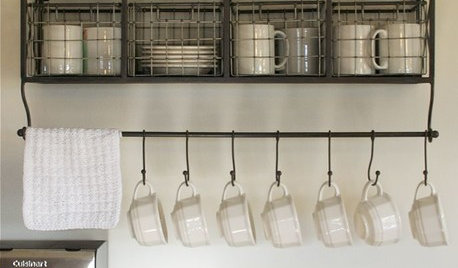
KITCHEN DESIGNHot-Drink Stations Hit the Spot
Beverage bars brimming with cocoa, tea, coffee and all the accoutrements make winter entertaining a delight
Full Story
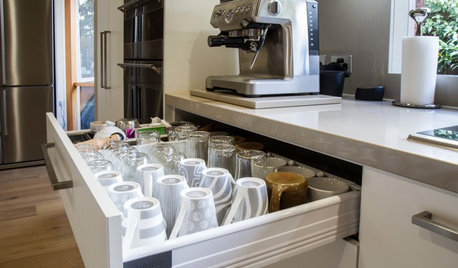
KITCHEN DESIGNToday’s Coffee Stations Have All Kinds of Perks
Some of these features are so over the top that they will give you a jolt
Full StorySponsored


Brandon Johnson Zone 5bOriginal Author