


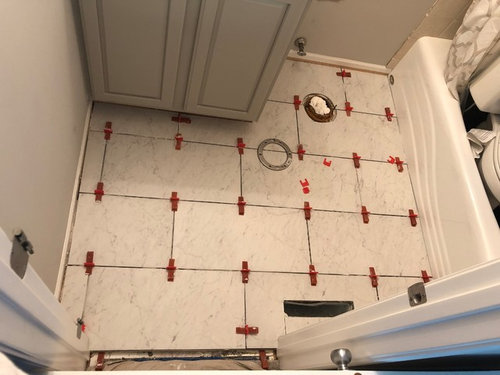
Bathroom tile spacing - even or slivers?
Samantha S
5 years ago
Featured Answer
Sort by:Oldest
Comments (21)
Related Discussions
Space Between Bathroom Tiles Widening?
Comments (14)Thanks for the pictures. Big help. Is the row of tile going up the wall by the window plumb and is the bottom row level? I suspect one is out of whack and when you set the new tiles perfectly plumb, it highlighted the problem. It's hard to tell by the picture but there looks to be a big gap in the corner which could be a caulking issue down the road. I would have started on the right edge with 1/2 or 3/4 of a tile so there would be a tighter fit in the left corner. IMO, if you aren't prepared to rip the wall down to studs and start over, finish tiling and live with the fat grout line. As you go up, nudge the tiles over to close the gap....See MoreBathroom Reveal, Thanks to the Bathroom and Remodel Forums! (pic
Comments (56)This old thread got revisited. @dani_m08 to answer the question about extra probe, I believe I ordered an extra one when I bought the set up. The probe wire is just setting in the junction box I think but honestly I cant remember. When I laid out the underfloor heating and the probe, I just ran another probe near the first probe, and it was then sealed into the floor self leveling compound as per instructions. then the end was just threaded into the wall like the one that would be live, and not connected, but just laying there in the box. Regarding the tile layout. I just decided to run it this way, after getting instructions on the 90Degree way, IIRC. The herringbone that I love is from my childhood and the side walks in my neighborhood that all ran at 45Degree. so that to me is herringbone. I know you posted on @sochi thread about her amazing bathroom and a wall mounted faucet. I would totally do it if I had the right sink for it. In my case I had made my sink out of soapstone and an integrated backsplash. The pictures of this bathroom reveal are no longer available because of the use of photo bucket, when it was Gardenweb. I did not keep my account with photo bucket. I'll add some of the reveal pictures so you can see the sink and floor. Regarding the sink there is no ledge for water to drip from my hands when using the faucet. The water drips right into the sink. In my other bathroom with a deck mounted faucet I am always wiping up drips and it is a nuisance. I much prefer the setup for this sink. Below: I love the flush finish from the faucet to the bottom of the sink. nothing drips on a counter or edge of a sink. Below: looking in from the doorway. Below: Here I am finishing up the sink. the backsplash was epoxied on as a separate piece. The whole soapstone install in the room took next to nothing to buy as they were all small pieces that I epoxied together with a 3 part stone epoxy. Below: this is the counter at the tub, and is in 2 long pieces but I was able to epoxy them together at there edges to make a wide slab for the top. All the soapstone was finished with a 60 grit sandpaper to be rough and this lovely soft tone of blue/green/gray/white. I did not oil it so this color tone would remain light. Below: If I recall correctly @sochi helped me decide on this Hubberton Forge Mirror. I have 3 different metals in this room, but they are all a cool silver to black color. Below: the center of this tower shares space with the kitchen on the other side of the wall. there is also some extra space that houses some electrical wiring. this is an old simple house. this bathroom was an add on when it got move to the farm in the 30s IIRC. The plumbing was all rearrange and some of the details that were orignially there I kept but updated it, such as this tower feature. The old one went and the carpenter did a wonderful job with this one. Below: This feature was another thing I kept from the old bathroom but flipped it from the other end and had the carpenter put drawers in it. Before it was a hell hole. things got lost and the build was soooo old and creapy I didn't like using it for storage. Now it is perfect for storage....See MoreSoldering in a tight space in bathroom wall
Comments (5)@homebound-- The spout is part of Kohler set that matches shower and sink (Reflections or something like that). The spout is 3/4 threaded female. @brickeye-- I hope not, since there really isn't an access panel to speak of--it's the ceiling of the kitchen; would involve taking out a track light, taking the drywall piece out, and and putting the drywall piece back in after, all a huge hassle. It would be easier just to take the wall out in the hallway and go in from there. But still, I'm hoping there's an easier way. This is 1-inch glass tile that came in 12 x 12 inch sheets. Maybe it would be possible to zip out a few tiles around the current hole to give us enough room to turn a wrench one time around a compression valve, which is preferable to soldering, I think, since we put tar paper in as a moisture barrier, and I'm afraid it would catch fire. We just laid the tile a few ago weeks and the grout last week. We've never done this part of a bathroom before, so it just didn't occur to us beforehand. Uggh. Thanks!...See MoreHELP-Bathroom Shower Subway Tile Advice
Comments (5)They're 1/3 offset, so of course every third tile will be quite small. It looks like your right wall isn't quite plumb, so they did the best they could to make the pattern work. The actual laying and the matching of middle and side walls looks excellent. This is a great time to use tile-matched grout, though, instead of something with a lot of contrast. Old houses don't do well with finish choices that play up their imperfections......See More
Samantha S
5 years agolast modified: 5 years agoSamantha S
5 years agoSamantha S
5 years ago PRO
PROCreative Ceramic & Marble/ Bill Vincent
5 years agoSamantha S thanked Creative Ceramic & Marble/ Bill Vincent


Related Stories

TILEHow Tiny Tiles Can Elevate Your Bathroom’s Style
Thanks to their ability to add texture and subtle pattern, petite hexagonal and penny tiles may be here to stay
Full Story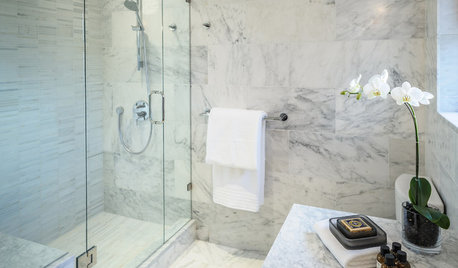
BATHROOM DESIGNConvert Your Tub Space Into a Shower — the Tiling and Grouting Phase
Step 3 in swapping your tub for a sleek new shower: Pick the right tile and test it out, then choose your grout color and type
Full Story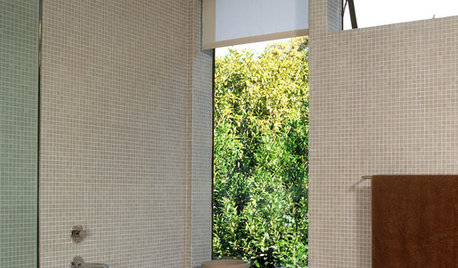
BATHROOM DESIGNFloor-to-Ceiling Tile Takes Bathrooms Above and Beyond
Generous tile in a bathroom can bounce light, give the illusion of more space and provide a cohesive look
Full Story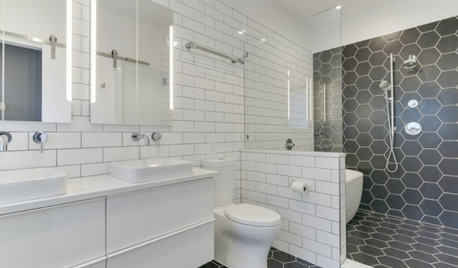
BATHROOM MAKEOVERSBathroom of the Week: High-Contrast Tile and a New Layout
Clever design choices and a wet room layout make good use of space in a compact main bathroom
Full Story
BATHROOM MAKEOVERSPink Tile Charms in a Family Bathroom
Seattle designers craft a space that’s classical, practical and charming
Full Story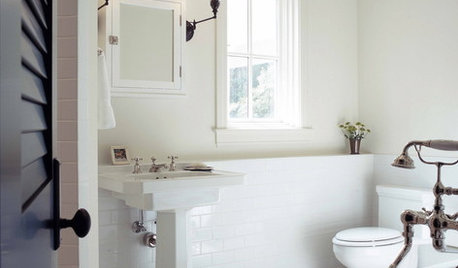
BATHROOM DESIGNSubway Tile Wainscoting Puts Bathrooms on the Right Track
It repels water. It looks clean. It works with many architectural styles. Looks like bathrooms have a ticket to a no-brainer
Full Story
BATHROOM DESIGNBathroom of the Week: Pamper-Me Features and Marble-Like Tile
An Orlando, Florida, couple’s former cramped, dated master bathroom gets an elegant, contemporary update
Full Story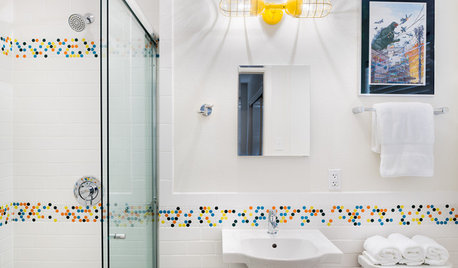
ROOM OF THE DAYRoom of the Day: Vibrant Retro Tile Adds Pizazz to a Small Bathroom
Playful colors punch up a clean white backdrop in a 1950s ranch house
Full Story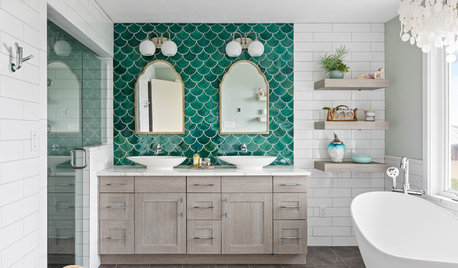
BEFORE AND AFTERSGreen Mermaid Tile and a New Layout Boost a Dated Pink Bathroom
This now-airy Whidbey Island bathroom features a soaking tub, a walk-in shower, heated floors and an expanded water view
Full Story


Creative Tile Eastern CT