


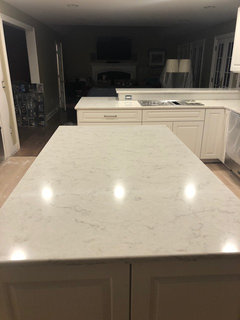
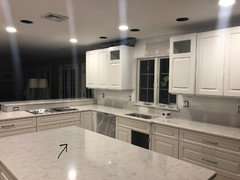
Faint straight line on my new quartz island. Any idea what it is?
Sandra Durante
5 years ago
last modified: 5 years ago
Featured Answer
Sort by:Oldest
Comments (40)
 PRO
PROBeth H. :
5 years ago PRO
PROJoseph Corlett, LLC
5 years agoRelated Discussions
How do you get that perfect straight line?
Comments (42)For me, the answer has been lots of practice over the years plus lots and lots of patience. Cutting in takes time! (For me, at least.) Like paintguy, I don't use tape; I did when I first began painting, but it quickly became apparent that, unless the two planes met at perfect right angles and were straight to begin with, I was giving myself a non-straight line to follow. Not to mention, unless I followed the joined area perfectly, which I could not seem to do, I'd have many touchups to do anyway. In the end, it was faster just to do the job without tape. Unlike paintguy and like moonshadow, I use an angled (Purdy) brush. The width doesn't matter to me, although I do use narrower brushes for tighter areas. My technique sounds very similar to moonshadow's as well. I also hold the brush so that I'm applying a bit more pressure to the bristles that are applying paint to the actual cutting-in line and less pressure to the bristles on the other side of the brush. This helps to naturally feather paint onto the wall (or ceiling). I just finished cutting in a 30 foot line of wall paint that abuts an angled ceiling. Honestly, really truly, I don't plan to redo any of it. It looks very good! A few more tips: after you've finished an area and have new paint on your brush, you want to paint into the paint that's already been applied, that is, do not paint a section, then start there and paint the next section. Instead, paint a section, then start at the END of the next section and paint BACK toward and into the previously painted bit, feathering lightly into the previous bit. To paint section by section back into previously applied paint, I have found that it's much easier to paint the cut-in line as a whole by working away from the direction of your dominant hand. Thus, since I am right-handed, when I started the cutting-in line on that 30 feet of wall, I started at the right corner and ended up at the end of the job at the left one, while painting each section from left to right. Had I been left-handed, I would have started at the left corner and ended up at the right one, painting each section from right to left. Another tip is that it can sometimes help a lot to find something to rest your brush hand on as you work. In the case of the room with the 30 foot wall, I had the tops of molding to two windows and a double door's top molding. As I painted, I used the molding to steady the side and palm of my hand on the pinkie finger side. We did the wall by painting it first and then cutting in (people usually do the opposite -- cut in and paint, I think). Thus, to keep the paint on the still-uncured wall clean and unmarred, I steadied myself where there was no molding by VERY lightly using the tips of the fingernails of my left hand to stabilize myself....but only if necessary. Far better not to touch the wall at all. Regardless of whether wall (or ceiling) had already been painted or not, if you do have to touch it for any reason, try to do so with the back of your hand, and lightly only. Generally the back of the hand is less dirty than the front and reduces the chance you'll get fingerprints on your surface. When painting anything, I usually have a very wet paper towel at hand. When cutting-in at ceiling height, I usually keep it on the top of a ladder. If I do use it to clean up a mistake, I'll leave that area alone until completely dried and go back and touch up later on. Another tip: to really reduce any difference in the appearance of paint applied with roller on wall or ceiling vs. the cut-in area, after the cut-in paint has dried, I'll follow the whole thing with a small roller. With a steady hand, it's possible to get within a fraction of an inch of the cut-in line. And again, as when using an angled brush to cut in, I apply slightly less pressure on the roller's outer edge. And again as well, I work section by section back into a previously painted section. I also agree with paintguy about painting wall paint on the ceiling. I initially tried edging the wall-ceiling joint precisely. In the end, it was much easier to go a tiny fraction onto the ceiling. I estimate I did it by maybe an eighth of an inch, if that. From floor level, you can't tell at all. Teeny artist brushes -- I now use those only in corners, where two surfaces are not straight, and in cases in which I must not get paint on a surface. Example: I had to cut in with the wall paint around the end of a stained, curved stair tread. I will be using one (along with a regular angled brush) when I paint a vertical piece of floor-to-ceiling molding that separates one of the walls in the room we're painting from a stone wall. The molding on the stone side was cut with a jig saw and follows the curved, natural line of the stones. Thus, I can't just use an angled brush along that edge. Whomever did the job initially painted the grout or caulk or wood fill or whatever it is along the stone (sigh), so now I'll have to do the same. Since I don't want paint on stone, I'll meticulously follow the previous paint job, using a tiny brush. I actually had to do something similar when painting the master bedroom. Went from white walls to a mushroom color. The room has 16 wood ceiling beams set into the walls. Thus, two coats of wall color and 16 beams X 2 (beams ending in two walls) is the equivalent of 64 beams as it were! And of course, because the beams are set into the walls, there were three sides to each beams -- left, right, and bottom. To make it worse, on one wall, 5 beams were over an open stairwall. That part was a bit of a challenge....Suffice to say I am never repainting those walls!...See MoreThe tile guys scratched my new quartz countertops!
Comments (21)you feel like you and your family should be the ones to make the first scratch, ding, gouge, or stain! Ain't that the truth! It still bugs me how cavalier my GC was when I pointed out all of the plaster splatters on the existing woodwork and doors just outside the kitchen (the plaster splatters left by the plasterers). I asked "what about cleaning that up?" GC: "Oh, that'll come right up." Well, it had been sitting on the stained wood door for two weeks by then, and the water in the plaster soaked into the wood and left a noticeable patch. Luckily the painter was able to fix it so it's not so noticeable. And the worst part is that I would have cleaned it up *myself* if DH hadn't kept saying "that's what we're paying the GC for--to take care of everything." HA! The blessing is that DH knows better now not to prevent me from taking care of things when I've got a mind to do it....See MoreHelp! My new front yard is UGLY! Any ideas appreciated!
Comments (5)You have a great house and it deserves something special. I'd recommend that you take an hour and browse photos from: http://www.deborahsilver.com/blog/category/container-planting/ She'll give you ideas. That entrance of yours is crying out for extraordinary pots....See MoreStraight lines vs curved lines in gardens
Comments (79)Here are some paths and designs that I like... obviously very large gardens, but I think you can take these ideas and place them in a smaller garden... ..in this photo the shingled path is straight but softened with edging plants, and the path is tapered towards to end, which draws the visitor to it, I think... ..the same view 10 days later..... I like the way the blue Geraniums have now been replaced by the pink ones... but the yellows still draw me to the end of the path... ..another garden, another example of how I like to be drawn forward.... the very straight path narrowing in the distance to what appears to be a pair of dark green pillars.. ..but it is in fact a Hop covered archway, the path softened and the gazebo enticing the visitor forward... I like this one very much... and I think could be replicated in a small garden... ..with a grass path, I like to see curves with plantings that hide the view ahead... and absolutely no spillage onto the paths... I don't like to see that with grass... preferring a nice clean sharp edge.. ..with high straight walls, I think it's important to bring the borders outwards towards the centre... but I don't like these island beds here... although they serve a purpose in this particular garden... ..finally, I rather like the way the hedges here have been shaped to invite the visitor to take a turn right or left... it flows and I find it relaxing... and I wouldn't like it if it was sharp... ...hope you found something of interest in those......See More
Sandra Durante
5 years agolast modified: 5 years agoSandra Durante
5 years agoDonna E
5 years agowilson853
5 years agoSandra Durante
5 years agoSandra Durante
5 years agolast modified: 5 years agoSandra Durante
5 years agoSandra Durante
5 years agolast modified: 5 years agoUser
5 years agoSandra Durante
5 years agoSandra Durante
5 years ago PRO
PROAqua Kitchen and Bath Design Center
5 years ago- PRO
Joseph Corlett, LLC
5 years agolast modified: 5 years ago Sandra Durante
5 years agolast modified: 5 years agoSandra Durante
5 years agolast modified: 5 years ago- PRO
Joseph Corlett, LLC
5 years ago 
Sammy
5 years agoSandra Durante
5 years agolast modified: 5 years agoSammy
5 years agoSandra Durante
5 years agolast modified: 5 years agoSandra Durante
5 years agoSandra Durante
5 years agolast modified: 5 years ago- PRO
Joseph Corlett, LLC
5 years ago Sandra Durante
5 years agolast modified: 5 years ago
Judy Mishkin
5 years agowilson853
5 years agoJudy Mishkin
5 years agoJudy Mishkin
5 years agoSandra Durante
5 years agoSandra Durante
5 years agoJudy Mishkin
5 years agolast modified: 5 years agoSandra Durante
5 years agolast modified: 5 years agoJudy Mishkin
5 years agoSandra Durante
5 years agoSandra Durante
5 years ago


Related Stories
KITCHEN ISLANDSNew This Week: 3 Kitchen Island Ideas You Haven’t Thought Of
See how a custom, personalized feature on an island can change your kitchen’s look, feel and function
Full Story
KITCHEN ISLANDSNew This Week: 8 Cool Kitchen Island Ideas
Consider a shelf for laptops, an industrial steel dolly, a wood table on casters and other fun kitchen island designs
Full Story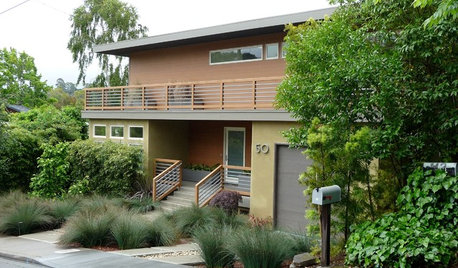
HOUZZ TOURSHouzz Tour: An Ecofriendly Family Home Gets in Line
Without any curved lines but with a wealth of energy-efficient features, this remodeled home in Northern California has plenty of appeal
Full Story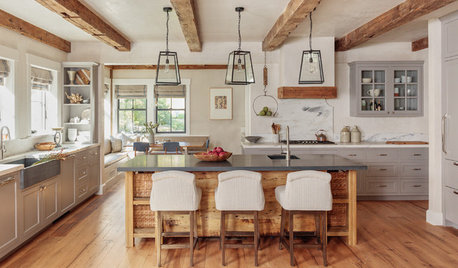
KITCHEN ISLANDSThe Pros and Cons of Kitchen Islands
Two designers make the case for when adding a kitchen island is a good idea — and when it’s not
Full Story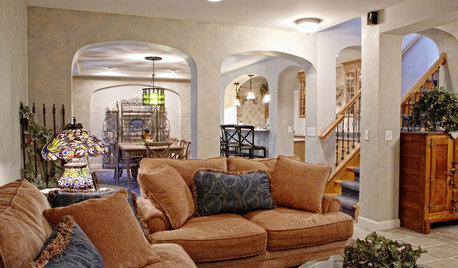
DECORATING GUIDESSet the Right Mood With the Right Lines
Soothe with curves or go straight-up efficient. Learn the effects of lines in rooms to get the feeing you’re after
Full Story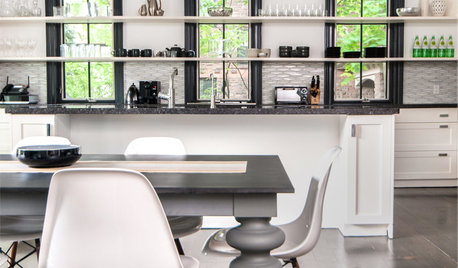
MOST POPULAR8 Beautiful Ideas for Floating Shelves
Get clean-lined storage and display on walls, over windows and in nooks using versatile floating shelving
Full Story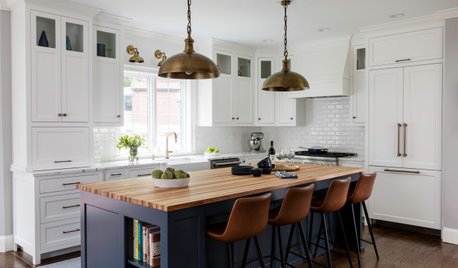
KITCHEN ISLANDS10 Ways to Refresh Your Kitchen Island
Give this key feature a style overhaul with new paint, trim or other decorative details
Full Story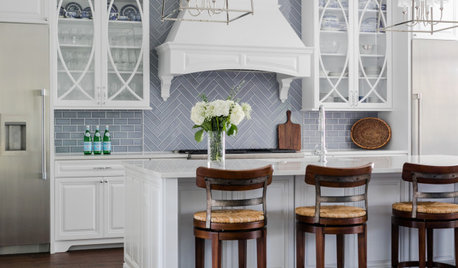
KITCHEN DESIGN10 Terrific New Ideas for Wrapped Range Hoods
See how designers use various materials and ornamentation to play up or play down a covered kitchen range hood
Full Story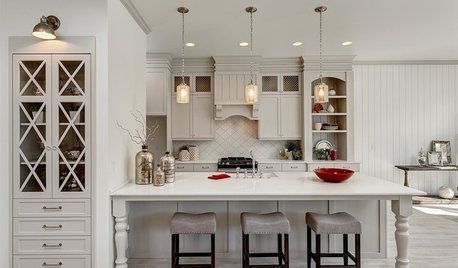
KITCHEN DESIGN12 Designer Details for Your Kitchen Cabinets and Island
Take your kitchen to the next level with these special touches
Full Story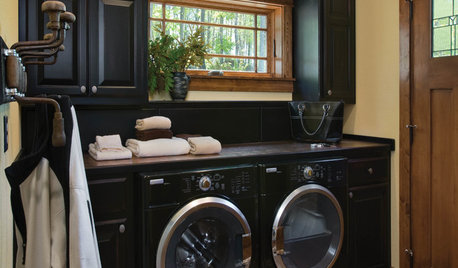
LAUNDRY ROOMSTop 10 Trending Laundry Room Ideas on Houzz
Of all the laundry room photos uploaded to Houzz so far in 2016, these are the most popular. See why
Full Story

Sandra DuranteOriginal Author