


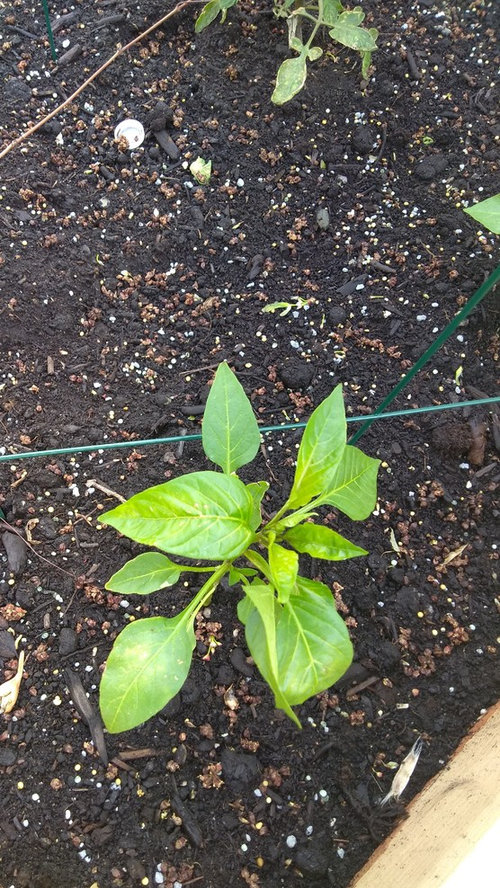
What in the ham and eggs is going on with my plant! First timer. Help!
April Long
6 years ago


Featured Answer
Sort by:Oldest
Comments (12)

April Long
6 years agoRelated Discussions
New Gardener - First Timer questions on what to plant
Comments (6)The watering issue has been covered, now as for what to plant, that's easy. Plant cool stuff! What's cool? Anything you like. Not everything does well in a container, but almost everything does. Containers are a great way to ignore the pitfalls of your soil. Want to grow a super acid soil loving plant, but don't have super acid soil? Grow it in a container. Want to grow a plant that needs dry soil, but get too much rainfall? Grow it in a container with a super fast draining mix. Want to grow a water plant, but don't care to install a pond? No problem, just fill a container with water and plant away. I love gardening in the ground and place a premium on building quality soil, but the fact is my soil/climate simply will never allow me to grow some things I think are cool, but containers will. Containers are a way to push the envelope way beyond what is possible in the ground in one's area. Do you love the look of a tropical plant that would never survive your winters? No problem. Grow it in a container and drag it indoors for winter. If you have some ground you can grow in, do so. Save the containers for those things you can't get away with in your ground/climate. Just something to consider....See MoreMy first egg
Comments (5)Yep, TR Forester, I keep chickens. Pamela thanks for the link, I will check that out! The biggest reason I built the tractor was to remove some of the large insect population in my yard. I also compost (where I know Forester from) and have a whole new population of insects related to that. I really want less snails, slugs and pincher bugs. All the rest of them gone is a bonus! To get the ground really vacuumed, I move the tractor every day. It is amazing what they will do to an 8X10 patch of ground in 24 hours! I only have five chickens, and they are so well fed from the environment, it is tough to get them to eat kitchen scraps. Might help if I had a few more, but I don't so I'm working with what I have. Silly girls are out eating cherry tomatos off the vine, but wouldn't touch them when they came out in the scrap bucket. Steep learning curve for me here....See MoreFirst timer here . . . can you please double check my process
Comments (11)Many "landscapers" and some "horticulturists" will come in and plunk down a thin layer of soemthing they call "topsoil" and plant and then for the next several years you try, diligently, to keep the plants from dying spending a lot of money on fertilizers and sprays to keep insect pests and plant diseases from consuming those plants. Better is to take the time now to make the soil you have into a good, healthy soil that will grow strong and healthy plants that can better resist insect pests and plant diseases. Your soil should be well endowed with organic matter so it is evenly moist but well drained. While animal manure can add nutrients it does need more vegetative waste to help hold those nutrients in the root zone and provide a home to the Soil Food Web that will be feeding those plants. If your soil is sand the organic matter will fill in the very large pore spaces between the sand particles which will help hold both nutrients and moisture in the soil. If you have clay soil that same organic matter will open up spaces between the soil particles so your plants roots can move around and find both the nutrients and moisture that are now more readily available. Perhaps these simple soil tests might be of some help. 1) Structure. From that soil sample put enough of the rest to make a 4 inch level in a clear 1 quart jar, with a tight fitting lid. Fill that jar with water and replace the lid, tightly. Shake the jar vigorously and then let it stand for 24 hours. Your soil will settle out according to soil particle size and weight. A good loam will have about 1-3/4 inch (about 45%) of sand on the bottom. about 1 inch (about 25%) of silt next, about 1 inch (25%) of clay above that, and about 1/4 inch (about 5%) of organic matter on the top. 2) Drainage. Dig a hole 1 foot square and 1 foot deep and fill that with water. After that water drains away refill the hole with more water and time how long it takes that to drain away. Anything less than 2 hours and your soil drains� too quickly and needs more organic matter to slow that drainage down. Anything over 6 hours and the soil drains too slowly and needs lots of organic matter to speed it up. 3) Tilth. Take a handful of your slightly damp soil and squeeze it tightly. When the pressure is released the soil should hold together in that clump, but when poked with a finger that clump should fall apart. 4) Smell. What does your soil smell like? A pleasant, rich earthy odor? Putrid, offensive, repugnant odor? The more organic matter in your soil the more active the soil bacteria will be and the nicer your soil will smell. 5) Life. How many earthworms per shovel full were there? 5 or more indicates a pretty healthy soil. Fewer than 5, according to the Natural Resources Conservation Service, indicates a soil that is not healthy. A good, reliable soil test, maybe from your state universities Cooperative Extension Service would also be a good idea....See Morefirst timer needs help
Comments (7)Whole guide on how I grow my tomatoes (did I just wrote all that): Germination: In seed trays and let them go for 2 weeks until they have a few first true leaves. Seedling stage: I move them into red plastic cups with holes for drainage. This is when I give very light fertilizer as they are very sensitive when small. They stay in the cups for 3 weeks until they get at least 8in talls before transplanting into containers. My experience tells me during this stage it is better to keep them under some roof or inside so they don't get wet from the rain, as it's possible to catch some airborne fungus (like septoria leaf spot) that will wipe out all your seedlings. I personally harden them off for at least two weeks before transplanting, by giving them partial sun, patio roof or shade cloths works. Transplanting: I think high 70 to high 80*F is an ideal range for tomatoes. From my experience living in in Florida, it's the humidity that is the problem, not so much the heat. I believe this is why tomato grows very well in California climate. There are variety that are more heat resistant and some does better in cooler climate. For transplanting into soil, let the plant get to at least 1ft tall first by transplanting them into 1 gallon containers first. For my situation there are more chances of pill bugs chewing the stem of weak seedlings in the soil. Container mix: It's good to use a type of potting mix with good porosity, which mean it should hold water well, but at the same time have good drainage and aeration. Unfortunately, this require a bit of experience. I find MiracleGro potting mix are too water retention so I can't recommend them. "Pro-Mix" is a professional brand, but very expensive. I like "Ecoscraps" potting mix that you can get at Target, it have more 'fine pine bark' and perlite included than other brands, this gives it good drainage. However, I find their bags sometimes have 'fungus gnats' so definitely not recommended for indoor growing (some people avoid anything with fungus gnats, or microwave the potting mix). If you feel your mix is too water retentive, you can add these amendments to help them drain: perlite, vermiculite, or fine pine barks. Mixes that have too much water that don't drain will become aerobic, when you empty the container you will smell ammonia in the bottom. Personally I add some compost to my potting mix, but some people are completely against using compost in containers, so it's up to you (in this forum, "violently oppose" is probably more precise). Avoid 'potting soil' which sometimes is mistaken or used interchanged with 'potting mix'. A lot of growers think soil shouldn't be used in containers because they are very heavy and compacted, and potting soil is exactly that. Fertilizer: This is a loaded topic and more knowledgeable people can get very scientific into it, so I don't want to get too much into it. Tomatoes prefer fertilizer lower in nitrogen. Too much nitrogen will give you lots of leaves and reduces blossoming. I think it's fine to have a little more nitrogen during the early stage. I prefer slow release organic fertilizers. For starter, you can use tomato specific fertilizers from the brands Espoma (Tomato-tone), Jobe's, or Ecoscraps, all should available at HomeDepot/Lowe's. In my opinion and experience, it is possible to grow tomatoes completely without fertilizers if you have rich compost. Occasionally I do use synthetic fertilizer (low in nitrogen) sparingly if I feel a plant is deficient. Management: I'm more OCD than others so I break off leaves branches in the bottom that are touching the soil (if you think you have healthy disease free soil then maybe you don't have to do it). Mulching the base of the plant is a good idea, but be careful because bugs can chew the stem and breaking or weaken it, so I always give the stem some free space. I also break off bottom yellowing leaves and any that shows signs of bacteria or fungus infection. To me it's simply a good idea to clean off the bottom of the plant when it's larger to improve aeration which reduce pests and chances of disease. I can't help you with curing diseases since I stay organic as much as possible. Some people use copper and/or Daconil to deal with fungus, even as a prevention spray. For pests control, I use organic peppermint soap + cold pressed neem oil diluted in water. (The reduced non-cold pressed neem at HomeDepot is useless to me). Beware the dreaded whiteflies if you live in the South. Around here they often carry a disease called 'tomato yellow leaf curl virus', which to me is death for tomato plants, your option is to yank and trash because the plant can no longer produce anything worthwhile. I find that both underwatering and overwatering can lead to "bottom end rot", which is the fruit rotting from the bottom....See More
rgreen48
6 years agoApril Long
6 years agorgreen48
6 years agolast modified: 6 years agoApril Long
6 years agoApril Long
5 years agoApril Long
5 years agoApril Long
5 years ago
vgkg Z-7 Va
5 years agofloral_uk z.8/9 SW UK
5 years ago


Related Stories
HOUSEPLANTSHigh-Impact Houseplants for First-Timers
These easygoing houseplants will forgive and forget if you skip a weekly watering
Full Story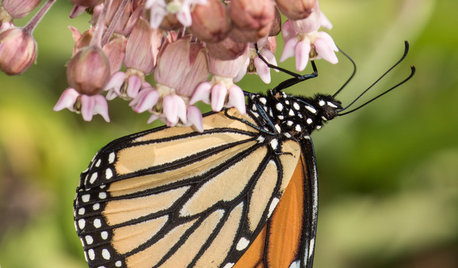
FLOWERS AND PLANTSHelp Monarchs and Other Butterflies by Planting Common Milkweed
Summer-blooming Asclepias syriaca is an important larval host plant for the monarch butterfly and attracts a number of pollinating insects
Full Story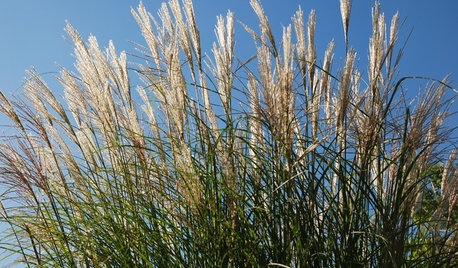
LIFEConsider Avoiding These Plants to Help Keep Your Garden Fire-Safe
Plants that accumulate dead material, are high in oil or have low moisture content in leaves put some homes at risk
Full Story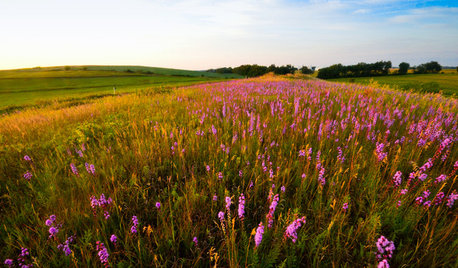
GARDENING GUIDESHelp Fuel the Monarch Migration With These 6 Prairie Plants
Try these nectar-rich beauties and help autumn monarchs
Full Story
GARDENING GUIDESInvite Mining Bees to Your Garden by Planting Their Favorite Plants
Look for mining bees (Andrena) pollinating woodland wildflowers in U.S. gardens this spring
Full Story
GARDENING GUIDESHow to Find the Right Native Plants for Your Yard
Find plant maps, sale sites and guides that make going native in the garden easier than ever
Full Story
GARDENING FOR BUTTERFLIES3 Ways Native Plants Make Gardening So Much Better
You probably know about the lower maintenance. But native plants' other benefits go far beyond a little less watering and weeding
Full Story
CONTAINER GARDENSContainer Garden Basics: How and When to Water Potted Plants
Confused about soil moisture, the best time to water and what watering device to use? This guide can help
Full Story
GARDENING GUIDES10 Easy Edibles for First-Time Gardeners
Focus on these beginner-friendly vegetables, herbs, beans and salad greens to start a home farm with little fuss
Full Story
GARDENING GUIDESHow to Take Care of Your Newly Planted Garden
Set up new gardens for success in the critical first year after planting with expert tips from landscape pros on Houzz
Full Story
war garden