

Cooking Steaks
9 years ago
Featured Answer
Sort by:Oldest
Comments (13)
 9 years ago
 9 years ago
Related Discussions
Visit to eurostoves (long)
Comments (21)This thread is so sad!! Dcipher gave us a beautiful review of a new range that he and his wife both enjoyed using. Okay, I would have liked it if they'd baked cookies and yeast buns as well, but it's still a great review that tested many of the rest of the abilities of the range. Instead of appreciating the unbiased hands on trial of Dcipher's DW, we're carping on an offhand comment of Trevor's? I have both Wolf gas and Gaggenau induction cooktops. I can only relate to the "life" comment in that the gas sucks up oxygen like a dragon, in addition to the gonzo hood sucking up more with its great sucking breath (can anyone spell make-up air?). I feel like the induction gives me more control and lets me focus more on the food and less on the fire. So...what? Yes, the whole heat transfer to just boiled cooktop measure is trivial (and my induction flashes "h" when an element is too hot to touch as a reminder), but Dcipher obviously had misunderstood what was meant when we said that induction stays cool. That means that the adjacent areas to the element stay cool enough to clean up spills, to not crust on spill that aren't cleaned, and to not burn paper put under the pan, not that you can touch it after boiling. I understand that if he had thought that might be a draw for him, he might be disappointed that it wasn't the case. Instead, we're sniping about it! I love my cooking appliances. I've been cooking ever so much on them! They're lovely to use. But when asked to recommend a gas range, I mentioned the Culinarian as one whose features suited the cook in question. It seems like a lovely range and people are very happy so far with the performance. I'm sure Mr. & Mrs. Dcipher will be happy with it. And it was very generous of them to share their thoughts. Why can't we just wish them well with their new range and their new kitchen? Thank-you, Dcipher, for a lovely review. All the best to you both with your new kitchen to come....See MoreCooking steaks in a cast iron skillet on stovetop
Comments (20)Get a couple of 3/4" thick Flat Irons and generously rub both sides with your favorite seasoning, using 1/4 tsp. of salt per steak if your seasoning has no salt in it. Let them stand at room temp for 10 to 15 minutes. Heat a skillet (I use a heavy, high-quality nonstick) over medium to medium-high heat. Add a little oil, fry the steaks for 5 minutes on each side, flipping only once (tongs - no fork.) Take pan off heat and let rest for 5 minutes. They'll be tender, juicy, bursting with flavor . . . guaranteed....See MoreHad a bit of a scare
Comments (16)I didn't get to go to a restaurant to eat but I DIDN'T go back in the kitchen for a long time! LOL I had only fried 3 steaks and was taking them out when it happened.The pan waiting to be fried was sitting on the counter a couple of feet away from the stove.The steaks were stacked and DD was able to save all but the 2 on top and the ones I had already cooked.Just as a precaution she washed all of the others off real good. Moni-I have thought about marking them but figured with all the grease it probably wouldn't stay on.I will try that though. I have had accidents before with grease burning and pot holders catching on fire but nothing ever scared me that bad before.One time I put a Pyrex dish straight from the refrigerator into the oven and it broke but not like this. We have tile floors.Guess that's the only thing that saved the floor because the glass was still hot several minutes later.I don't even want to think about what "could" have happened,especially if one of the babies had been in here!...See MoreDoes microwave venting take out the smoke from cooking a steak.
Comments (8)Reports here support the claim that the recirculating hood system made by Ventahood works adequately. While I don't recall specific comments on it, a Best by Broan recirculating hood is also available and may be adequate. These are going to be relatively expensive because they have to meet the requirements below. Requirements are: sufficient hood aperture to overlap the rising smoke and grease cooking plume (capture), sufficient air flow to keep the collected smoke from reflecting back down into the room (containment), and a filter pack that can remove grease, smoke, and odor from the captured and contained effluent at the air flow rate being used. Less than noxious sound level is also a requirement, but that level is somewhat user dependent....See More 9 years ago
- 9 years ago
- 9 years ago
- 9 years ago
 9 years ago
- 9 years ago
 9 years ago
 9 years ago
 9 years agolast modified: 9 years ago
 9 years ago
Related Stories
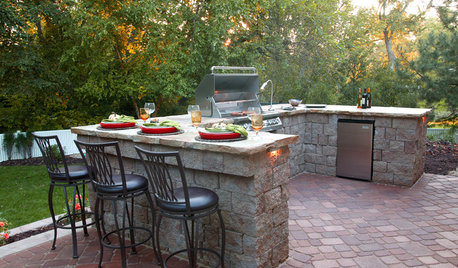
OUTDOOR KITCHENSYour Guide to Grills and More for Great Outdoor Cooking
Learn the pros and cons of gas versus charcoal grills, and about neat add-ons that let you do more
Full Story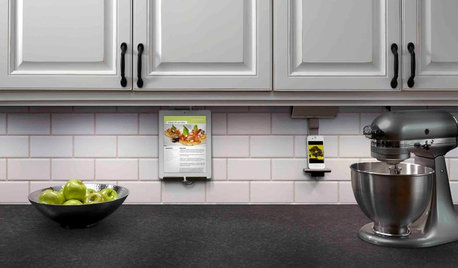
KITCHEN DESIGNHouzz Call: What’s Cooking in Your Kitchen?
Most of us turn to recipes, videos and culinary shows when we cook. Where do you set your cookbook, tablet or TV screen?
Full Story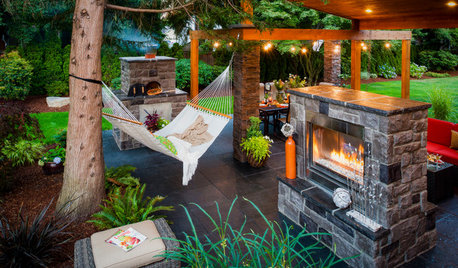
OUTDOOR KITCHENSOutdoor Room of the Day: This Patio Cooks, Even in the Rain
Washington homeowners create their dream outdoor kitchen with a pizza oven, gas grill, fireplace and more
Full Story
Video Gift Guide: 22 Great Ideas for Everyday Cooks
Make a joy of turning out 3 square meals a day with these stylish kitchen accessories from Houzz
Full Story
PRODUCT PICKSGuest Picks: An Arsenal of Tools for Healthy Eating
Make cooking and juicing easier whether you follow a vegetarian, vegan, Paleo, primal or other diet
Full Story
KITCHEN DESIGNCreate Your Own Checklist for a Well-Stocked Kitchen
Personalize the kitchen with your own must-haves from our list of top cooking tools, small appliances, pots, pans and more
Full Story
PRODUCT PICKSGuest Picks: The Well-Stocked Starter Kitchen
We’ve got all the kitchen basics and tableware you need (or that recent grad needs) to make cooking a joy
Full Story
GARDENING AND LANDSCAPINGSplurge of the Week: The Kamado Grill
These Unique Grills Look as Good on the Outside as What's Cooking Inside
Full Story
GARDENING AND LANDSCAPINGHow to Get an Outdoor Kitchen of Your Own
New project for a new year: Build a cooking space for your yard or patio to make entertaining a breeze
Full Story
MOST POPULAR8 Ways to Improve Your Grill Setup
Rethinking the old grilling station? Here’s how to pack more function and style into your backyard cooking zone
Full Story

lizbeth-gardener