


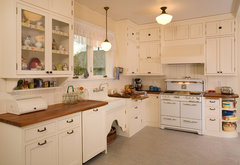
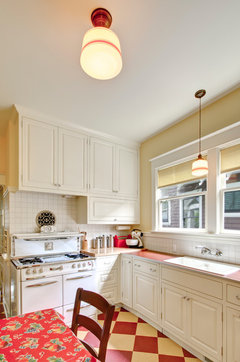
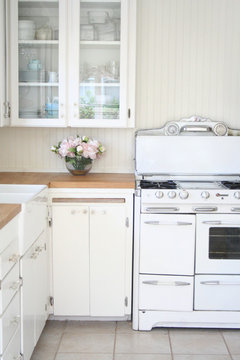
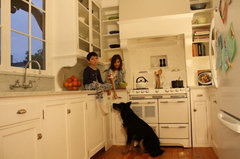
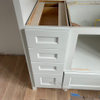
Vintage kitchen needs updating. Small budget.
Sassy Frassy
7 years ago
Featured Answer
Sort by:Oldest
Comments (67)

aprilneverends
7 years ago
Sassy Frassy
7 years agoRelated Discussions
low budget OTK / vintage kitchen - coil stove?
Comments (36)"I would like to do a version of either the OTK or sort of a vintage kitchen (not a museum reproduction). I would like to use IKEA Lidingo cabinets." That just about describes my new kitchen, except we got the IKEA Ramsjo white cabinets. We do have white appliances, except for the black/SS ceran cooktop (sorry I couldn't help there!) I do get that you want something a little less mainstream, go for it, we need variety!! I just liked that particular appliance in those colors, plus it has all-metal knobs, and they are at the front. It's a pet peeve of mine that most electric ranges/tops (except slide-ins) have controls at the back or side, so you can get a nice burn reaching over or next to a boiling pot. (Yeah, I know there are no flames to worry about, but still.) My previous range, which I'm still using for another week, on a dolly no less, is a white range with a black glass top. For budget reasons, we did not switch to gas, and we learned to cook on the glass (for 14 years) and so decided to stay with it. I splurged on the counter, floor and vent hood. Anyway, my personal appliance theory was, the vertical appliances (fridge, d/w, wall oven) are white, but the cooktop is horizontal, so it's OK for it to be different. Talk about different: around here, the OTK is different; the standard (practically required) kitchen is cherry/granite/stainless/tile floor. Apron sinks are just starting to catch on. You can't find a sample kitchen with white appliances at any local showroom, although I did drool over a gorgeous Bertazzoni range in cream at Plesser's. Nobody does IKEA cabs, either, in fact the store is in the next county. Other than my splurges, I don't have any bells and whistles (pot filler, etc.) but I do have more than triple the storage space I used to have, and I'm still wandering around in awe of all my counter space. Here's a link to the work in progress. Here is a link that might be useful: Sorta OTK...See MoreNeed help for small kitchen redo on a budget
Comments (16)I would work on the lighting and the microwave over the range. Change the large fluorescent fixture and install under cabinet lighting - that may take most of your budget for now. One of my friends is refreshing a similar kitchen and so far she has added new lighting - it already looks so much prettier - even with her older counters. The microwave might not bother you but i am short and don't like reaching up over the range and I also prefer an open cooking area. A microwave/vent also does not vent well compared to a dedicated vent. Your layout is good and this is really a very nice kitchen. I would also add a pretty window treatment. I have a similar kitchen and did not paint as I prefer wood and was concerned with the durability of a DIY paint job - I've seen some a year later and they don't always hold up great - then one has to invest in new cabinets. Do really good paint prep. Your cabinets might be maple which means they will paint up better than oak. It could just be the pic but I am not seeing the wood grain I would expect with oak. My oak kitchen is in a vintage / cottage style: https://www.houzz.com/photos/my-pics-work-in-progress-phvw-vp~110720042 https://www.houzz.com/photos/my-pics-work-in-progress-phvw-vp~109854029...See MoreHelp! I need to update my kitchen on a budget...
Comments (5)On a budget I would lighten up this kitchen with lighter counter and backsplash - as long as you don't get the integrated 4" splash as part of the countertop. If you do that, just paint the backsplash area. The wood cabinets have movement due to the grain so keep the backsplash simple or the look will be too busy. Either paint the wall over a 4" splash, or subway tile or beadboard. Beadboard is the one thing that could go above a 4" splash and not look bad. Bead board and subway tile have both been around a long time, so won't look out of place with the older cabinets. I would also put in a hood for the stove and put a small countertop microwave over in the corner area - get it out of the stovetop area and it will open up your cooking space a bit. For paint colors, I would go with cream, light creamy beige or sage green. Those colors look well with warm wood tones. If you want to play up the retro aspect of your kitchen, here is a fun site that might give you some ideas: https://retrorenovation.com/...See MoreUpdating/ brightening kitchen on a small budget
Comments (1)Post a picture and your desired style....See Moreaprilneverends
7 years agolast modified: 7 years agoOld House Gal
7 years ago
bpath
7 years ago
eam44
7 years agolast modified: 7 years ago
townlakecakes
7 years agoaprilneverends
7 years agolam702
7 years agoSassy Frassy
7 years agoSassy Frassy
7 years agorantontoo
7 years agolast modified: 7 years agonosoccermom
7 years agoaprilneverends
7 years ago PRO
PROMDLN
7 years agoSassy Frassy
7 years agoSassy Frassy
7 years ago
cpartist
7 years agoSassy Frassy
7 years ago
VedaBeeps SoCal 9b/10a
7 years agolast modified: 7 years agoSassy Frassy
7 years agoSassy Frassy
7 years ago
huruta
7 years agoaprilneverends
7 years agoUser
7 years agoSassy Frassy
7 years agonosoccermom
7 years ago
iroll
7 years agopractigal
7 years ago
Kippy
7 years agowritersblock (9b/10a)
7 years ago
lisa_a
7 years agoSassy Frassy
7 years agoSassy Frassy
7 years agoaprilneverends
7 years agolast modified: 7 years agoaprilneverends
7 years agoaprilneverends
7 years agoaprilneverends
7 years agomayhemingway
7 years agoaprilneverends
7 years agolast modified: 7 years agoUser
7 years agolam702
7 years agowritersblock (9b/10a)
7 years agolindsaymarie79
7 years agoaprilneverends
7 years ago

Related Stories
HOUZZ TVHouzz TV: A Just-Right Kitchen With Vintage Style
Video update: A 1920s kitchen gets a refined makeover but stays true to its original character and size
Full Story
BUDGET DECORATINGBudget Decorator: 15 Ways to Update Your Kitchen on a Dime
Give your kitchen a dashing revamp without putting a big hole in your wallet
Full Story
KITCHEN DESIGNKitchen of the Week: A Cottage-Chic Kitchen on a Budget
See how a designer transformed her vacation cottage kitchen with salvage materials, vintage accents, paint and a couple of splurges
Full Story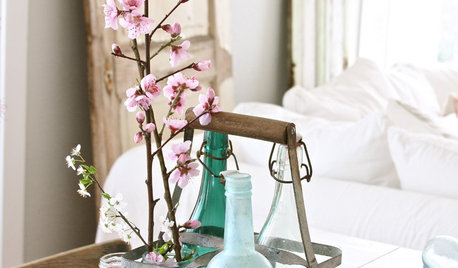
BUDGET DECORATINGBudget Decorator: 12 Vintage Finds to Take Home This Spring
Experience the thrill of the hunt and the triumph of a bargain when you set out on a thrifting jaunt with these finds in mind
Full Story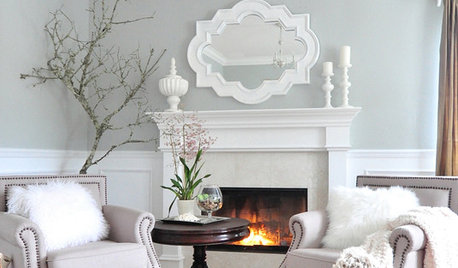
DECORATING GUIDESDecorate With Intention: Great Vision, Small Budget
Can you just picture how you want your home to look but feel stymied by lack of funds? These suggestions can help
Full Story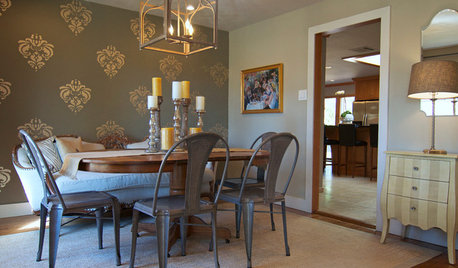
HOUZZ TOURSMy Houzz: Budget-Friendly Decorating Updates for a Great Room in Texas
Antiques rub elbows with new furnishings in this Dallas ranch, where the living and dining area got a $5,000 makeover
Full Story
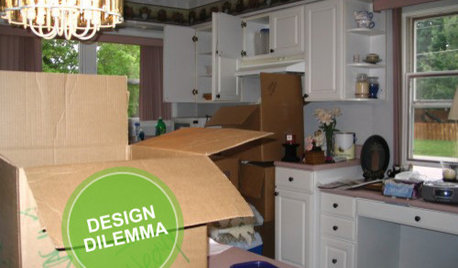
KITCHEN DESIGNDesign Dilemma: My Kitchen Needs Help!
See how you can update a kitchen with new countertops, light fixtures, paint and hardware
Full Story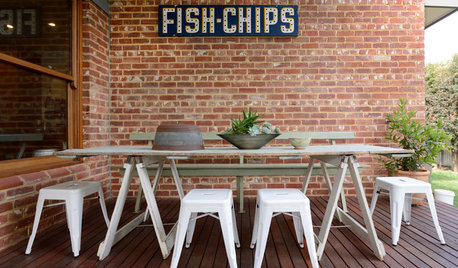
GARDENING AND LANDSCAPINGBudget Decorator: 10 Ways to Deck Out Your Patio
Hang a vintage sign here and some inexpensive curtains there, for a patio or deck that looks polished and pulled together
Full Story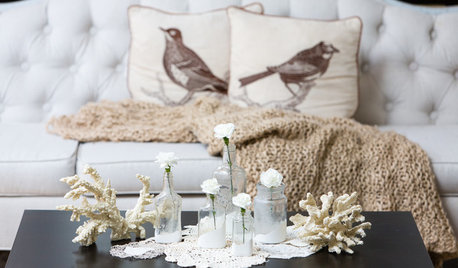
DECORATING GUIDESBudget Decorator: Let’s Go Thrifting
Dip into the treasure trove of secondhand pieces for decor that shows your resourcefulness as much as your personality
Full Story

eam44