


A splurge and an upgrade
AnneCecilia z5 MI
7 years ago


Sort by:Oldest
Comments (51)
Related Stories
REMODELING GUIDESWhere to Splurge, Where to Save in Your Remodel
Learn how to balance your budget and set priorities to get the home features you want with the least compromise
Full Story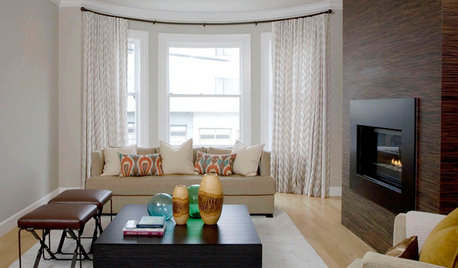
DECORATING GUIDES7 Home Purchases Worth the Splurge
Make buyer's remorse over furniture, textiles and more a thing of the past with this wise purchasing advice
Full Story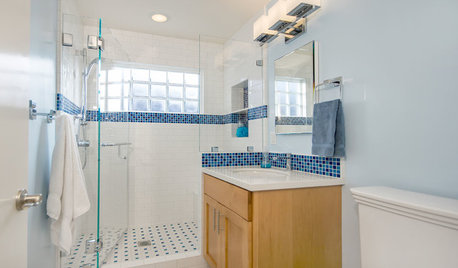
BATHROOM DESIGNLight-Happy Changes Upgrade a Small Bathroom
Glass block windows, Starphire glass shower panes and bright white and blue tile make for a bright new bathroom design
Full Story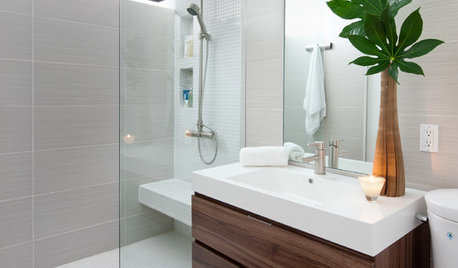
REMODELING GUIDESHow People Upgrade Their Main Bathrooms, and How Much They Spend
The latest Houzz Bathroom Trends Study reveals the most common budgets, features and trends in master baths. Now about that tub …
Full Story
WINDOW TREATMENTS9 Upgrades to Elevate Your Window Treatments
Find out what the pros do to turn an ordinary window covering into a standout design feature — and what it costs
Full Story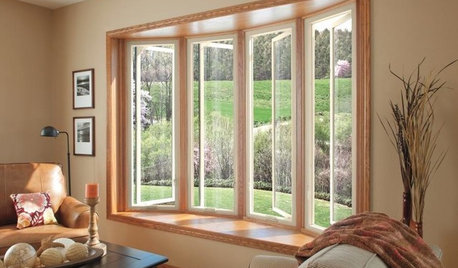
GREAT HOME PROJECTSUpgrade Your Windows for Beauty, Comfort and Big Energy Savings
Bid drafts or stuffiness farewell and say hello to lower utility bills with new, energy-efficient windows
Full Story
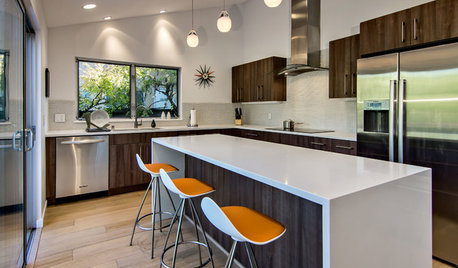
HOUZZ TOURSMy Houzz: Ranch House Gets a Craftsman Upgrade
Inspired by the Arts and Crafts movement, a Dallas couple reimagines their traditional ranch house
Full Story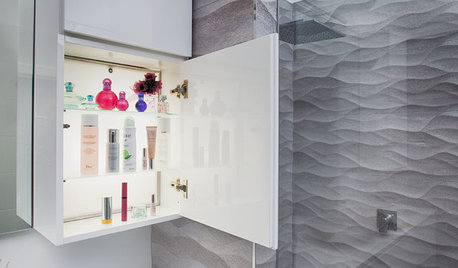
BATHROOM STORAGE10 Design Moves From Tricked-Out Bathrooms
Cool splurges: Get ideas for a bathroom upgrade from these clever bathroom cabinet additions
Full Story
DECORATING GUIDESTax Refunds Provide Style Returns
Unexpected cash practically begs small splurges: an accessory here, a furniture upgrade there, maybe some lovely new linens ...
Full Story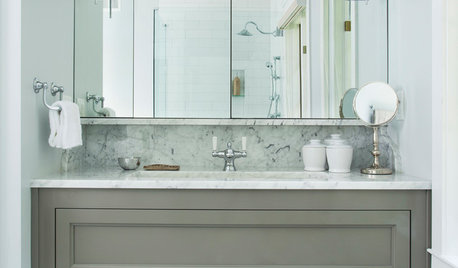
BATHROOM DESIGN4 Secrets to a Luxurious Bathroom Look
Give your bathroom a finished feel with a few splurges and budget-stretching moves
Full StorySponsored
More Discussions


Ken Zone 5 SE Idaho
Ken Zone 5 SE Idaho
Related Discussions
It's December, how is your build coming along?
Q
Baltimore Pool Build (with pics)
Q
Is Kohler Moderne Gold timeless enough to splurge?
Q
What did you splurge on?
Q
AnneCecilia z5 MIOriginal Author
terrilou
AnneCecilia z5 MIOriginal Author
Rosie1949
AnneCecilia z5 MIOriginal Author
Ken Zone 5 SE Idaho
Rosie1949
irina_co
Rosie1949
terrilou
Rosie1949
AnneCecilia z5 MIOriginal Author
Ken Zone 5 SE Idaho
Rosie1949
AnneCecilia z5 MIOriginal Author
Rosie1949
irina_co
AnneCecilia z5 MIOriginal Author
irina_co
Ken Zone 5 SE Idaho
Ken Zone 5 SE Idaho
Rosie1949
Ken Zone 5 SE Idaho
irina_co
Ken Zone 5 SE Idaho
Rosie1949
Ken Zone 5 SE Idaho
aegis1000
Rosie1949
Rosie1949
AnneCecilia z5 MIOriginal Author
Rosie1949
AnneCecilia z5 MIOriginal Author
Rosie1949
irina_co
AnneCecilia z5 MIOriginal Author
irina_co
Ken Zone 5 SE Idaho
Rosie1949
AnneCecilia z5 MIOriginal Author
Sweetheart2015( Washington, DC)
Rosie1949
aegis1000
Sweetheart2015( Washington, DC)
aegis1000
Rosie1949
irina_co
Sweetheart2015( Washington, DC)