


Plaster Lath, peeling paint in entire house, uninsulated brick veneer
Rylan
8 years ago
Featured Answer
Sort by:Oldest
Comments (9)

Rylan
8 years agoRelated Discussions
Question Regarding 1925 Home Construction
Comments (3)I think what you are describing is now called "hollow structural clay tile" rather than "brick" and was originally made in the US by the National Fire Proofing Company and had the logo NATCO pressed into each unit. It was used for fireproofing of steel framing and as fire resistant partitions with a plaster finish on commercial buildings and as a structural wall or as a masonry veneer over wood framing on residential buildings with a stucco finish. It is definitely a big step up from wood sheathing as a substrate for cementitious stucco. In your case I assume it isn't load bearing. I don't know what you mean by, "the gap between the NATCO bricks and lathe". Do you mean exterior sheathing? Lathe would be used as a base for some kind of plaster. If there is a cavity between the sheathing and the tile you would have a wall system equal to a brick veneer cavity wall. That would be as good as it could get assuming the tile is properly attached to the frame and the cavity is properly weeped at the bottom. I suspect the biggest issue would be how the contractors plan to remove the old stucco without damaging the clay tile....See MoreBest way to prepare old plaster for painting?
Comments (5)I have currently researched and tried a couple solutions to this. I have found that the solutions given by professionals are wide ranging and very contradictory. First, be sure the answer is for OLD HORSEHAIR plaster. Many solutions are for plaster, which is different The options and contradictions given: 1. Use premixed joint compound. My friend did this totally successfully throughout her home 15 years ago- giving a skim coat of about 1/16" and sanding it smooth. And several professionals (at paint stores and on-line) have said this is the way to go. BUT, many contractors say NOT to do this because the plaster, if it is lime based, will resist the gypsum in the premixed drywall plaster and it will cause it to prematurely (within weeks or years) fail. I used it on one wall, and it dried nicely, but was not as solid as plaster or spackling compound. It primed and painted well, though, and the paint adhered well. So I am not convinced this is not a good solution. But time has not tested its permanence. 2. Use setting joint compound. I used this after talking to the people at USG about their products, and they said NOT to use the premixed, but to use the setting type. That it would adhere. I scraped it on thin onto one wall, but, as the person here suggested, I saw that it dried quickly, possibly before it had a chance toset. Then it would not be hard.. just a dried powder. Went back to USG and he said it needed to be at least 3/32” (who can measure that??) thick to insure it has time to set. I did the rest of the walls thicker. The next day, the walls were very patchy of darker and lighter grey. I went to wet sand, but the stuff just washed off. It seemed dry, and and about as hard/soft as the premixed, so I let it go.. but was concerned. The next day I primed it with 123 Zinsser primer. Two days later, put the gentlest tape on it to hold up a paint chip… and the paint peeled right off. Went back to the bag of compound, and noted that it said the product would get HOT when setting. My walls never got hot… or even warm. On my last batch, the plaster did not even set up in the bucket after 2 days.. it was still cool and moist. So I do not think it ever set. So I have primer over a layer of dust in a very difficult-to -paint stairwell. 3. Use Veneer plaster or Plaster of Paris. This I have not done. When I first started out a contractor said I should not use any type of joint compound, but this would be a harder, better surface. I bought the bag and was about to start, but then read that I would need to let it set for nearly 30 days before I could paint. Also, many sites say you need to use a plaster bonder between the two plasters. I found that the plaster bonder was not sold by anyone locally (I would think if it was so necessary, it would be carried), and it was going to be 2 weeks for me to get it. I suspect the idea solution is to use the plaster bonder, and then the veneer plaster. And go for the long time period. But I went the above routes after researching these other "options". In retrospect, 5 weeks later, I should probably have done this. 4. Durabond. I did not use this, but it is supposed to adhere to the horsehair plaster well. Only it is super hard to sand afterwards. My neighbor used it once in his house, then took the remainder of the bag to the dump as it was impossible to sand. He went with Plaster of Paris. 5. Spackling compound. This has not been suggested by anyone, but, after having gone through all the above, I think I will use spackling compound. It adheres to everything. Hardens well, Paints well. Is compatible with all surfaces. And since I am only scraping on the thinnest layer, although it is pricier, it is worth it in the long run. Does anyone know of a reason this would not work? I have 2 more rooms to go....See MorePlaster cracks. Leave them, fix them or sheet rock walls?
Comments (42)Basically, a 'mud job' is just putting a thin veneer of compound over wallboard..it can also be called a 'skim coat'. It is basically joint compound, rarely it is plaster. Yes the guy has referrals, but what were the projects? Were they sensitive work on old houses to yield something which is like what might have been the original appearance, or were they gut jobs and remodels with no respect for the original house? From what you've said of him, I suspect the latter. Ripping out and replacing work with newer materials often yields an inferior result and costs more money than a decent job--he is pushing for the fastest methods to do the work, like someone who is primarily a 'flipper' of houses, not a true professional. Despite your saying he isn't profiting somewhere with his subcontractors or materials, I don't believe it for a second...he is going to make money somewhere, otherwise he wouldn't be doing the job. Based on the information provided as to his recommendations for the work to be done, he IS suggesting things which aren't needed. With a baby on the way, and new home owners, he is seeing a prime opportunity to make some fast money. Did you get estimates from other contractors and painters? That is an absolute MUST for any project. I know I'm sounding negative to you, but it is just common sense--I used to be a trusting person, but being burned one time too many changed that--and since a house is your biggest investment, you don't want to take ANY chances with such a big ticket expense. With a new addition to the family coming, you absolutely MUST save where you can, unless you have deep pockets, which you say you don't. Just a queston of curiosity: who put the idea in your head that the walls lead paint was a danger which had to be addressed by a complete removal? Paint chips are eliminated with vacuuming, unless you let them accumulate for weeks...and painted trim is going to be more likely to give them especially at corners...but again, the solution is to make sure the paint is sound and has a firmly adhered new layer....See MoreCalling all plaster wall repair experts!
Comments (54)We are remodeling our 1930s kitchen. The plaster is cracked and crumbly in some good-sized areas (2' by 4' and 3' x 5' approx). Our trusted electrician insists that the kitchen contractors should demo the plaster and replace it with drywall in the worst areas. The kitchen contractors (whom we've never used before) do not believe this is necessary, and that patching the plaster will be sufficiently strong. They say that if we apply drywall to the old plaster, the new cabinets will not fit, and it seems to me that the extra weight of drywall on already-cracked plaster will only worsen the problem. They caution against doing a complete plaster removal due to the expense and amount of dust. (2 people in our household have asthma, so this is an issue). One wall is exterior brick with no studs beneath the plaster. Another is terra cotta block, also without studs. Metal mesh lathe is used throughout. Because there are no studs, how can they anchor the new 42" solid cherry wall cabinets with either scenario? Without studs, will the brick-plaster or brick-terra cotta systems hold up? (Our previous cabinets were 32" metal). Chat room advice is as varied as my contractors'. I don't know whom to believe!...See Moresambah006
8 years agoRylan
8 years agoRylan
8 years agoEdnamaee
8 years agoEdnamaee
8 years agoRylan
8 years ago
Related Stories
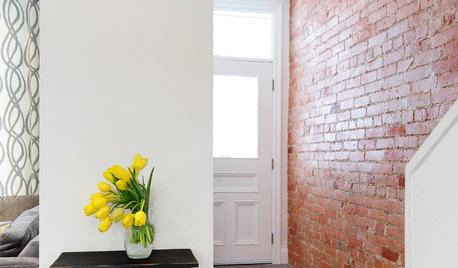
BRICKHow to Make an Interior Brick Wall Work
Learn how to preserve, paint, clean and style a brick wall to fit your design scheme
Full Story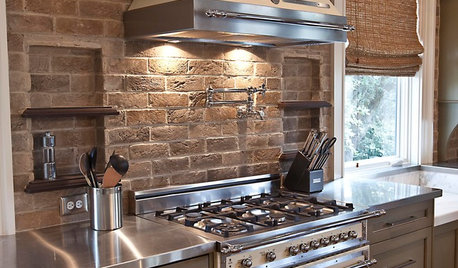
KITCHEN DESIGNYes, You Can Use Brick in the Kitchen
Quell your fears of cooking splashes, cleaning nightmares and dust with these tips from the pros
Full Story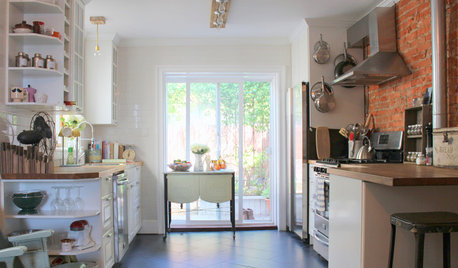
HOUZZ TOURSMy Houzz: DIY Efforts Transform a South Philly Row House
Elbow grease and creative thinking take an early-1900s home in Pennsylvania into the realm of knockout style
Full Story
PAINTINGWhat to Know About Milk Paint and Chalk Paint — and How to Use Them
Learn the pros, cons, cost and more for these two easy-to-use paints that are great for giving furniture a vintage look
Full Story
Houzz Call: Show Us Your Paint Makeovers
Let your newly repainted house or room do the "How d'ya like me now?" strut right here — it might just be featured in an upcoming ideabook
Full Story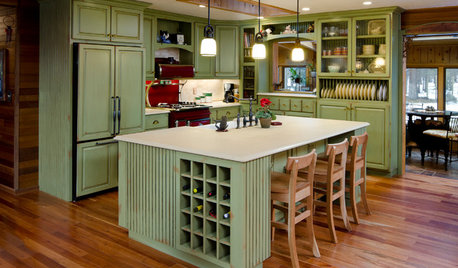
MOST POPULARHow to Reface Your Old Kitchen Cabinets
Find out what’s involved in updating your cabinets by refinishing or replacing doors and drawers
Full Story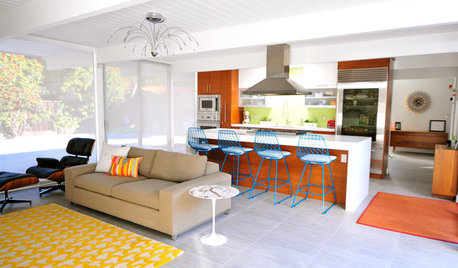
MIDCENTURY HOMESHouzz Tour: An Eichler Remodel Spawns a Design Career
A homeowner finds her true calling upon redesigning her family's entire California home
Full Story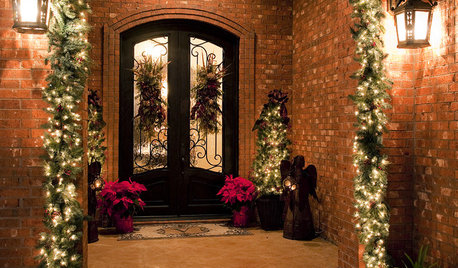
MOST POPULARA Contractor's Secrets to Hanging Holiday Decor
Hang a wreath or garland on brick, concrete, Sheetrock or wood the professional way — and avoid the potential pitfalls
Full Story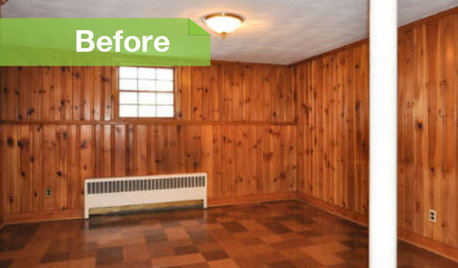
PAINTINGKnotty to Nice: Painted Wood Paneling Lightens a Room's Look
Children ran from the scary dark walls in this spare room, but white paint and new flooring put fears and style travesties to rest
Full Story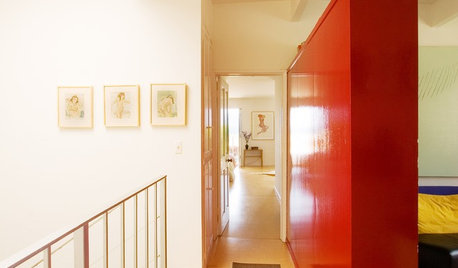
WALL TREATMENTSPick the Right Paint Finish to Fit Your Style
The question of finish may be as crucial as color. See which of these 9 varieties suits your space — and budget
Full Story

tim45z10