


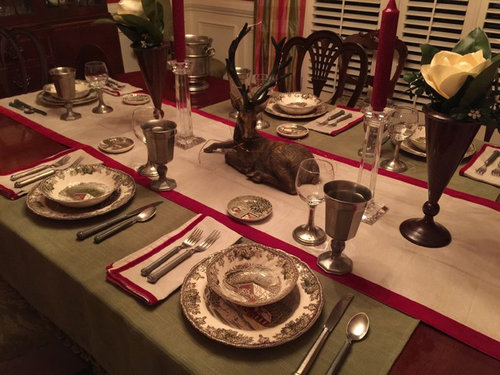
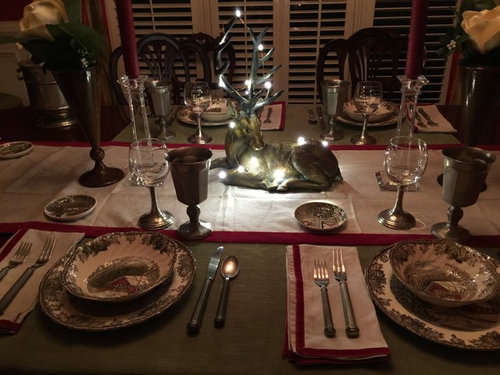
Williams Sonoma Linens Arrived, Game of Thrones Table Complete
User
8 years ago
last modified: 8 years ago
Featured Answer
Sort by:Oldest
Comments (24)

Oakley
8 years agoRelated Discussions
Got the prelim plan - not thrilled...detailed requests!
Comments (24)When it comes to planning a house, there are some common architectural archtypes: --Massed plan: Early American houses tended to be simple, massed plans (a Monopoly "house" or "hotel"), often multi-storied, using square and retangular shapes, which were easy and economcal to build and efficient to heat in the north's winters and cool in the south's summers. Massed plans are best for small, simple structures. --Irregular plan: The advent of ballon framing in the 1800s allowed much more construction flexibility for building, and larger houses began to be common with irregular shapes (L's, T's, U's, etc) with many extensions and re-entrant shapes. Irregular plans are best for larger, more complicated structures. --Garages: Before the automobile, horses, wagons, carts and the like were kept in buildings seperate from the house, for obvious reasons. When cars first became common in the early 1900s, they were kept in the same manner as horses and wagons--seperate from the house. This approach continues to this day, but it has also become common to make the car storage a part of the main house. This latter desire has drastically impacted the overall size, shape and appearance of the house--often dwarfing or even consuming the house such that the only visible element from the street may be multiple garage doors! Small lots and large garages make the problem even worse. In this case, the house and garage are simply too large and overwhelming for the given site. In response, some of the strategies may be: --Change from a massed plan to a irregular plan to break up the mass and humanize it, bringing it back to the scale of the residential neightborhood in which it is proposed; --Find a piece of commercially zoned or mixed-use zoned property so tha the garage may be put on the first level and the living quarter placed above the garage--sort of an earlier era of "living above where one works"; --Purchase a wooded tract and place the current design in the middle surrounded by trees so that it cannot be seen, but can be enjoyed by its occupants. The current design and site are simply incompatible with each other. Discussing the plan's makeup, such as laundry room and door swings, in this case, is really pointless. A new design strategy is what is needed. Good luck with your project. --...See MoreFinished, sort of, small kitchen mostly DIY
Comments (61)Ppbenn, the wallpaper is "peonies" from tempaper. It is not standard wallpaper. Its a self-adhesive wallpaper, aka a giant sticker. I don't know how it would take water color bc of the finish. But, Tempaper sells a product that is plain that you can decorate. So maybe? Tempaper has a website with faqs, and they would likely answer questions too. It's a sm company/neat story. Good luck! I am sure my kids will paint ours soon. I've already wiped up pen and pencil. Marker and paint are likely not far behind. Fwiw: hanging this is just slightly different than regular paper. The back is very sticky. That is great if your flat walls meet crisp edges of the even/level ceiling. With my old wavy plaster walls and old wavy plaster ceiling, covered in tons of paint, a standard wallpaper likely would have been easier to hang because it would have been more forgiving to stretch, move and slide. But, this paper was worth the effort. And removal will be so much easier, though I have no plans to do it anytime soon. Fori! I remember you asked questions about the smeg. I hoped you would pull the trigger before me! I will try to remember to post a more thorough review after we use the speed oven more. I want to try to bake, heat a frozen pizza, and grill fish or meat. Then I'll post again. In the meantime, as I mentioned above, we have abused the oven feature on the smeg everyday for more than a month: reheat french toast, warm left overs, cook chicken fingers, spring rolls, eggplant parm, roast veggies and chicken, make nacho chips and cheese. It just gets hot so much faster than my 30" Berta gas range, which isn't particularly slow to get hot. And I think/hope it has to be more efficient to use the small electric oven than the larger gas oven. (?) And the mw is in use everyday, reheating my coffee, cooking frozen broccoli etc. The mw performs well, as I would expect. We have not baked, used the grill function, or done any speed/combo cooking. But to be honest, the combo features were secondary. I am not very good at following directions and I usually never use the pre-set options on anything! If and when I bake, it's usually in batches; I imagine I would usually use the range to bake and the smeg to cook dinner. I will use the grill function; hope it works well. We decided to take the leap, or be the guinea pigs, bc we only had so many spots to put a mw. The best spot was prime real estate, below the counter. To give up cabinet drawers, I wanted an appliance that would do more than mw. I cook, a lot, everyday and on holidays. A second oven was really attractive. Obviously I didn't have space for a wall oven. I don't even have space for a countertop convection or toaster oven. So we looked at combos. Since I only have 24" my choices were limited. The reviews on the Miele were really good. But it didn't sound like $$$$ better for how I would use the appliance. And I didn't have that extra $$$$ to just get the Miele bc it's the Miele. Really, my biggest concern: yes, my kids play with the knobs. But i can't blame them. It is cute....See MoreNutcracker Dilemma: Off the Dining Table, On to .... Where?
Comments (25)Jan, I have a green velvet runner that I could use on top of the white cloth... and I don't mind looking for another :) I use those gold leaf chargers under the plates so that should give the table plenty of sparkle! I like that idea, these are all grown ups, I am so used to setting the table for our extended family of big and small kids. The kitchen is much less formal, with off white china and either the reindeer plates and bowls from pottery barn and/or those 12 days of Christmas salad plates. I also use Christopher Radko's "Tree" bowls in the DR, they coordinate beautifully with the Lenox and will add more pattern to the white/silver/gold. Okay, we're getting there! Vampire, that is a great idea---I can take down some of the photos and porcelain now populating some of those shelves (not many, because we have so many books) and replace them with the smaller nutcrackers---! The backs of the shelves in the library are 3 inch planked painted the same color as the shelves. I am thinking I might get a nice green or red craft paper (like scrapbooking paper?) to put in the back of the shelves that I use for the smaller nutcrackers, so they will stand out. Has anyone done that? Maybe a lighter green instead of red? Or even a pretty blue, just to mix it up and since so many of those things are painted with blue uniforms or accents?...See MoreWhat we did in 3 weeks
Comments (23)The painter just did an incredible job on the cabinets. I can't tell you how thrilled we are. And she had never even done a glazed cabinet before- but lots of faux work. The original painter I hired had a family "event" (ugly divorce) which of course I knew nothing about, and sold his company without telling me. The guy who bought his company called me one day asking if I was ready to schedule my work and of course I didn't even know who he was - he explained the story and came and looked at the job and said he never would have bid glazing cabinets because he didn't know anything about it. This was on Day 5 when the ceiling was laying on the floor. The KD called someone, she pulled in my driveway in 90 minutes, said she was willing to give it a try and I said - with one look heavenward.. ok lets do it. The process on these 27 yr old dark stained oak cabs was *Take doors off and clean with TSP from Home Depot or other degreaser - I also used an interesting 'green' cleaning product from Trader Joes that sells for $3.00 a giant spray bottle and has cedarwood oil, sage oil and grain alcohol in it - that stuff will really clean up grease and dirt - took wallpaper down, cleaned stove tops..... *Sand door fronts to smooth any roughness from the old stain but did not try to smoothe away the oak grain *1 coat of Primer - Gripper by Glidden *2 coats of acrylic latex paint on doors and boxes - the color is Sandy Brown from the old Pottery Barn line which is a chamois color, but it was mixed into Behr Primer and Paint all in One. *1 coat glaze hand applied with artists brush to the crevices where the routing is, and wiped away, then a wash of glaze that was dry brushed into the surface of the door I watched her do a cabinet side and she dry brushed the glaze onto almost dry base paint *That had to dry for 72 hrs because the glaze needed that curing time to harden. Glaze has to have time to cure, and also needs to be covered because it apparently will re-wet. Be sure to follow mfrs instructions. *Then the entire door was polyurethaned with a satin poly *The cabinets are middle of the road Merillat and have wood fronts, but vinyl covered sides. They were degreased and scuffed with those bars of sandpaper, and then painted the same as the doors. I did not do the interiors as I have had paints remain sticky if you pick the wrong paint for the job. These cabs are not sticky on the outside but I wasn't taking chances. They are in good condition and there wasn't any aesthetic reason to paint the interior. We only painted the face of the wood frames of the cabinets but nothing inside that. Ditto poly for the cabinets. *The poly takes minutes to dry but 30 days to cure so I was extra gentle with the boxes and doors. I am having them back in August to touch up all the paint, and to put a 2nd coat of polyurethane on the cabinets. She showed me doors of her own that she had done faux finishes on and how the depth of the paint job is subtly changed by adding more thin coats of poly My sister is now having her kitchen done by them in the same process - different color, and I think they have already sold 3 jobs to people who saw my cabinets at her house. If you look at the back inside of the doors you can see a little bit of grain, but with the 2nd coat of paint, and the dry brushed glaze to add texture, you cannot see any grain at all on the cabinet door fronts. But she painted a couple trial doors in sections with different versions of the above as we worked on the glaze color etc, so we knew going into it what the door fronts were supposed to look like. I had decided to live with painting my old cabs for a while and spend more money on other things in the kitchen and I am really pleased with my decision. I spent 12% of the price of new cabs from a midlevel line and about 4% of the quote for custom cabs. I got 5 painter quotes over time as I was researching this and they ranged from $1800 to $5500 just FYI - it paid to keep asking to find the combination of quality and price. Some of those were for paint alone, no glaze. If I was really going to go the whole route and gut the kitchen I would remove walls and re work the whole functional area of the laundry and bath, and add a shower and storage. I also would turn the sink to the outside wall and put in a new, bigger window above it. That would have meant re-designing the entire area of laundry, bath, kitchen and probably taking up some of our garage storage area. Given my experience level with remodeling (low), my budget considerations, and the economy for resale in our area, I am just too conservative to do that right now. Also - I know this will be like lighting a flame thrower on this forum but I had to draw the line somewhere and after all, cabinets are just boxes to put dishes in. I have other interests and I already knew my priorities were to clean and modernize the space, easy maintenance, and I wanted to be proud to have people come over so I could enjoy my friends and not feel embarrassed about my worn out kitchen. Since I have gotten sensitized to cabinetry and paying attention, I am surprised at the number of high end newer homes that have foiled white cabinets that basically look like crap with the rub marks and mdf chipping. I think new home buyers are really getting ripped off without knowing it - it all looks so pristine when its new. You know Sherwin Williams has colorists that will come to your house to advise you on colors? they charge $75 in advance to come out for an hour or so, but then give you $75 gift certificate to spend at their store. I had one come over and we had a blast together - envisioned the entire house in grays - haha. Spent her $ on our deck stain so it was a good thing for me. She told me that she had painted 3 sets of kitchen cabinets white in renovated homes and to expect the paint to stay whole for about 5-7 yrs. But she didn't polyurethane so I don't know how that will effect it all. I thought this choice suited my needs at this time. Someday I think it would be really cool to have an ultra modern kitchen with blond and stained red wood cabs and surgical stainless countertops with all the appliances built in - but not this time around. I am so running on.. hope that answered you Q about the paint...See More
Annie Deighnaugh
8 years ago
User
8 years agolast modified: 8 years agobusybee3
8 years agoUser
8 years agoUser
8 years agoOakley
8 years ago
jlc712
8 years ago
MagdalenaLee
8 years agoUser
8 years ago
Fun2BHere
8 years agoUser
8 years ago
enduring
8 years agoschoolhouse_gw
8 years agomustangs81
8 years ago
MtnRdRedux
8 years agoFun2BHere
8 years agoUser
8 years agolast modified: 8 years agojjam
8 years agoUser
8 years agolast modified: 8 years agorockybird
8 years ago
OutsidePlaying
8 years ago
DYH
8 years ago
Related Stories
PRODUCT PICKSGuest Picks: Loving Linen All Over the Home
Charmingly rumpled or ironed smooth, these linen finds from napkins to curtains bring casual elegance to rooms
Full Story

SHOP HOUZZHouzz Products: A Den for Daenerys
Conquer an ordinary room with furnishings and decor fit for the queen of House Targaryen
Full Story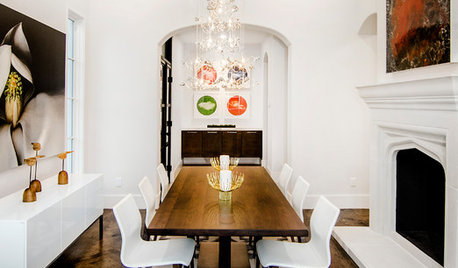
DINING ROOMSNew This Week: Proof the Formal Dining Room Isn’t Dead
Could graphic wallpaper, herringbone-patterned floors, wine cellars and fire features save formal dining rooms from extinction?
Full Story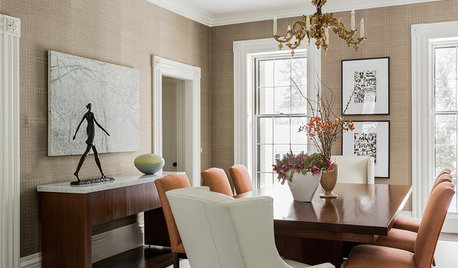
STANDARD MEASUREMENTSKey Measurements for Planning the Perfect Dining Room
Consider style, function and furniture to create a dining space that will let you entertain with ease
Full Story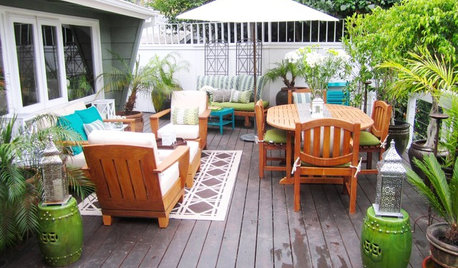
GARDENING AND LANDSCAPINGHouzz Tours: 5-Day Outdoor Makeover
Front-Yard Outdoor Room Goes from Beige to Brilliant
Full Story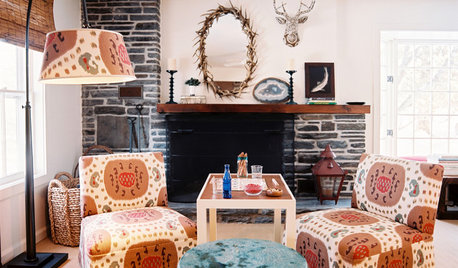
HOUZZ TOURSHouzz Tour: Country Glamour in Woodstock, New York
Design team Tilton Fenwick creates a chic, free-spirited weekend home
Full Story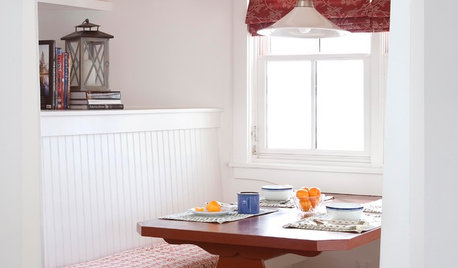
KITCHEN DESIGNKitchen Banquettes: Explaining the Buffet of Options
We dish up info on all your choices — shapes, materials, storage types — so you can choose the banquette that suits your kitchen best
Full Story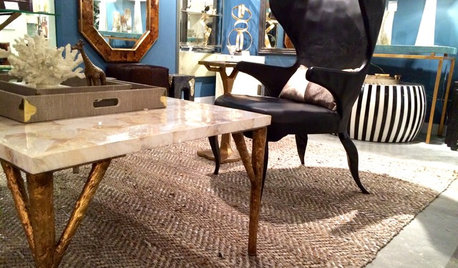
DECORATING GUIDESTop Design Trends From the Winter 2015 Las Vegas Market
Interior designer Shannon Ggem is tracking finishes, motifs and design combinations at the 2015 show
Full Story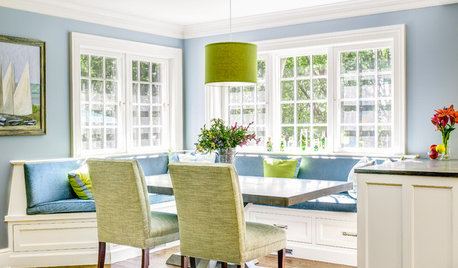
KITCHEN DESIGN91 Kitchen Banquettes to Start Your Morning Right
Slide into one of these stylish breakfast nooks and stay awhile
Full Story


nini804