


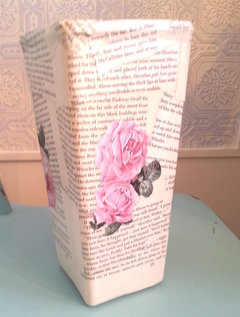
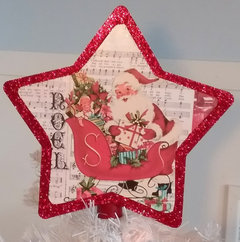
Decoupage
dandyrandylou
8 years ago
Featured Answer
Sort by:Oldest
Comments (7)

craftyintx
7 years agodandyrandylou
7 years agoRelated Discussions
Decoupage Questions
Comments (19)Long time since I've done decoupage but anyone burning anything on edges hold it over the kitchen sink if it flares up you have water on hand!! Can see some newbies getting in trouble here!! Want everyone to be safe!! I recently made cookies & the wax paper was about 8 in. from stove,I had put the cookies away but had some others to frost. I put water in a pan & turned on gas stove, that wax paper shot over & flames were going above the stove hood, I dumped the water I had just put on stove on it to get it out. I had had waxed paper there a thousand times over the yrs. Don't know what caused it to "creep" to heat & was really scarey. We don't know what they are putting in things these days so use the sink!! Jan...See MoreHelp! Decoupage glue is tacky when dry
Comments (7)What a nice gift. Valentines day? Most people who do decoupage profesionally (or who have tried to like me,lol) coat with urethane not glue for exactly this reason. On the other hand I keep a bottle of Mod Podge or Aileens on hand for projects like sticking calendar pics to cardboard recycling boxes and I haven't had that problem with either of them. So called decoupage glue is a combination of white glue (like elmers regular) urethane and water. First: Let it dry some more! I'm wondering if you've got too much on in which case you may need a lot more drying time. Have you used so much that you could wipe it with a slightly damp face cloth without damaging the imagery, then let dry? If not don't and either way once its had more drying time such as another day in warm dry place with the pages separated so air can circulate, I would try Krylon Krystal Clear spray on one part of one page (mask the rest and spray a corner) and see if that helps. 2 light coats let dry between. I emphasize that you need to let the glue dry all that it can first. Krylon Crystal clear is my fave spray urethane, and the one I use to spray images before gluing so the ink doesn't run. I have also used it on quickie projects to protect the image, and it doesn't seem to react with the glue, tho I haven't put it on a totally glue covered image. good luck kathy...See MorePlastic patio chairs painted and decoupaged. Wanna see?
Comments (19)Sonicmom - The chairs feel like they did before they were painted. If you want smooth, start with a smooth chair (sanded if necessary) and apply maybe three thin coats of paint. If you want to decoupage, there will be raised areas and how raised depends on the thickness of your cutouts. If they're wallpaper they will be a little thicker but if they're tissue paper or napkins they will be thinner. CEFreeman, I have three terracotta pots I fill in the summer and keep in the garage in the winter. I did latex and spar varnish inside and out and they've lasted for years. The decorations on them I used acrylic craft paints. These were something I just threw together fast just to get some color on my porch steps. I'm thinking these would be a great Girl Scouts project for Mother's Day! The checks were done with a flat brush and the dots were done with a q-tip. I quit using the saucers because when it rained or I sprinkled they held water and were drowning the plants. Then I have two matching ones I painted the same and I think I did not coat the insides all the way -- trying to remember. They stay out all the time. They got wet and then froze, then thawed, then started to disintegrate. :( I need to replace them now but they each have plants in them and they're not small pots. The other mistake I made was hand painting a small detailed design on them. You can't see it from the street. Duh me. Anyone know what I should replace them with? I'm thinking plastic is what will endure the weather. Does this cracking up happen to all terracotta pots? I love that your creativity is going. Be sure to post pictures! Grlwprls - My neighbor lost her bird bath in the same winter I lost my pots. I'll tell her about your dad's secret, thanks! Thanks about the chairs, too....See MoreThinking of learning decoupage....
Comments (6)Not sure what you're asking about water, but I don't use water at all, just glue. Decoupage will fade if the paper/inks you're using are not sun stable. Magazine pictures usually fade for me, especially the reds. Some colors and inks are more stable. I usually use white glue, since I found a good deal on gallon size. Mod Podge always stays sticky for me, but I've heard they now make a version that hardens. You could use regular MP for most of the work, then use the hard stuff as a final coat, or final coat with a spray varnish or white glue. MP and glue don't need sanding between coats, but oil-base varnishes might, especially if they'll be exposed to wear, like furniture. One coat of glue is enough for me, more coats will give a thicker coating which you might like. You might want to cover the entire panel with a background paper (I like book pages, but wrapping or scrapbook paper would look nice, too, then lay out your pictures on top of that. How big is your panel? Sounds like you're putting a lot of different things on it. Might be nice to put your most important interest in the center, or maybe one that relates to the others. For instance, put a family picture in the center, then maybe if you garden with your daughter, put the gardening pictures near her. Does that make sense? It might help to lay out your whole piece before starting to glue (excellent advice I rarely follow). Cut out a panel-shaped piece of paper, then lay out the pictures in various ways until you're happy. A tiny bit of BluTak on the back of each piece would hold them in place temporarily but remove easily....See MoreBeverly Hills
7 years ago
steiconi
7 years ago PRO
PROLisa's Creative Designs
6 years agodandyrandylou
6 years ago

Related Stories

DIY PROJECTSDiscover the DIY Secret Weapon of Decoupage Glue
With this liquid glue and sealant in your crafting arsenal, you can tackle a variety of home DIY projects in a single bound
Full Story
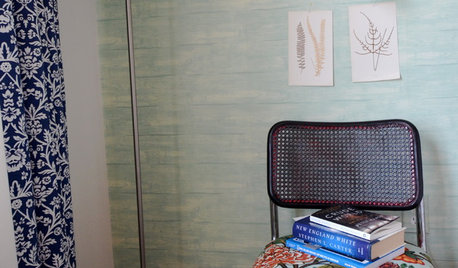
DECORATING GUIDESCrafty Homes Unleash a Wildly Creative Spirit
Mix an offbeat aesthetic with a DIY demeanor, and what have you got? One-of-a-kind homes with a sense of design adventure
Full Story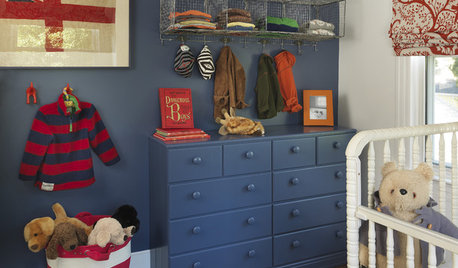
KIDS’ SPACESA Place of His Own: Boy's First Bedroom
Colorful, creative, themed or not, boys' bedrooms like these encourage happy times
Full Story
DECORATING GUIDESMore Is More: The 10 Tenets of Maximalist Style
Ready to join the school of over-the-top design? Learn how to embrace excess in your interiors
Full Story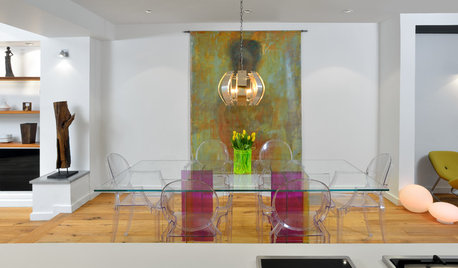
CONTEMPORARY HOMESHouzz Tour: Old House, New Attitude
Artistic touches, bold colors and other modern updates take a 1930s Toronto home from typical to terrific
Full Story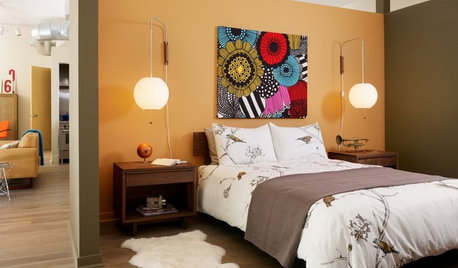
BUDGET DECORATINGBudget Decorator: 11 No-Sew Home Decor Projects
No seamstress skills? You can still show off fab fabrics and trim — not to mention your creative ingenuity — all around your home
Full Story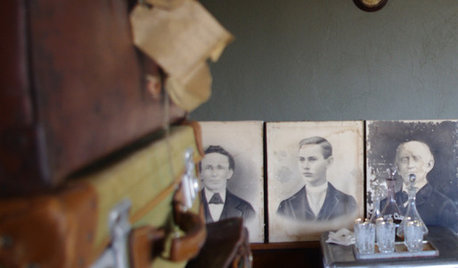
DECORATING PROJECTSWhat to Do With Old Family Photos
Find out how to research, share and preserve images that offer a connection to the past
Full Story
Call for DIY Projects: Show Us What You've Got!
Share a Pic of Your Handiwork with the Houzz Community
Full StoryMore Discussions
craftyintx