

What kind of tape to use?
11 years ago
Featured Answer
Sort by:Oldest
Comments (18)
 11 years ago
Related Discussions
Questions about using tape when planting
Comments (7)then again .. i just moved about 20 clumps... and skipped the tape...i just didn't care ... and then got 8 inches of rain last week ... and none of them flopped ... go figure on that .. listen its September ... they are going to get ugly .. the move will speed that ... don't worry about it.. just get it done.. the best thing the tape will do .. is get the leaves out of the way while you dig... and give you leverage for lifting out the clump ... good luck ken...See MoreGrafting tape and such
Comments (4)The last graft I did (still waiting to see if it takes)I used some latrx caulk around the joint to try to further seal it. It is too soon to tell if it helped at all. I also put some stakes in the pot to stabilize the stem below the graft. This was a fairly thick plant, about 1 1/2 inches in diameter and the scion was about 14" with four tips, so it was a little top heavy. I also have it on a heat mat under grow lights, rather than outdoors. The weather is good, but it is windy and I don't want it to move. Mike...See MoreDo i need to use wax for this kind of graft or just masking tape?
Comments (6)The correct stuff that you would want to use is a flexible vinyl 1/4" tape that can be found at most garden centers. It is green colored- often sold as tie-up tape for various uses in the garden. It is the same stuff that I order from horticultural supply places as grafting tape. It is cheap (probably about 3 bucks for many yards of it) and easy to work with. You can adjust your tension with this stuff and it creates a water tight seal. All the waxes and other assorted things are just a pain to mess with. Once you get good with using this tape, you will understand why it is the most often used. I can sit and watch TV and about 1 union per minute. Cleft grafting is the easiest for a person just learning. It will produce a strong, durable graft on Pear. One thing I will mention, even I, who has done a bajillion grafts (I used to do contract work for orchardist when I lived in the North), find it hard to do a good job with a regular pocket knife. I use a grafting knife, looks and acts just like a regular pocket knife except that the is an edge only on one side of the blade. One thing I might suggest is to go out and cut a number of 1/4 branches from your Pear tree. Cut into correct lengths(5-6 inches are easy to work with), pretending one is your rootstock and one your scion. Now, make a bunch of "grafts". You will be better able to understand the "feel" of the pulling of your knife and the pushing of the scion into the rootstock. Use your vinyl tape to make a "mummy". Leave a couple inches of tape loose about an inch under your graft then press your thumb firmly with the tape between your thumb and rootstock. Now, slightly stretching the tape as you work, start winding up, overlapping the tape as you go. When you reach the cut edges of your rootstock, add a bit more tension forcing the tape to mold to the edge, pulling inward. Keep winding up about an inch above the graft and then simply change directions, winding down, always keeping the tension on the tape. Cover any parts you missed on the first pass up. Now, as you get back to where you started, tie the end you have been working with to the "tail" you had left hanging when you started. Just knot it. You are now done. Do this a number of times using your practice branches and all this will make total sense. One last important thing, get a wash rag use it to grasp your rootstock, letting part of it hang over your finger and thumb that is grasping your rootstock. It will protect you from a severe cut that you will most likely get the first time you go to make your slice down your rootstock. I used to teach grafting classes at a community college; it never failed, someone would say "I don't need THAT". Needless to say I always brought a good amount of cotton gauze and bandages, lol. I can still see the scar on my thumb from that first time. Good luck, you will do well. Pear was the first species I ever did too. I also did 5... I was never so proud as when I realized all 5 took. I felt like a real hero, lol....See MoreAdded horse manure compost to heat HFGH, now I have more questions...
Comments (1)Hannah - Sorry this is late and also a little off the cuff. If I were in your shoes looking for a suitable process without sinking a lot of money into this project, I would consider putting the entire pile outside and adjacent to (or piled up against) the north wall of your greenhouse. Cover it with foam board insulation so it doesn't cool off too quickly. That would get rid of the moisture problem, increase useable space inside, and likely help with the smell! Then run the garden hose through or under the wall and into the pile. I think garden hose would work fine at least for a few years. You'll need some sort of heat exchange inside. A very simple one would be one of the black tubs. A submersible pump pulls water out of the tub, through the pile and then drains back into the tub. This way you would be extracting heat but it wont be extremely cold water going into the pile (thereby hopefully reducing the chance that you could 'kill off' the composting process). I imagine theres some way you could get the thermo siphon / convection effect working but I just cant help there. I think having mechanical control of the flow is better. You could try using one of the many solar powered fountain pumps sold online. The problem with those is unless you get or build a battery charging system it will only run during the day. You'll want to make sure to minimize the amount of head pressure (height that the water needs to travel) with these pumps as they typically do not have real good pressure ratings. For tape, maybe get some that is specifically made for greenhouses: http://www.greenhousemegastore.com/product/poly-patching-tape/polyethylene-film-install-accessories I think gorilla tape makes a clear version now too... that's probably what I would try first....See More- 11 years ago
 11 years ago
- 11 years ago
 11 years ago
 11 years ago
- 11 years agolast modified: 11 years ago
- 11 years agolast modified: 11 years ago
 11 years ago
- 11 years ago
- 11 years ago
- 11 years ago
- 11 years ago
- 11 years ago
- 11 years ago
- 11 years ago
 11 years ago

Related Stories

DECORATING GUIDESArranging Furniture? Tape it Out First!
Here's how to use painter's tape to catch any interior space-planning mistakes early
Full Story
PRODUCT PICKSGuest Picks: Handy Finds for Painting Projects of All Kinds
Make over rooms and furniture more easily and with better results with the right paint and gear
Full Story
ACCESSORIESCollective Wisdom: Display Ideas for Collections of All Kinds
Show your interests without exposing clutter by going for artful arrangements with a unified feel
Full Story
PAINTINGBulletproof Decorating: How to Pick the Right Kind of Paint
Choose a paint with some heft and a little sheen for walls and ceilings with long-lasting good looks. Here are some getting-started tips
Full Story
REMODELING GUIDES9 Creative Window Designs for All Kinds of Spaces
When standard windows just won't cut it, these innovative options are a breath of fresh design air
Full Story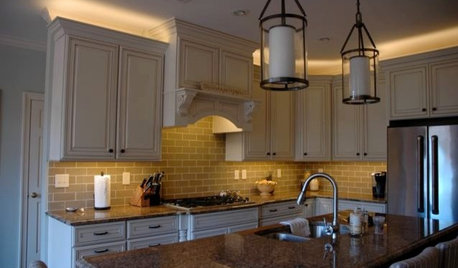
LIGHTINGThe Lowdown on High-Efficiency LED Lighting
Learn about LED tapes, ropes, pucks and more to create a flexible and energy-efficient lighting design that looks great
Full Story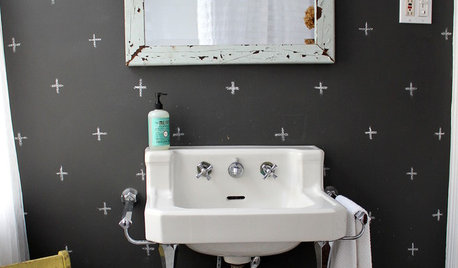
DECORATING GUIDES9 Decorating Projects for Lazy Summer Days
Have fun and redecorate with chalkboard "wallpaper," giant washi tape, photos, scrap wood and more
Full Story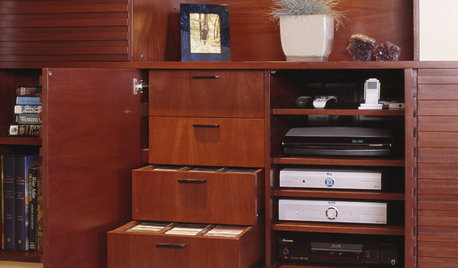
MEDIA ROOMSGet It Done: Organize the Media Cabinet
Ditch the worn-out VHS tapes, save valuable storage space and find hidden gems with this quick weekend spruce-up
Full Story
MATERIALSRaw Materials Revealed: Drywall Basics
Learn about the different sizes and types of this construction material for walls, plus which kinds work best for which rooms
Full Story
HOUZZ TVHouzz TV: Create Your Own Mural Wall With Easy DIY Stencils and Stamps
Artist Kristin Nicholas shows us how she makes her one-of-a-kind art walls. Watch the 3-minute video
Full Story
OklaMoni