I know I will try your patience with this long and picture laden post, but I really want to share this with you. It is the kind of thing I have found here when I had a problem and could not imagine an answer as we remodeled. Maybe someone will find this useful. I hope so.
When we remodeled our kitchen about a year ago, I asked that the upper cabs be 15'' deep. Since I prep on the island and seldom on the perimeter under the cabs, and since I am fairly short (5' 2'') the deeper wall cabs cause no inconvenience, and they are GREAT for storage.
I knew at the time that I was creating a monster in the corner though. Here is the way the old corner looked. Pretty, but it was a storage nightmare. Items stored at the back were more than 2 feet behind the items in the front. Impossible to reach without emptying the whole shelf.
I knew I wanted susans there, but the cabinet makers simply were not comfortable modifying them as I wanted. And I knew that, unlike base cabinets, it WAS possible to add susans to wall cabinets after the cabs were installed. So I waited. I had thought I could do this myself, but found that lifting the shelf and susan into place was beyond my strength, so this summer, a young contractor and I tackled the job.
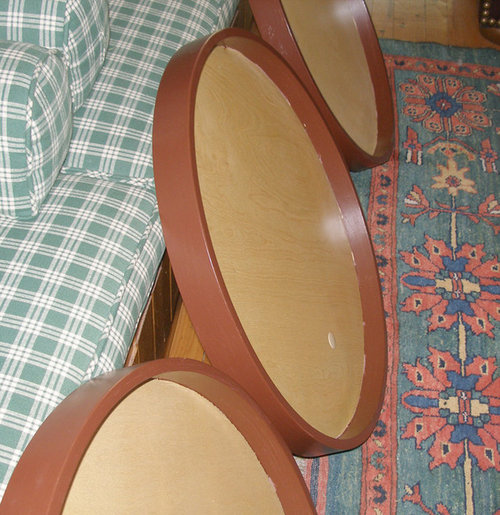
There were three shelves, but I knew that after I modified them, I wanted four. I found a source for 24'' round Rev-a-shelf susans at less than $40 each and ordered 4 of them. I painted the edge so it would match the dark cherry cabs. They looked like this:
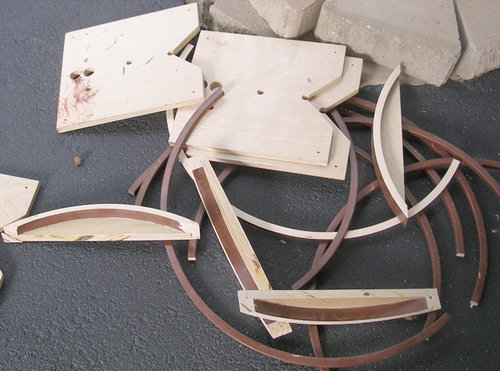
I wasn't happy with the small bearing under them, nor with the wasted vertical space. Each susan with its 2'' rim, bearings, mounting plate, and the shelf below it took 3'' of vertical space--so four of them would eat up 12'' in my 40'' cabinet! So we started cutting and replacing. We cut off one inch from the tops of the rim and a slice of the front edge to make a D-shaped instead of a round susan. We added a new, straight edge across the cut. (I was unable to find 24'' D-shaped susans anywhere. I had played with the idea of making the whole thing, but at less than $40 each, this seemed the better way.) Here are the cut off tops and the bearings and original crude turn table which we replaced or eliminated:
And here is a chopped and sectioned susan in position on the new shelf which we made to better use the vertical height provided by the more efficient bearings and the cut-down rim:
I know this is long, but I want to share what I can store on two different shelves in this corner susan. Bear with me.
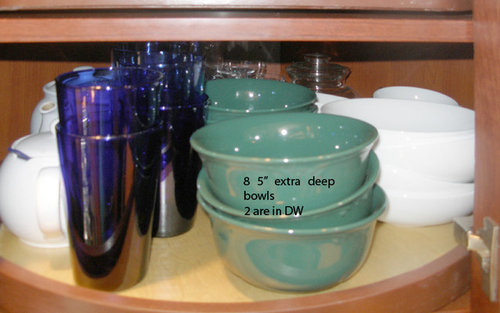
Here is the front of the bottom shelf.
Storage is planned so that multiple identical items are arranged in front to back rows. Everything is accessible from the front. Here is the same shelf rotated about 45 degrees:
And rotated another 45 degrees or more:
All of the items on this shelf are used almost daily.
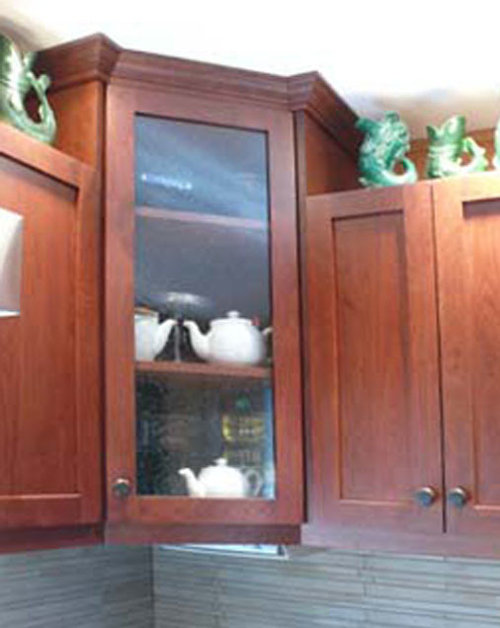
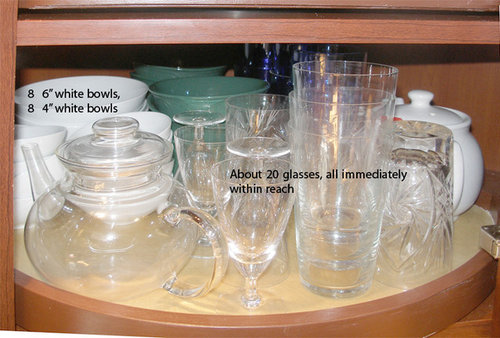
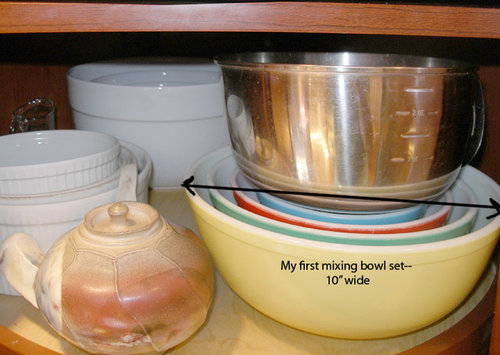
And one more shelf, This is the second one.
Front of shelf (I love teapots!)
Rotated about 1/3 of the way:
And rotated again:
Those big nested mixing bowls were space gobblers on any shelf or in any drawer before. I am not sure they would even fit in 12'' deep cabs. They are perfect here. Easy to reach and remove.
I plan to use the two upper shelves for ''dead'' or seasonal storage because I can reach them only with a ladder.
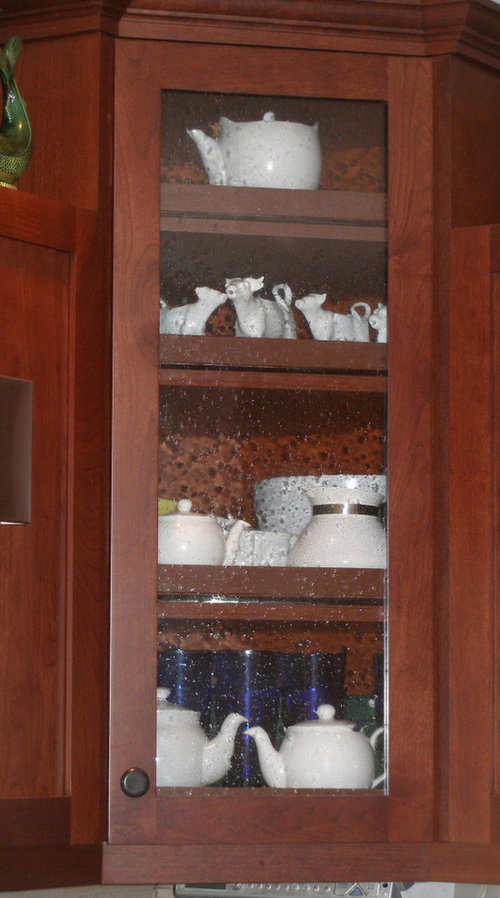
Here is a flash photo of the way the corner looks now. Forgive the ugly shadows the dimpled glass casts under a photo flash.
In summary: If you have limited storage space and every inch counts, consider 15'' deep uppers. If you do 15'' deep uppers, consider susans on the shelves. I strongly recommend retrofitting commercial susans or, better yet, having your cabinet maker custom make them to use every possible inch of vertical and horizontal space.
I like the new easy reach corner upper shelves a lot, but this holds SO much more that I would not change even if I could.
As a final image, I am going to post the bearings we used. I found them on Amazon. The shelves just coast with a slight spin. Brooks, my friend and budding contractor, was astonished at the difference they made:
I have had an immense amount of fun with this project. And playing with organizing the storage has only begun. Next stop is toe kick drawers!!
Thanks for looking. And thank you, GWers, for teaching me that almost anything I can imagine is possible--and then helping me imagine it!
Sandra











deedles
scrappy25
Related Discussions
Greenhouse film on stoophouse in summer?
Q
Angie DIY-question about your super susan
Q
adapting kitchens for people with aging/disability issues
Q
Fixer Upper / Window Replacement - Need help Navigating The Options!!
Q
CEFreeman
cat_mom
mmhmmgood
bellsmomOriginal Author
bellsmomOriginal Author
Weedpuller1954
bellsmomOriginal Author
angie_diy
a2gemini
mjher1
bellsmomOriginal Author
scrappy25
bellsmomOriginal Author
Weedpuller1954
a2gemini
bellsmomOriginal Author
a2gemini
CEFreeman
bellsmomOriginal Author
CEFreeman
CEFreeman
bellsmomOriginal Author
CEFreeman
Nancy in Mich
bellsmomOriginal Author
CEFreeman
dihofs