


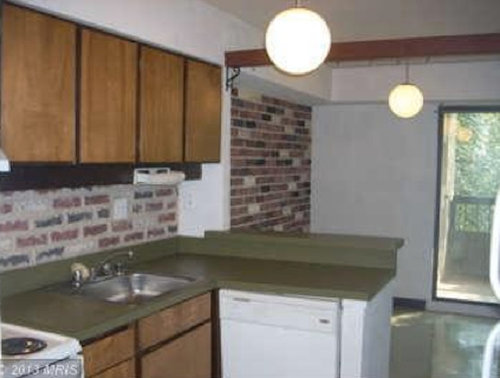
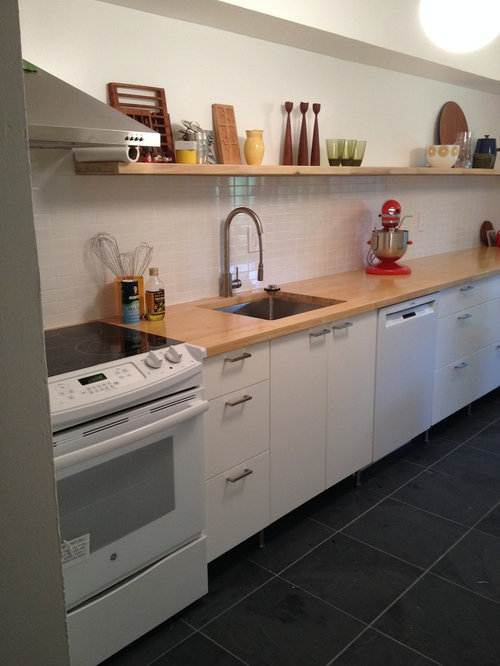
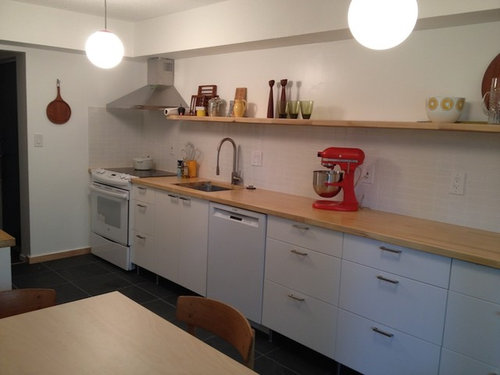
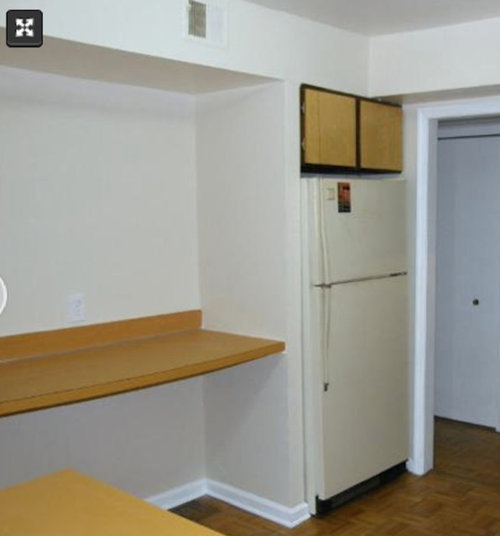
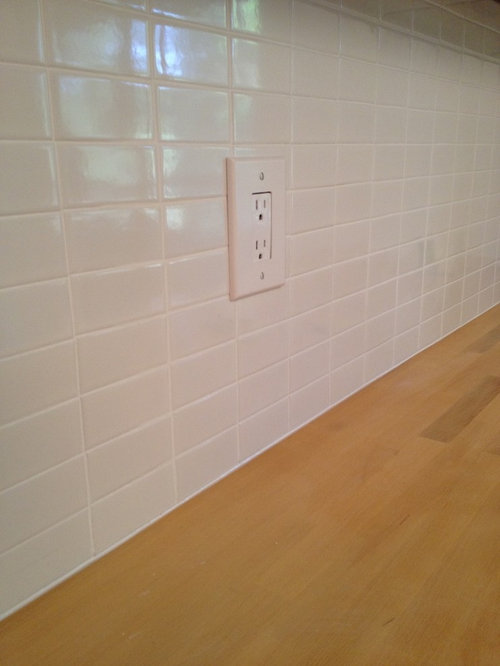
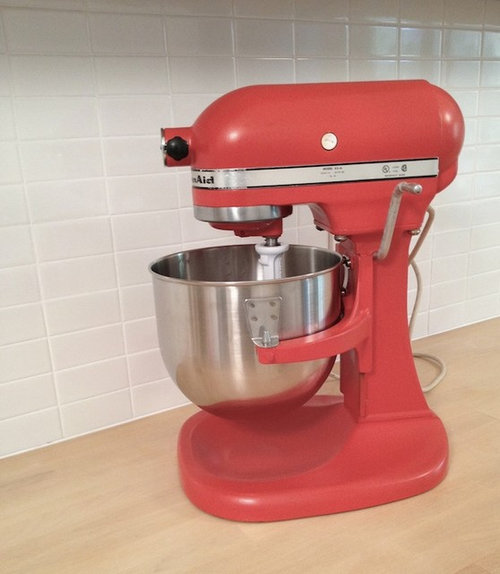
REVEAL on Holy 70s, Batman! condo kitchen
spanky_md
9 years ago


Featured Answer
Sort by:Oldest
Comments (31)

spanky_md
9 years agolast modified: 9 years ago
lazy_gardens
9 years agolast modified: 9 years agoRelated Discussions
Condo 175sq/ft in News
Comments (58)Thanks Shades! Thast was very interesting. The underbed storage idea looks like it was taken from yachting/RV living. It works way better than drawers in a captains bed because you can store big items that are not used often and it doesn't have that 'toe stub' problem that captains beds have. I have placed my microwave on my fridge like he did, but people always scratch their head and ask "Why is the microwave on top of the fridge??" What's up with the big stashes of booze New Yorkers always have displayed? The kitchen hasn't been updated and looks sparse, but the guy says he does not cook much. I would go nuts with a kitchen like he has (or maybe I would learn to adapt). I like his design and decorating philosophy but all I could imagine in his place was DUST and having to dust all the clutter....See MoreMid 70s brutalist row house
Comments (45)In its own suburban way, that's what the PO did to this house, magnaverde. We've been spending a lot of time taking out white colonial Home Depot molding and putting in small simple molding (painted the same color as the room), taking out 6 panel fake wood hollowcore doors and replacing them with solid core slab doors or fir single-lite pocket doors...one eyesore I haven't been able to fix yet is in the double -height foyer where a massive foyer fixture once hung, the PO put a cr*ppy white HD fan with shiny fake brass trim...UGH UGH UGH. I actually found a rather tasteful 70s Fredrick Ramond fixture in LN condition at a Habitat store, which would be much closer to what should show in that tall window above the door, but it's *difficult* to get up there and change the fixture out. We've given away so much colonial molding and use the doors for work surfaces. This is no masterpiece house, but it felt like it was being suffocated in faux-colonial trim and we've resimplified it so it could be itself again. Which will probably go completely unappreciated in this neighborhood, but it passed the time. palimpsest, if you have a feeling that you shouldn't post, I completely respect that. Don't want to jinx anything. We'll just have to wait until you have found something and then settled on it and then we can celebrate with you! I have faith that you can do anything you want and will make whichever house (and cash IS king right now, so I understand the drive to underspend) into a photogenic and soul-nourishing home....See MoreDIY Kitchen Reveal
Comments (127)Thanks Mudhouse. I was half joking about the stupidly overdone and expensive. I wanted to spend $35K, but wound up close to $40K. And I could have gotten away for a lot less. . . .costs overran about $1K on paint, $2K on granite for going full backsplash as I didn't like any other alternatives, $500 in tools that I either broke or thought I needed, $1K replaced dishwasher where I was going to reuse the old one. It wasn't the cabinets that caused all the expense, but all the nice appliances, sink and fixtures I found out about from this forum. Never thought i would be spending $3+K on the kitchen sink - but just had to have it.once i saw it, same for the range top. Haha - so I have all of you to blame. : )...See MoreLight at end of tunnel reveals...WALNUT!
Comments (22)I love those cabinets - both the wood itself and the craftsmanship. The grain pattern is beautiful and the wood just glows. The crown is great - it is substantial, but very clean and simple at the same time. I really want walnut cabinets and am working on the details now. Do you know if yours are black walnut or English walnut? How were they finished - was any stain used, or just an oil finish, or something else? They are truly lovely....See MoreTexas_Gem
9 years agolast modified: 9 years agoheritagehd07
9 years agolast modified: 9 years ago
my_four_sons
9 years agolast modified: 9 years ago
Errant_gw
9 years agolast modified: 9 years agolee676
9 years agolast modified: 9 years ago
Terri_PacNW
9 years agolast modified: 9 years agoemilymch
9 years agolast modified: 9 years ago
poohpup
9 years agolast modified: 9 years agopalimpsest
9 years agolast modified: 9 years agovdinli
9 years agolast modified: 9 years agomomfromthenorth
9 years agolast modified: 9 years agospanky_md
9 years agolast modified: 9 years agochicagoans
9 years agolast modified: 9 years agospanky_md
9 years agolast modified: 9 years agobrightm
9 years agolast modified: 9 years ago
lisa_a
9 years agolast modified: 9 years ago
oldbat2be
9 years agolast modified: 9 years agomgmum
9 years agolast modified: 9 years ago
a2gemini
9 years agolast modified: 9 years agotracie.erin
9 years agolast modified: 9 years agomusicgal
9 years agolast modified: 9 years agospanky_md
9 years agolast modified: 9 years agoemilymch
9 years agolast modified: 9 years agotracie.erin
9 years agolast modified: 9 years ago
romy718
9 years agolast modified: 9 years agobellsmom
9 years agolast modified: 9 years ago
teeda
9 years agolast modified: 9 years agospanky_md
9 years agolast modified: 9 years ago
Related Stories

INSIDE HOUZZA New Houzz Survey Reveals What You Really Want in Your Kitchen
Discover what Houzzers are planning for their new kitchens and which features are falling off the design radar
Full StoryREMODELING GUIDESBathroom Remodel Insight: A Houzz Survey Reveals Homeowners’ Plans
Tub or shower? What finish for your fixtures? Find out what bathroom features are popular — and the differences by age group
Full Story
HOUZZ TOURSMy Houzz: Retro Vibe for a Boston Condo
Bright, happy colors paired with midcentury modern-inspired furnishings complete this couple’s 850-square-foot cozy home
Full Story
HOUZZ TOURSHouzz Tour: Travel and Art Intertwine in a California Condo
A bland 1960s high-rise in Hollywood gets a colorful, contemporary redesign inspired by a global art collection
Full Story
CONTEMPORARY HOMESHouzz Tour: Unboxing a San Francisco Condo
Feminine glam replaces boxy and boring in a remodeled luxury condominium with a view
Full Story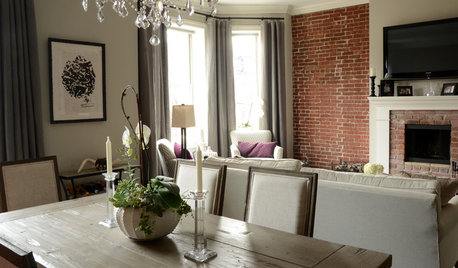
APARTMENTSMy Houzz: Travel-Inspired Style for a Boston Condo
An elegant neutral palette and modern finishes give personality to this 860-square-foot home
Full Story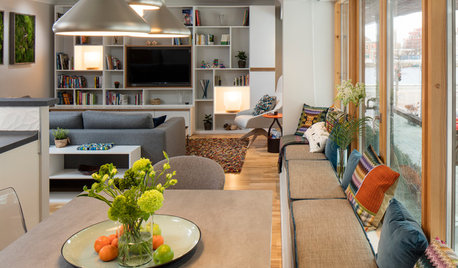
HOMES AROUND THE WORLDHouzz Tour: A Cozy Dublin Condo Full of Smart Storage Ideas
This redesigned home is packed with stylish ideas for small-space living
Full Story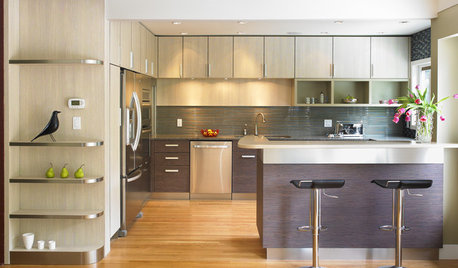
KITCHEN DESIGNExpert Talk: 12 Ways to Get a Designer-Kitchen Look
Professional designer Ines Hanl reveals her thought processes on select kitchen remodels
Full Story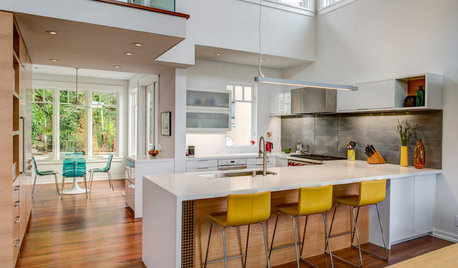
INSIDE HOUZZHouzz Survey: See the Latest Benchmarks on Remodeling Costs and More
The annual Houzz & Home survey reveals what you can expect to pay for a renovation project and how long it may take
Full Story
HOUZZ TOURSMy Houzz: Fairy-Tale Charm in a Historic Hollywood Landmark
Just a stone’s throw away from Hollywood Boulevard, vine-covered walls hide a magical courtyard and a couple’s condo
Full Story


amck2