


Roadside finds and CL bargains transformed
14 years ago
Sort by:Oldest
Comments (30)
Related Stories
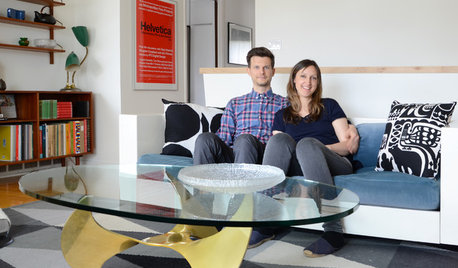
HOUZZ TOURSMy Houzz: Online Finds Help Outfit This Couple’s First Home
East Vancouver homeowners turn to Craigslist to update their 1960s bungalow
Full Story
UPHOLSTERYThe Perks and Perils of Reupholstering Old Furniture
Secondhand upholstered pieces can add character to a room, but beware of bugs, snakes and hidden costs
Full Story
DECORATING GUIDESBudget Decorating: How to Decorate Smart and Slow
To make the most of your decorating dollar, forgo the disposable stuff, think vintage and free first and give yourself a splurge
Full Story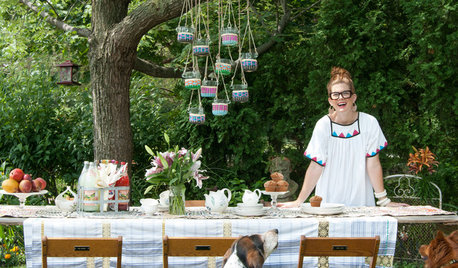
ECLECTIC HOMESMy Houzz: Garage Sale Meets Glam in Ohio
With their 5 kids grown up and moved out, a Euclid couple finally gets to design all for themselves
Full Story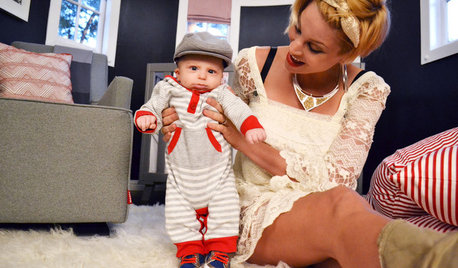
KIDS’ SPACESStep Right Up to a Top Model’s Circus-Inspired Nursery
Based on the big top and set in a real castle’s turret, this nursery could be the setting for a storybook
Full StoryFURNITURE10 Secrets of Successful Secondhand Furniture Shopping
Design professionals offer tips on how, where and what to buy
Full Story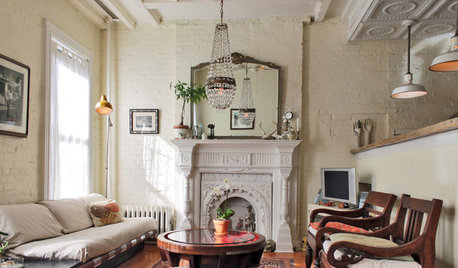
ECLECTIC STYLE5 Reasons to Hit That Secondhand Store
New things have their place, but old things have a history and beauty all their own
Full Story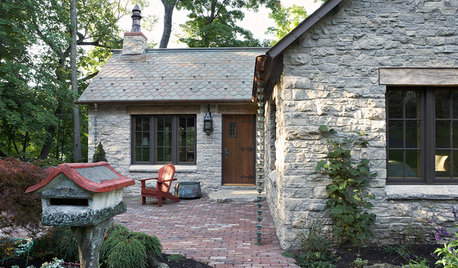
GREEN BUILDINGHouzz Call: What Have You Salvaged for Home Use?
If your floors, furniture, exterior materials or other home elements have a past life, we'd like to hear the story
Full Story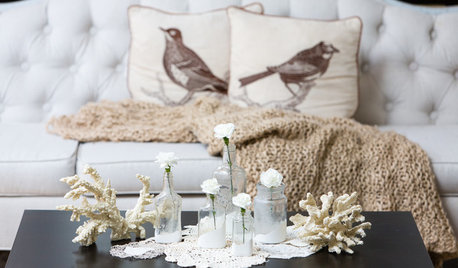
DECORATING GUIDESBudget Decorator: Let’s Go Thrifting
Dip into the treasure trove of secondhand pieces for decor that shows your resourcefulness as much as your personality
Full Story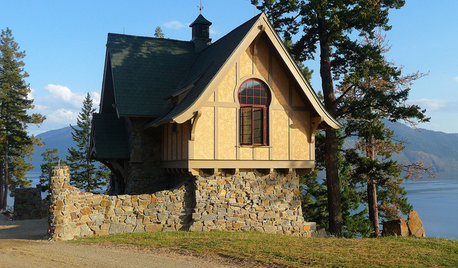
ARCHITECTUREHow to Design a Storybook Cottage
A client’s request: “Build me a house where Disney meets Tudor.” The architect explores the details that make the style
Full Story
nicole__
User
Related Discussions
CL $25 brass and glass coffee table turned ottoman!
Q
let's do good cl items - the best ad in your area today under $50
Q
Remeber the sweet old painted bureau I got from CL for $30?
Q
My CL find
Q
parma42
ctlane
nanny2a
sundownr
User
readerlearner
oceangirlme
User
zipdee
User
lynninnewmexico
balego_gwOriginal Author
2ajsmama
dilly_dally
balego_gwOriginal Author
nicole__
balego_gwOriginal Author
desertsteph
nicole__
wbgroovy
nanny2a
trancegemini_wa
balego_gwOriginal Author
yborgal
nicole__
trancegemini_wa
balego_gwOriginal Author
nicole__