


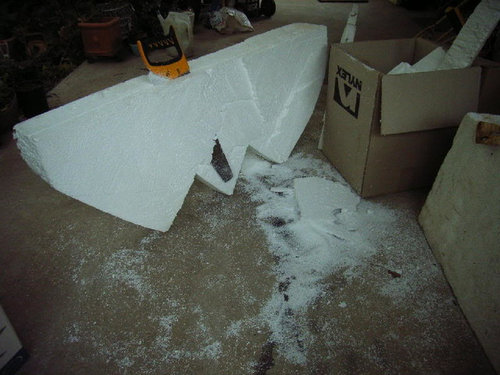
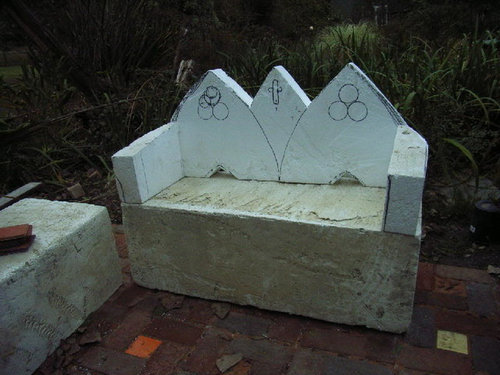
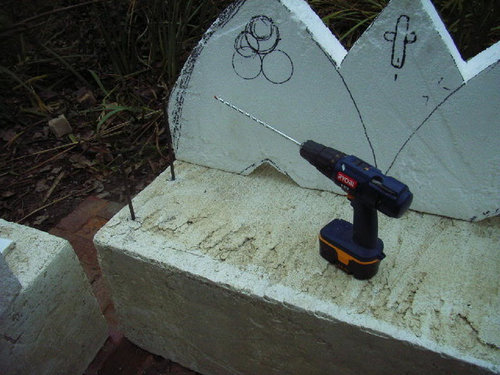
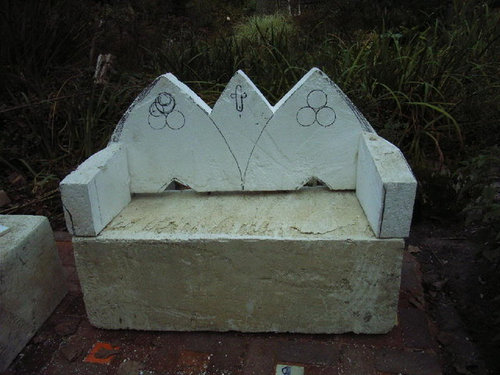
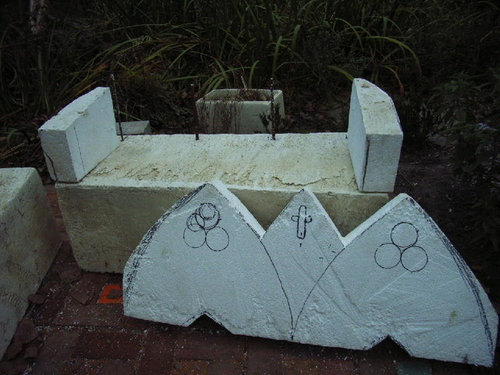
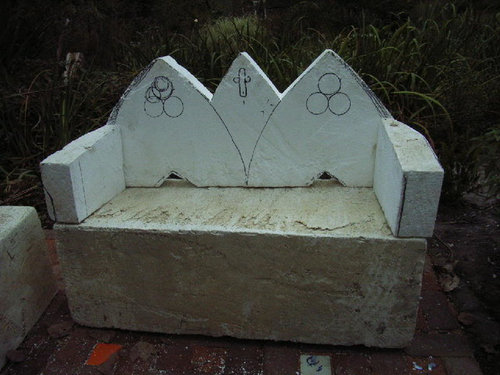
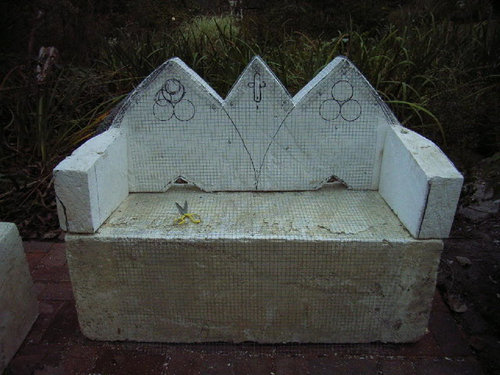
wip bench warning lots of pics
16 years ago

Sort by:Oldest
Comments (10)
Related Stories
MATERIALSWoodipedia: Maple Is a Marvel Around the House
A heavy hardwood with lots of potential, maple appeals to modern sensibilities and won't break your budget
Full Story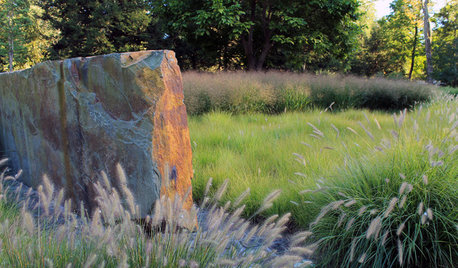
EARTH DAYThe Case for Losing the Traditional Lawn
Work less, help the environment and foster connections by just saying no to typical turf
Full Story
LANDSCAPE DESIGNLay of the Landscape: French Garden Style
Symmetry and geometry define this decorous landscape style, appropriate for both grand gardens and intimate spaces
Full Story
DREAM SPACESJust a Few Things for the Dream-Home Wish List
A sunken hot tub, dedicated game room, tree house, hidden wine cellar and more. Which of these home luxuries would you like best?
Full Story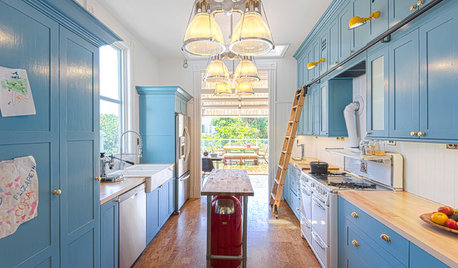
KITCHEN DESIGNKitchen of the Week: Pushing Boundaries in a San Francisco Victorian
If the roll-up garage door doesn’t clue you in, the blue cabinets and oversize molding will: This kitchen is no ordinary Victorian galley
Full Story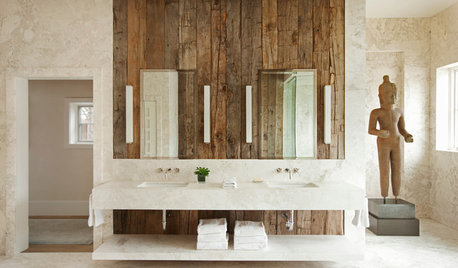
DECORATING GUIDESHow to Bring the Beauty of Reclaimed Wood to the Bath
Beautiful salvaged wood adds warmth and texture to a bathroom. Here's how to get the look right
Full Story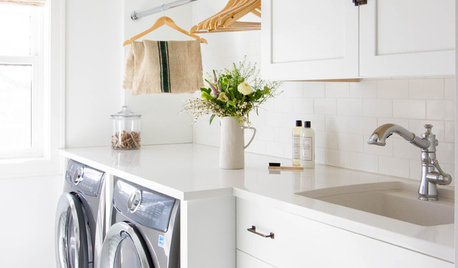
MOST POPULARHow to Remodel the Laundry Room
Use this step-by-step guide to figure out what you want and how to make it happen
Full Story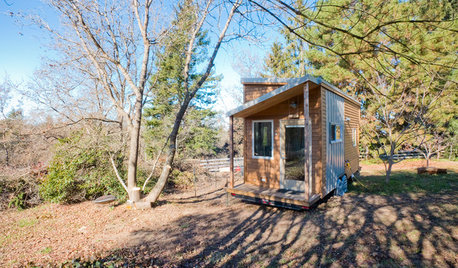
SMALL HOMESHouzz Tour: Rolling With Simplicity in a Tiny House on Wheels
Just 240 square feet, this California home encourages efficient living — but there’s still room for yoga
Full Story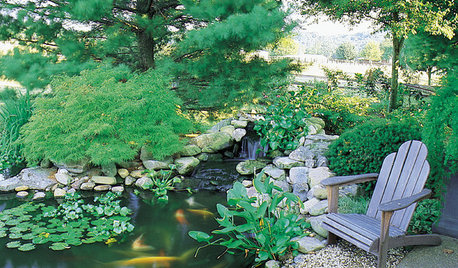
GARDENING AND LANDSCAPINGHow to Make a Pond
You can make an outdoor fish paradise of your own, for less than you might think. But you'll need this expert design wisdom
Full Story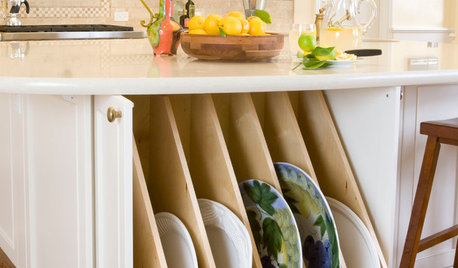
KITCHEN STORAGE13 Popular Kitchen Storage Ideas and What They Cost
Corner drawers, appliance garages, platter storage and in-counter knife slots are a few details you may not want to leave out
Full Story
Calamity_J
siriusmosaics
Related Discussions
My 3 Year Landscaping Project (lots of pics)
Q
New conifer pics and backyard progress(bandwidth warning!)
Q
wip, garden orb
Q
WIP benches
Q
flagtruck
texaswild
cindiloo
ladyronnie
bamasusanna
shrty411
cait1Original Author
Calamity_J