For those who have trouble loading (or finding) my long threads on my library/music room, here is a quick way to see it completed. I have appreciated all of your enthusiasm and your help in deciding on paint versus wood grain. We decided on all paint, the same color as the rest of the room, but with semi-gloss instead of satin.
Paint is Valspar Spice Delight from Lowes.
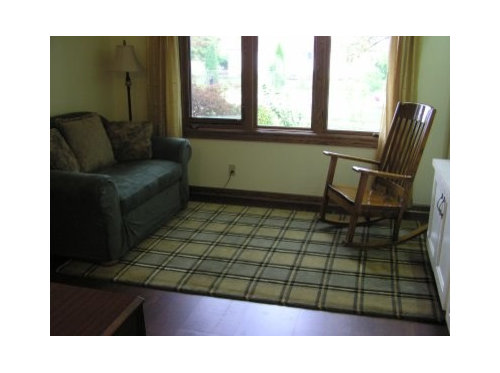
Window is an Eagle casement window with two outer operational windows, triple panes, retractable screens that roll up to the top, oak interior wood in the color "mahogany" and aluminum exterior cladding.
The flooring is Wicanders cork click planks Series 1000 in the color Chestnut. It has a layer of cork on the bottom, so we did not put anything under it except for the visquene vapor barrier between the flooring and the slab. If I had it to do again, I would have the contractor put something soft under it, like a cork underlayment. It has that hollow clicky sound that snap-together floors sometimes have. We have not had a bright ans sunny day, so I have not gotten a good picture of it yet. It is a very dark color. We do like it, so far.
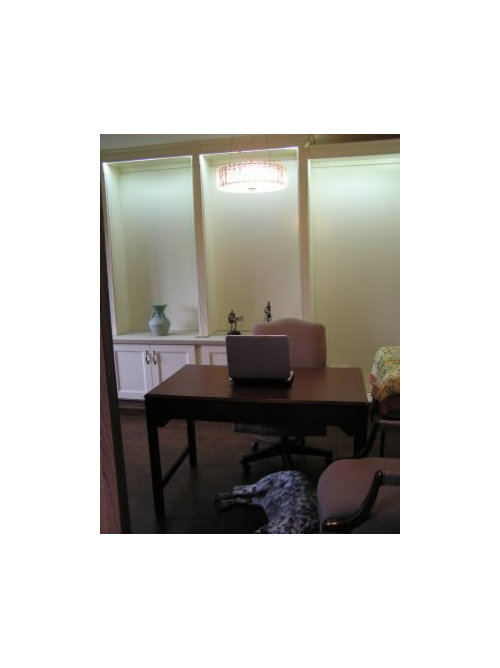
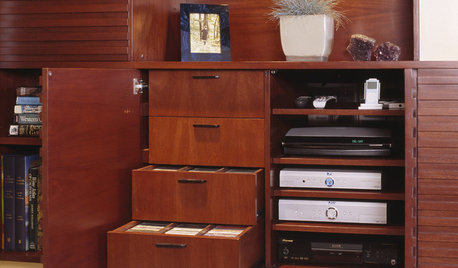
The bookshelves, desk, and french doors were all Craigslist finds. The chairs, file cabinet, and the base cabinets under the bookshelves are from a used office furniture shop. The rocker has been in my family since the mid 1930s, and was not new then. The loveseat was bought barely used from a family friend and it is covered with a Sure Fit slipcover. The rug is new from a local discount rug outlet.
It was my design, but was totally executed by my contractor, Jim Hartman of Contract Remodeling of Roseville, MI. He is a perfectionist and an honest and reliable hard-working man. He reinstalled the foyer trim, re-sized (drywall work) the opening of the living room to fit the new french doors, drove and got the french doors from the house of the people who sold them, installed the new window (and another in the laundry room), installed the new floor, cut, stained and installed the baseboard and toe moldings, re-routed the heat vent from a floor register to a toe-kick register in a base cabinet, primed and painted the new opening into the room, stained, cut and installed the french door jambs, installed a new ceiling light where none existed previously and a dimmer switch for it, installed lights in the crown molding of the bookcase, and moved furniture back into the room. He also touched-up our painting and repainted the ceiling.
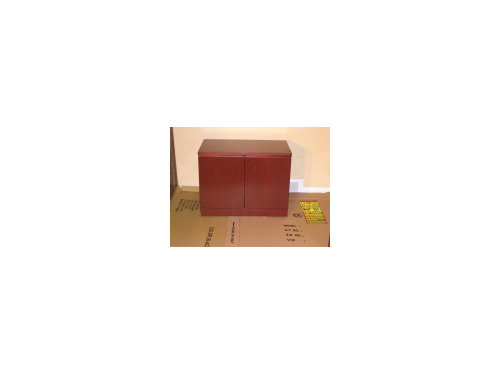
To build the bookcases from five 8 ft tall used bookcases and three used office storage cabinets, he first spaced them evenly, cut three to a height to go to the ceiling when placed on top of the base cabinets, secured the five bookcases to the walls and cabinets after conferring with me on the design possibilities, made the picture-frame moldings on the doors of very modern-looking base cabinets in order to make them more classic-looking, installed the fluted molding, rosettes, and crown molding, stained and installed oak baseboard molding to match the rest of the room, and then had his helper prime the entire wall of bookcases and 32 shelves and then give all of this three coats of paint. He will also make the countertop for the library bases using Wilsonart laminate and beveled edge molding from Wilsonart. My hospitalization interfered with our project in only one way - I forgot to order the edge! So it was late in arriving and Jim will do it between his other projects in the next few weeks.
The cost for all of Jim's work in this room, including materials of oak baseboards, jambs, and toe moldings; stain, bookcase lumber (several 2x4s behind the middle three, the boards between each cabinet that were later covered by moldings, all of the moldings and other trim pieces) was... $5700.00! Jim had told me last year that if we wanted to have wall-to-wall bookcases in the front room in oak, built from scratch, the cost would be around $12,000. Well, we don't have oak, but we sure do have bookcases!
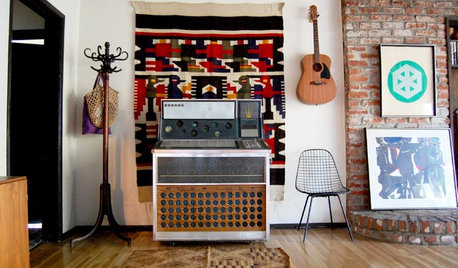
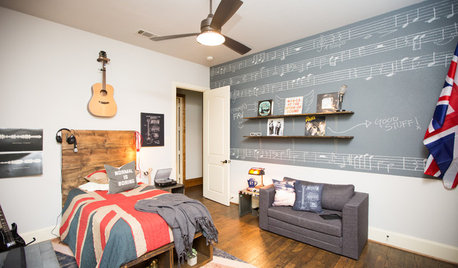
From this...
and this
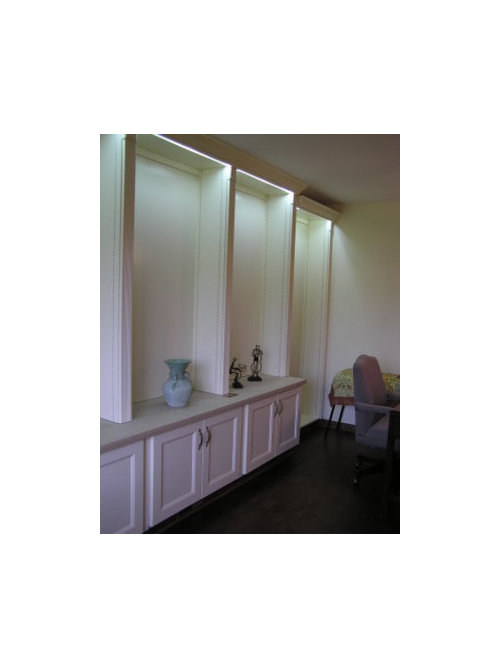
to this!
If you click below, you will be taken to my Pbase album. I have the pictures on size "large." You can re-size the pictures to smaller sizes underneath the photo. Hit "next" to go forward and see the finished room. I will add more as I get the decorating done. If you want to see the whole saga, including broken concrete floor and foundation repairs, go to the top of the page and click on the words "Front Room." Then go to the numbers above my shingles photos and click on the "1" and then click on the first photo on page 1. You can then see the whole story with all of the captions and details, foundation repairs, shingles outbreak, and all.
Here is a link that might be useful: Pbase album of project


TxMarti
Nancy in MichOriginal Author
Related Discussions
Dining room? Pantry? Library? Help! (pics)
Q
Formal Dining Room as DR/Library/Study Area?
Q
Garrell Home - Nantahala & office OR music room
Q
narrow great room (family room and formal living room/library music ro
Q
TxMarti
desertsteph
Shades_of_idaho
TxMarti
idie2live
User
TxMarti
InteriorStylist
lavender_lass
desertsteph
User
TxMarti
Nancy in MichOriginal Author
desertsteph
Nancy in MichOriginal Author
Shades_of_idaho
mama goose_gw zn6OH
Nancy in MichOriginal Author
shelayne
Nancy in MichOriginal Author
User