


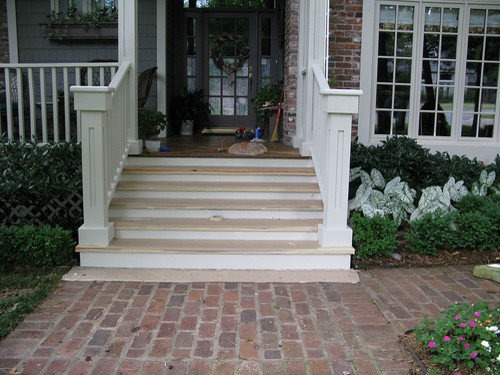
Do these end posts look top heavy (pics)
User
14 years ago


Sort by:Oldest
Comments (42)
Related Stories

GARDENING GUIDESGardening Solutions for Heavy Clay Soils
What’s a gardener to do with soil that’s easily compacted and has poor drainage? Find out here
Full Story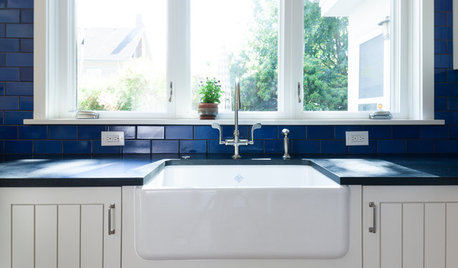
KITCHEN DESIGNKitchen Sinks: Fireclay Brims With Heavy-Duty Character
Cured at fiery temperatures, fireclay makes for farmhouse sinks that just say no to scratches and dents
Full Story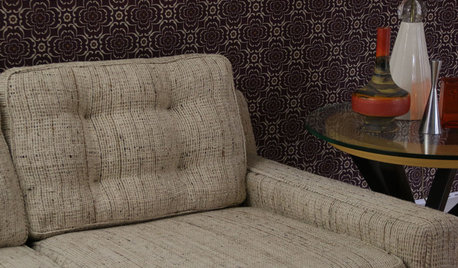
UPHOLSTERYFurniture Clinic: End the Curse of Slouchy Couch Cushions
Prolong the life of your couch with this inexpensive fix that’s so easy, even a beginning sewer can do it
Full Story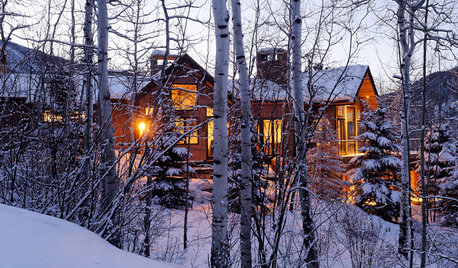
LIFEHouzz Call: Who'll Post the First Snow Photo of 2013?
If the weather's been flaky in your neck of the woods, please show us — and share how you stay warm at home
Full Story
BUDGET DECORATING8 Cost-Effective Ways to Get a High-End Look
Don’t discount that expensive material yet. By using a small amount in a strategic way, you can get a luxurious look without the expense
Full Story
DECORATING GUIDESTop 10 Interior Stylist Secrets Revealed
Give your home's interiors magazine-ready polish with these tips to finesse the finishing design touches
Full Story
KITCHEN COUNTERTOPS10 Top Backsplashes to Pair With Soapstone Countertops
Simplify your decision-making process by checking out how these styles work with soapstone
Full Story
BATHROOM DESIGNBathroom Countertops 101: The Top Surface Materials
Explore the pros and cons of 7 popular bathroom countertop materials
Full Story
LIFEThe Top 5 Ways to Save Water at Home
Get on the fast track to preserving a valuable resource and saving money too with these smart, effective strategies
Full Story
HOUSEPLANTS10 Top Plants to Grow Indoors
Brighten a room and clean the air with a houseplant that cascades artfully, stretches toward the ceiling or looks great on a wall
Full Story


graywings123
amylville
Related Discussions
And now the End of the Garden Walk Heavy Pics
Q
What do you do when you are lonely? (long and pic heavy)
Q
What to do with this custom entertainment unit - pic heavy
Q
At wits end!! Please help w/ 1st floor layout plan -pic heavy
Q
barb5
awm03
artlover13060
antiquesilver
User
squirrelheaven
UserOriginal Author
squirrelheaven
DLM2000-GW
les917
juddgirl2
squirrelheaven
UserOriginal Author
UserOriginal Author
DLM2000-GW
antiquesilver
squirrelheaven
saltnpeppa
User
les917
2ajsmama
bronwynsmom
awm03
snagd
UserOriginal Author
squirrelheaven
bronwynsmom
awm03
UserOriginal Author
squirrelheaven
squirrelheaven
UserOriginal Author
bronwynsmom
squirrelheaven
DLM2000-GW
squirrelheaven
UserOriginal Author
squirrelheaven
UserOriginal Author
UserOriginal Author