


October Kaleidoscope class - lesson 3
toolgranny
16 years ago


Sort by:Oldest
Comments (8)
Related Stories
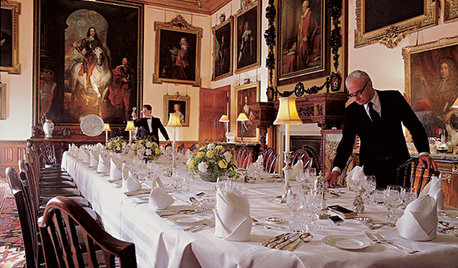
FUN HOUZZEverything I Need to Know About Decorating I Learned from Downton Abbey
Mind your manors with these 10 decorating tips from the PBS series, returning on January 5
Full Story
ACCESSORIESEveryday Home Must-Haves Beg for a Makeover
The Nest's much-improved take on the thermostat has us pondering reinventions of other necessities around the house
Full Story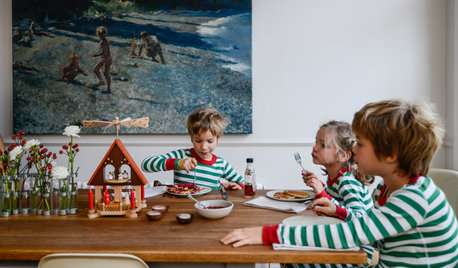
HOLIDAYSHow to Have a Just-Simple-Enough Holiday
Make this the year you say no to holiday stress and yes to joy and meaning
Full Story
ARTShow News: Rare Quilts Get Museum Time
See 6 intricate designs from a California exhibition and get tips for building your own quilt collection
Full Story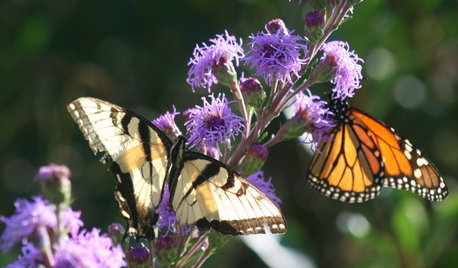
FALL GARDENINGWhat Monarch Butterflies Taught Me About Garden Design
Thinking like a butterfly leads to fresh perspectives in the garden and in life
Full Story
HOUZZ TOURSMy Houzz: Rising to the Renovation Challenge in Toronto
An eye for potential and substantial remodeling lead to a chic and comfortable home for a Canadian family
Full Story
DECORATING GUIDESThe Dumbest Decorating Decisions I’ve Ever Made
Caution: Do not try these at home
Full Story
INSIDE HOUZZHow Much Does a Remodel Cost, and How Long Does It Take?
The 2016 Houzz & Home survey asked 120,000 Houzzers about their renovation projects. Here’s what they said
Full Story
FURNITUREHolding Out for Quality
Cheap furniture has its place, but more shoppers are waiting to invest for the long haul
Full StoryKITCHEN WORKBOOK8 Steps to Surviving a Kitchen Remodel
Living through a kitchen remodel isn’t always fun, but these steps will help you work around a kitchen in disarray
Full StoryMore Discussions

idahoqltr
toolgrannyOriginal Author
Related Discussions
Mad Diary of Zone Busting in Zone 3 ...The End is a Long Way Away
Q
new: obf ~~ october's party ~~
Q
Forum Class Schedule!!!!!
Q
September Class?
Q
lizzy3_27
nana24
lyndawn
nana24
nana24
toolgrannyOriginal Author