


Finally Done! Three years in the planning!
paul_ma
16 years ago


Sort by:Oldest
Comments (30)
Related Stories
HOUSEKEEPINGThree More Magic Words to Help the Housekeeping Get Done
As a follow-up to "How about now?" these three words can help you check more chores off your list
Full Story
LIFEHouzz Call: What's Your New Year's Resolution for the House?
Whether you've resolved to finally finish a remodeling project or not stress about your home's imperfections, we'd like to hear your plan
Full Story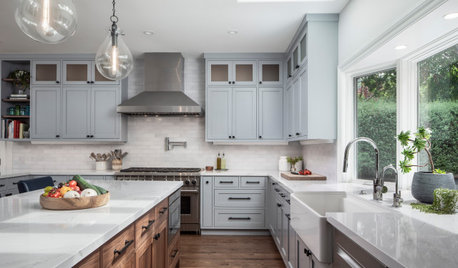
WORKING WITH PROSHow to Find Your Renovation Team
Take the first steps toward making your remodeling dreams a reality with this guide
Full Story
DECLUTTERINGYour Clutter-Clearing Plan for the New Year
Tackle these tasks month by month for a decluttering strategy that will really pay off
Full Story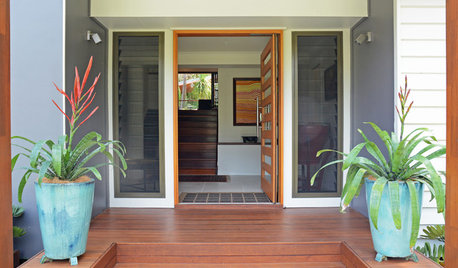
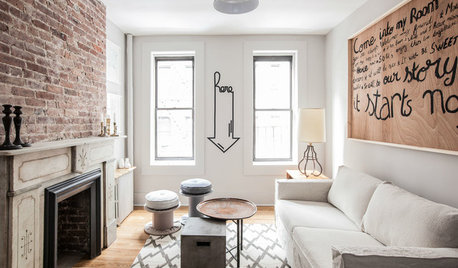
HOMES AROUND THE WORLDMy Houzz: A Dream Home 25 Years in the Making
A couple who had partly renovated their old clapboard home finally complete it to suit their empty-nester lifestyle
Full Story
MOST POPULARHow to Refine Your Renovation Vision to Fit Your Budget
From dream to done: When planning a remodel that you can afford, expect to review, revise and repeat
Full Story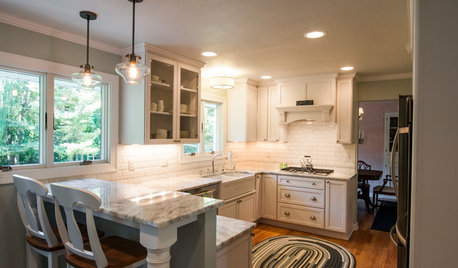
KITCHEN OF THE WEEKKitchen of the Week: 27 Years in the Making for New Everything
A smarter floor plan and updated finishes help create an efficient and stylish kitchen for a couple with grown children
Full Story
REMODELING GUIDESWhat’s on Your Design Wish List This Year?
Use winter days to begin planning your 2016 projects. Here’s a bit of inspiration to get you started
Full Story
KITCHEN DESIGNGet Ideas From This Year’s Top 20 Kitchen Tours
Smart storage, functionality for cooks and families, vintage touches and lots of personality mark your favorites of 2015
Full Story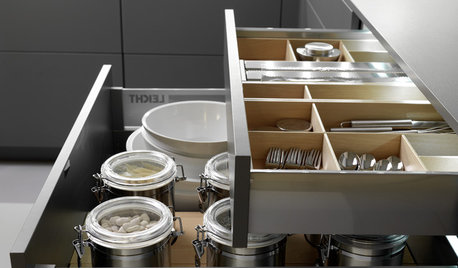
KITCHEN DESIGNGet It Done: Organize Your Kitchen Drawers
Clear 'em out and give the contents a neat-as-a-pin new home with these organizing and storage tips
Full Story

paul_maOriginal Author
Buehl
Related Discussions
Finally ready for winter...last chore done last night.
Q
finally finished after 2 years DIY
Q
After a year...we're finally done!
Q
Backsplash is finally in! Cherry cabs, ss, marble bs finally done
Q
footballmom
igloochic
bellsrus
bethv
momofmne
sdkitchen
kitchenkelly
epiccycle
paul_maOriginal Author
cat_mom
lily1342
bbtondo
paul_maOriginal Author
rmkitchen
boxiebabe
epiccycle
amcofar
paul_maOriginal Author
louisianapurchase
ni_2006
nuccia
wondery
paul_maOriginal Author
ehs20815
katmandu_2008
antiquesilver
ci_lantro
paul_maOriginal Author