


September Landscape Quilt Class - Lesson Four
teresa_nc7
16 years ago
Sort by:Oldest
Comments (2)
Related Stories

DECORATING GUIDESLessons in Living Comfortably: Embrace the Scratches and Dents
When you celebrate wear and tear, you send a message that your home is designed for relaxation
Full Story
LIFEDesign Lessons My Mother Taught Me
In honor of Mother’s Day, professionals on Houzz reflect on the design and style wisdom their mothers passed on
Full Story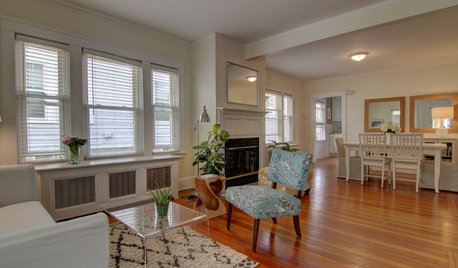
SELLING YOUR HOUSEA Moving Diary: Lessons From Selling My Home
After 79 days of home cleaning, staging and — at last — selling, a mom comes away with a top must-do for her next abode
Full Story
ARTShow News: Rare Quilts Get Museum Time
See 6 intricate designs from a California exhibition and get tips for building your own quilt collection
Full Story
DECORATING GUIDESCelebrating the Great American Quilt
They speak of family, history and beauty. Is it any wonder quilts transcend design styles?
Full Story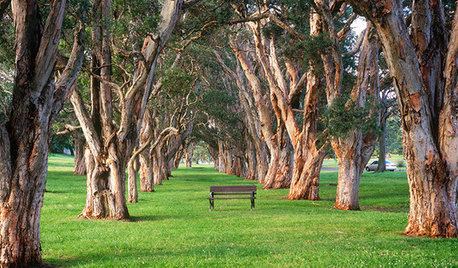
EVENTSEnjoy Plantings, Eat Bugs and Learn at the Australian Garden Show
Indulge your senses at this four-day celebration of gardening, food and more in Sydney — and don't forget to try the crickets
Full Story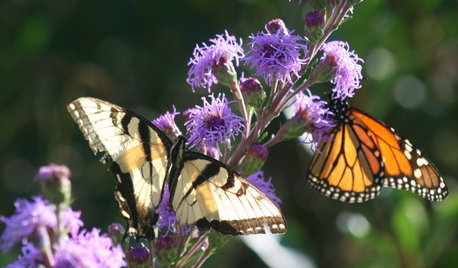
FALL GARDENINGWhat Monarch Butterflies Taught Me About Garden Design
Thinking like a butterfly leads to fresh perspectives in the garden and in life
Full Story
LIFEHow Your Landscaping Can Keep Burglars Away
Prevent home break-ins with strategic landscaping and good practices instead of menacing — and maybe less effective — measures
Full Story
FALL GARDENING11 Trees for Brilliant Fall Color
Give your landscape the quintessential look of autumn with the red, orange and yellow leaves of these standouts
Full Story
FALL GARDENING20 Favorite Flowers for the Fall Landscape
Vivid blooms and striking shapes make these annuals and perennials a delight in autumn gardens
Full StorySponsored
Leading Interior Designers in Columbus, Ohio & Ponte Vedra, Florida


new2quilting
teresa_nc7Original Author
Related Discussions
September Class?
Q
August Redwork Class Lesson 3
Q
September Landscape Quilt Class - Final Lesson
Q
Landscape Quilt Class - samples
Q