


Mom2lilenj - ??s regarding your kitchen
farmhousebound
16 years ago
Sort by:Oldest
Comments (20)
Related Stories
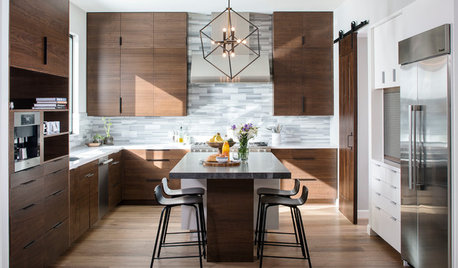
KITCHEN DESIGNNew This Week: Moody Kitchens to Make You Rethink All-White
Not into the all-white fascination? Look to these kitchens for a glimpse of the dark side
Full Story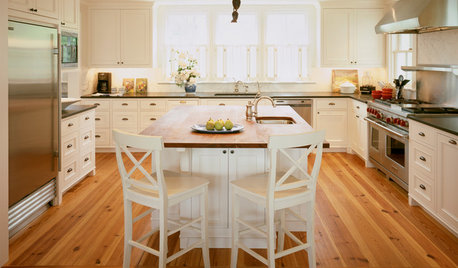
KITCHEN DESIGN3 Steps to Choosing Kitchen Finishes Wisely
Lost your way in the field of options for countertop and cabinet finishes? This advice will put your kitchen renovation back on track
Full Story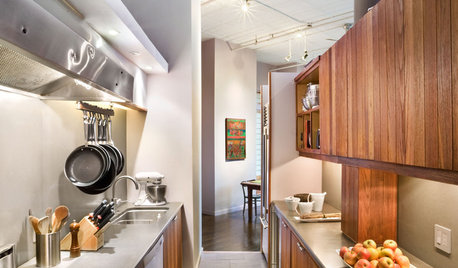
KITCHEN DESIGNKitchen Layouts: A Vote for the Good Old Galley
Less popular now, the galley kitchen is still a great layout for cooking
Full Story
INDUSTRIAL STYLENew This Week: 2 Industrial Kitchens to Inspire Your Next Remodel
Bored with white kitchens? Introduce concrete and steel elements for modern industrial style that doesn’t disappoint
Full Story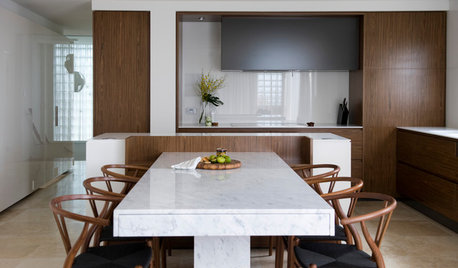
KITCHEN DESIGNKitchen of the Week: Surprise Storage in Sydney
Hidden appliances and a secret scullery make for a kitchen so streamlined, you might not guess its true purpose
Full Story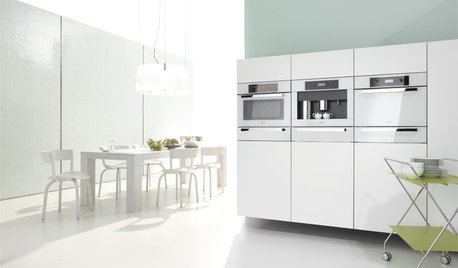
KITCHEN DESIGNWhite Appliances Find the Limelight
White is becoming a clear star across a broad range of kitchen styles and with all manner of appliances
Full Story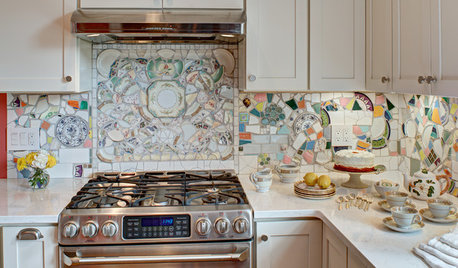
MOST POPULARKitchen of the Week: Broken China Makes a Splash in This Kitchen
When life handed this homeowner a smashed plate, her designer delivered a one-of-a-kind wall covering to fit the cheerful new room
Full Story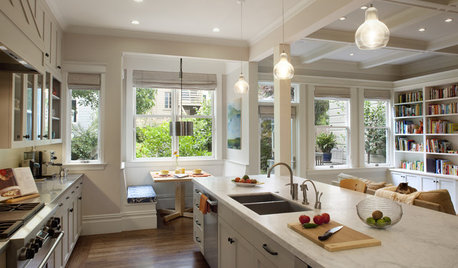
KITCHEN OF THE WEEKKitchen of the Week: Storage, Style and Efficiency in San Francisco
A growing family gets a kitchen they can work, eat and relax better in — and that’s easier on the eyes
Full Story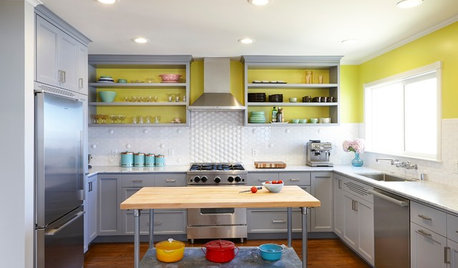
KITCHEN DESIGNKitchen of the Week: An 'Aha' Tile Moment in San Francisco
Design inspiration sometimes strikes in the place you'd least expect
Full Story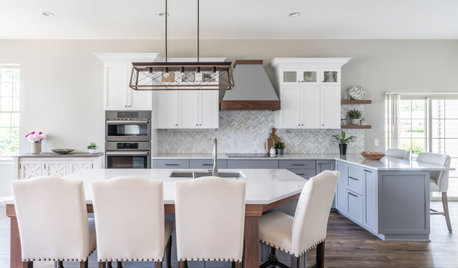
KITCHEN DESIGN10 Ways to Design a Kitchen for Aging in Place
Design choices that prevent stooping, reaching and falling help keep the space safe and accessible as you get older
Full Story
mom2lilenj
farmhouseboundOriginal Author
Related Discussions
1920's cottage--1920's kitchen with Hoosier?
Q
Retro/Vintage 1950s/1960s style kitchens?
Q
Are most kitchen cabinet drawers the same regarding wasted space?
Q
Another kitchen appliance question, regarding stove
Q
farmhouseboundOriginal Author
farmhouseboundOriginal Author
jaymielo
jaymielo
farmhouseboundOriginal Author
mom2lilenj
farmhouseboundOriginal Author
marthavila
goodcookin
mom2lilenj
farmhouseboundOriginal Author
marthavila
farmhouseboundOriginal Author
mom2lilenj
farmhouseboundOriginal Author
mom2lilenj
goodcookin
farmhouseboundOriginal Author