


Jinxed! door trim disaster - any ideas?
gldnfan
15 years ago
Sort by:Oldest
Comments (18)
Related Stories
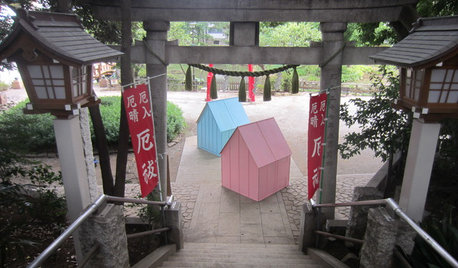
DESIGN FOR GOODShelter in a Storm: Architects Improve Global Disaster Relief
Temporary housing takes a well-designed turn with affordable, easily stored structures that address privacy
Full Story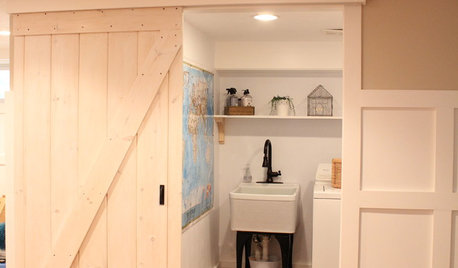
DIY PROJECTSMake Your Own Barn-Style Door — in Any Size You Need
Low ceilings or odd-size doorways are no problem when you fashion a barn door from exterior siding and a closet track
Full Story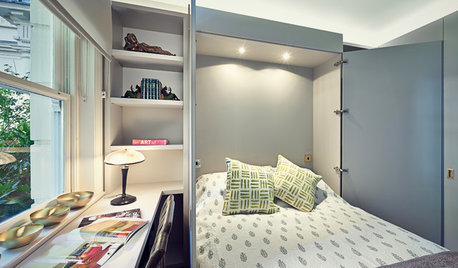
DECORATING GUIDESHow to Turn Almost Any Space Into a Guest Room
The Hardworking Home: Murphy beds, bunk compartments and more can provide sleeping quarters for visitors in rooms you use every day
Full Story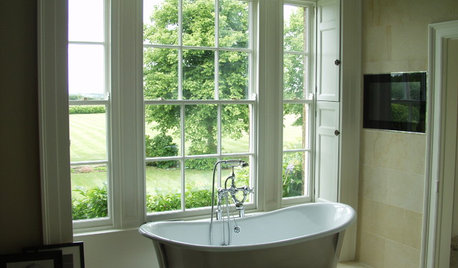
DECORATING GUIDESDecorating Around the World: British Style Charms Any Home
Whether you want country home style or the look of a luxurious loft, something British might be just your cup of tea
Full Story
MOST POPULAR12 Key Decorating Tips to Make Any Room Better
Get a great result even without an experienced touch by following these basic design guidelines
Full Story
DECORATING GUIDESAdd a Metallic Edge with Nailhead Trim
See what a line of studs or nailheads can do to upholstery, wood furniture, doors and more
Full Story
TRIMInterior Trim: 8 Must-Know Elements
Softening transitions and creating a finished look, interior trim for walls, windows and doors comes in many more options than you may know
Full Story
TRIMTrim Color Tips: Get Your White Trim Right
Set off wood tones, highlight architectural features, go minimalist ... white trim is anything but standard when you know how to use it
Full Story
FRONT DOOR COLORSFront and Center Color: When to Paint Your Door Black
Love the idea of a black front door? Here are 8 exterior palettes to make it work
Full Story
DOORSDesign 2011: Black Casework, Doors and Cabinetry
All-Black Doors, Trim and Cabinets Will Add to the Year's Chic Appeal
Full Story

sombreuil_mongrel
homebound
Related Discussions
How do I fix sunken trim (drywall over plaster disaster)
Q
Want farm house look. White with black trim. Any paint ideas?
Q
Trim and front door color ideas
Q
Paint ideas needed for trim and doors...
Q
gldnfanOriginal Author
sierraeast
gldnfanOriginal Author
User
User
worthy
sombreuil_mongrel
gldnfanOriginal Author
homebound
gldnfanOriginal Author
sierraeast
homebound
User
sombreuil_mongrel
gldnfanOriginal Author
andrelaplume2