


DIY expansion joint caulking?
jvmagic
16 years ago
Sort by:Oldest
Comments (17)
Related Stories

HOUZZ TOURSWe Can Dream: An Expansive Tennessee Farmhouse on 750 Acres
Wood painstakingly reclaimed from old barns helps an 1800s farmhouse retain its history
Full Story
CRAFTSDIY Project: Home Improvement Store Pop Art
Turn Drywall Mud and Paint Into a Minimalist Conversation Piece
Full Story
WOODTry DIY Plywood Flooring for High Gloss, Low Cost
Yup, you heard right. Laid down and shined up, plywood can run with the big flooring boys at an affordable price
Full Story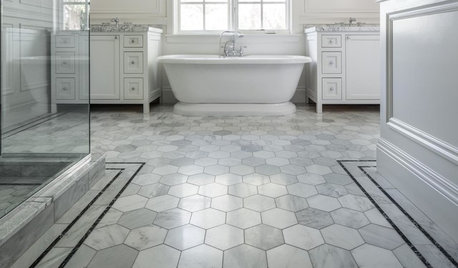
TILEWhy Bathroom Floors Need to Move
Want to prevent popped-up tiles and unsightly cracks? Get a grip on the principles of expansion and contraction
Full Story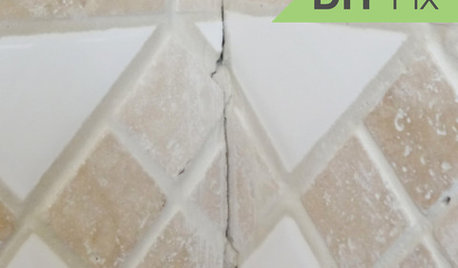
BATHROOM TILEQuick Fix: Repair Cracked Bathroom Grout
Banish an eyesore and safeguard your bathroom from water damage in 30 minutes or less with this DIY repair
Full Story
ARCHITECTURECeiling Treatments Worth a Look
Add beams, boards and other embellishments to that blank expanse for a room that looks dressed from head to toe
Full Story
MOST POPULARA Contractor's Secrets to Hanging Holiday Decor
Hang a wreath or garland on brick, concrete, Sheetrock or wood the professional way — and avoid the potential pitfalls
Full Story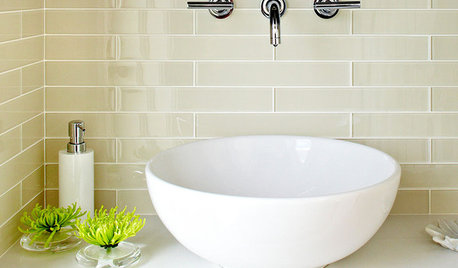
REMODELING GUIDESFinishing Touches: Pro Tricks for Installing Fixtures in Your Tile
Cracked tile, broken drill bits and sloppy-looking fixture installations? Not when you follow these pro tips
Full Story
Replace Your Windows and Save Money — a How-to Guide
Reduce drafts to lower heating bills by swapping out old panes for new, in this DIY project for handy homeowners
Full Story
SMALL HOMESMy Houzz: Color and Pattern Animate a Small Studio
DIY ingenuity and a talent for thrifting help a Texas performer make the most of her modest rental
Full Story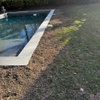


repair_guy
jvmagicOriginal Author
Related Discussions
Bill or Mongo caulk expansion joint on LONG floor?
Q
masonry expansion joint
Q
Expansion Joint material (Deck o seal) spill
Q
Pool Deck Expansion Joint material???
Q
jvmagicOriginal Author
repair_guy
novapools
repair_guy
jayhawkfan
repair_guy
labrat
labrat
repair_guy
labrat
repair_guy
jayhawkfan
Rack Etear
labrat
repair_guy