


Try DIY Plywood Flooring for High Gloss, Low Cost
Yup, you heard right. Laid down and shined up, plywood can run with the big flooring boys at an affordable price

Plywood isn't something most people put on display. But Jen Dalley and Thomas Bath, both architects at Parallel Lines Studio, felt differently when they saw it on the floor of a Hawaiian beach shop. Instantly falling in love with its warm and patinated beauty, they decided to try it in their home.
The right type of wood and ply can make plywood a very practical flooring choice. While Dalley and Bath didn't want to install it in a high-traffic area, it made for an affordable, clean and warm floor for their master bedroom.
Project: Plywood flooring for a bedroom
Location: Ely, Nevada
Size: 160 square feet
Budget: $700; about $4.35 per square foot
Materials used:
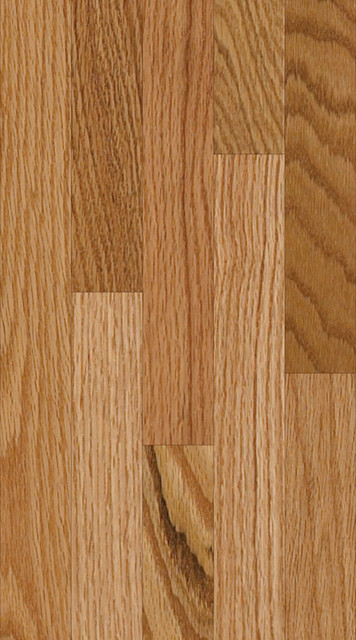
- 6 sheets of five-ply 1/2-inch domestic birch plywood for the flooring ($60 per sheet)
- 3 sheets of three-ply 3/4-inch Baltic birch plywood for the trim ($90 per sheet)
- 150 square feet of 1/8-inch acoustical foam underlay ($20)
- Handful of fasteners — 2 1/2-inch gold screws ($5)
- Wood putty ($5)
- 1 gallon of floor-grade polyurethane ($40)
After sketching out the bedroom layout, Bath and Dalley installed the plywood in sheets. Calculating the necessary full and partial plywood sheets was simpler and created the uniform look they wanted.
First they prepped the existing floor. With the help of a friend and contractor, the couple took off the existing carpet and pried up the tack strips, revealing a layer of vinyl tile. They covered the tile with the acoustical light foam underlay, pushing it 4 inches up the wall to account for the trim.
First they prepped the existing floor. With the help of a friend and contractor, the couple took off the existing carpet and pried up the tack strips, revealing a layer of vinyl tile. They covered the tile with the acoustical light foam underlay, pushing it 4 inches up the wall to account for the trim.
After the plywood sheets were cut to a predetermined size, the couple placed them directly on top of the foam underlayment. Using 2 1/2-inch countersunk gold screws, they then drilled each panel securely to the floor underneath. Each drill hole was covered with wood putty and sanded smooth.
Tip: Put dimes in between the edges of the plywood sheets when installing them (as seen in this photo). This will keep the spacing consistent and allow for slight movement.
Tip: Put dimes in between the edges of the plywood sheets when installing them (as seen in this photo). This will keep the spacing consistent and allow for slight movement.
Without a durable finish, plywood veneer is more vulnerable to damage than a traditional hardwood or composite floor. The couple added three coats of floor-grade polyurethane to the plywood's surface using a lamb's wool surface applicator.
Between each coat, they lightly sanded the floor by hand, wiping away dust with a damp towel. They wanted the joints to stay exposed, so they used a utility knife to keep them clean.
Between each coat, they lightly sanded the floor by hand, wiping away dust with a damp towel. They wanted the joints to stay exposed, so they used a utility knife to keep them clean.
While the couple plans to reapply the floor finish every few years to maintain its current look, they could also allow it to patinate and wear over time.
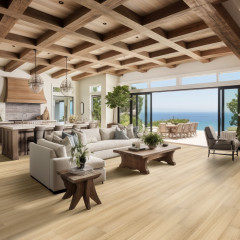
Plywood may not be for everyone, but the seamless veneer surface looks beautiful in this casual and bright space.
See more photos of plywood floors
See more photos of plywood floors


The couple forged ahead anyway. Their creative application resulted in a more seamless wood veneer bedroom floor.