


Molded Paper Added to Greeting Card - Baa Baa Black Sheep
Red_Confetti
19 years ago
Related Stories
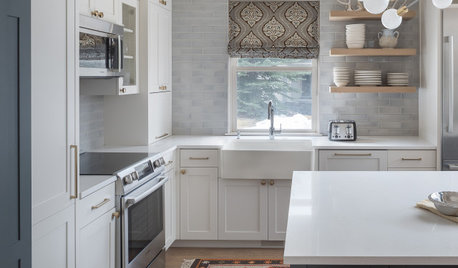
ORGANIZING7-Day Plan: Get a Spotless, Beautifully Organized Kitchen
Our weeklong plan will help you get your kitchen spick-and-span from top to bottom
Full Story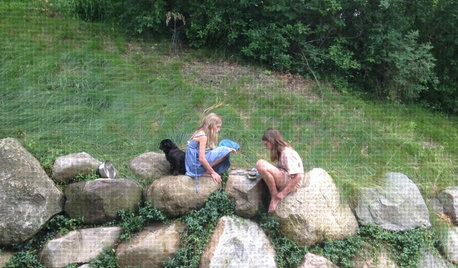
LIFETurn Off the Video Games and Turn On Your Kid's Creativity
Going nuts planning summer activities? Kids overdosing on screen time? It may be time to foster more self-directed play
Full Story
MOST POPULARHouzzers Deck the Halls
From traditional to quirky to innovative, readers show their Christmas tree style
Full StoryHOUZZ TOURSMy Houzz: Midcentury Modern Style Transforms a Vineyard Bungalow
Spectacular surroundings and iconic design inspiration meet in a major overhaul of a 1960s Ontario home
Full Story
HOMES AROUND THE WORLDWorld of Design: 11 Book Lovers and Where They Like to Read
Bibliophiles across the globe reveal their top books and favorite reading spots, from a 2-story library to an artfully curated book nook
Full Story
INSIDE HOUZZDecorating Trends: A New Houzz Survey Shows What Homeowners Want
Is the TV gaining or losing ground? Are women or men trendier? Find out and learn more about people’s decorating plans right here
Full Story
REMODELING GUIDESOne Guy Found a $175,000 Comic in His Wall. What Has Your Home Hidden?
Have you found a treasure, large or small, when remodeling your house? We want to see it!
Full Story
ORGANIZING21 Tips for Organizing Your Stuff
Restore order at home with these ideas for tidying up cupboards, shelves, doors and more
Full Story
LIFEHouzz Call: Show Us Your Nutty Home Fixes
If you've masterminded a solution — silly or ingenious — to a home issue, we want to know
Full Story
DECORATING GUIDESBudget Decorator: How to Save When You Don’t DIY
You don’t have to be crafty to decorate your home inexpensively. Here are other ways to stretch your design dollars
Full StorySponsored
heather_on
calirose
Related Discussions
StopMowing.Com
Q
Candy Mold becomes Paper Cast Card (Including What NOT To Do)
Q
OT Birdsong
Q
FOTESS March Swap: Nursery Rhymes
Q
lorraine303
minnie_tx
GardenGirl_IA
ReaderPhil