


Do you have any painting tips?
frenchdressing
15 years ago

Sort by:Oldest
Comments (35)
Related Stories
MOST POPULAR12 Key Decorating Tips to Make Any Room Better
Get a great result even without an experienced touch by following these basic design guidelines
Full Story
Stair Flair: Staircases Unlike Any Other
Make Each Step Count with Tiles, Paint, and Unique Materials
Full Story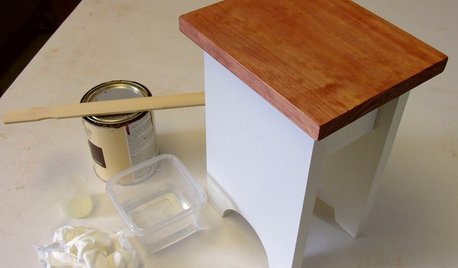
DIY PROJECTSCool Tip: Mimic Stain With a DIY Color Wash
Get the look of an oil-based stain without all the bother, using this easy wash made with paint
Full Story
EXTERIORS5 Easy Tips for Choosing Your Exterior Paint Palette
Make your home the talk of the neighborhood — in a good way — with an exterior paint scheme that pops
Full Story
EXTERIORS5 Pro Tips for the Best Home Exterior Updates
Knock your block's socks off with this professional advice to give your home's exterior a striking new look on any budget
Full Story
DECORATING GUIDES13 Decorating Tips for Older Homes
Preserve the personality of the past while designing for now with these tips for paint, rugs, window treatments and more
Full Story
Design Tips From the Countess of California Cool
Betsy Burnham on When to Go Bold, Best Paint Colors, Mixing Patterns and More
Full Story
SMALL SPACESHow to Make Any Small Room Seem Bigger
Get more from a small space by fooling the eye, maximizing its use and taking advantage of space-saving furniture
Full Story
FIREPLACES8 Fantastic Freestanding Fireplaces to Warm Any Room
Free up your room's design and lighten the load on your budget with a freestanding fireplace in a style to suit your taste
Full Story
REMODELING GUIDESContractor Tips: 10 Hats Your General Contractor Wears
Therapist, financial advisor, mediator — for the price of a single good contractor on your remodel, you're actually getting 10 jobs done
Full Story


User
caminnc
Related Discussions
Hi! Do you have any tips on making 60s dresses?
Q
Any tips for painting a door edge?
Q
Do you have any good packing-to-move tips?
Q
Does anyone have any tips on doing a mitred tile edge around a window?
Q
jerseygirl_1
cindyxeus
theroselvr
trk65
gracie01 zone5 SW of Chicago
jerseygirl_1
User
pinkpowertools
frenchdressingOriginal Author
User
linnea56 (zone 5b Chicago)
armisteadgardens
Meghane
haley_comet
mclarke
User
mzdee
graycern
allison0704
totallyblessed
cindyxeus
Faron79
robynpa
oceanna
User
frenchdressingOriginal Author
bestyears
Bumblebeez SC Zone 7
2ajsmama
moonkat99
monaw
pinkpowertools
2ajsmama