Oxygen-starved stove - drilling out the air intake
secondofangle
17 years ago
Related Stories
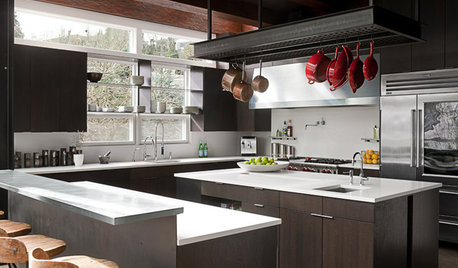
KITCHEN DESIGNPlain-Sight Storage for the Kitchen Stuff You Use Most
Turn essential cookware, tools and even spices into design assets by displaying them out in the open
Full Story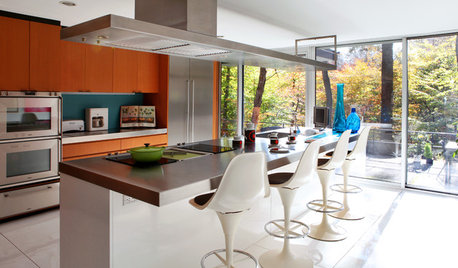
KITCHEN APPLIANCESLove to Cook? You Need a Fan. Find the Right Kind for You
Don't send budget dollars up in smoke when you need new kitchen ventilation. Here are 9 top types to consider
Full Story
HOUSEKEEPING20 Things You Might Be Forgetting to Spring-Clean
Clean these often-neglected areas and your house will look and feel better
Full Story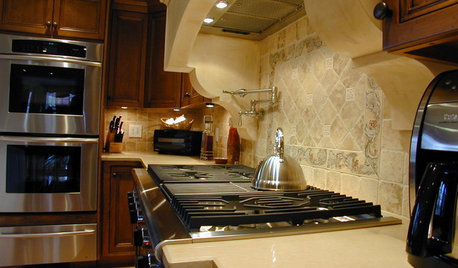
KITCHEN DESIGN8 Kitchen Design Tips for Foodies
If you own at least one pricey knife and have a slew of kitchen tools, you’ll want to read this
Full Story
HOUSEKEEPINGWhat's That Sound? 9 Home Noises and How to Fix Them
Bumps and thumps might be driving you crazy, but they also might mean big trouble. We give you the lowdown and which pro to call for help
Full Story
MOST POPULAR7 Ways to Design Your Kitchen to Help You Lose Weight
In his new book, Slim by Design, eating-behavior expert Brian Wansink shows us how to get our kitchens working better
Full Story
LIFEHow to Outsmart Backyard Critters
Learn to think like a raccoon, skunk or squirrel to keep your home safe and your garden intact
Full Story
MOST POPULARThe Most Popular Kitchen Storage Ideas of 2014
Of all the kitchen storage photos uploaded to Houzz this year, these 14 were tops. Which will you save to your kitchen ideabook?
Full Story
GREEN BUILDINGOff the Grid: Ready to Pull the Plug on City Power?
What to consider if you want to stop relying on public utilities — or just have a more energy-efficient home
Full Story
ORGANIZING21 Tips for Organizing Your Stuff
Restore order at home with these ideas for tidying up cupboards, shelves, doors and more
Full Story



mountainstoveguy
mountainstoveguy
Related Discussions
How do I get air in to my bin?
Q
freestanding gas stove flaming out- vent problem?
Q
Choosing a pellet stove
Q
MUA - Make up air for range hood
Q
christopherh
HU-31515019