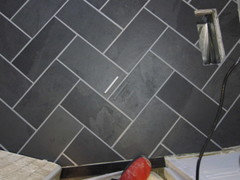
Floor is Grouted at Last!
enduring
11 years ago
Featured Answer
Sort by:Oldest
Comments (17)
barbcollins
11 years agoaxxis_rose
11 years agoRelated Discussions
Grout Problems! Please, advise!
Comments (3)You can certainly contact him now, and I advise you to do just that. But prior to treating the grout with anything give it about a week to dry out. There can be residual moisture from the thinset still behind the tile. That can wick into the grout and cause blotchy grout. The white dust could indeed be "tile dust". Or just a haze. Or efflorescence. I'd also advise you to give Laticrete's tech department a call. They can offer you advise if it's haze from a sloppy water cleanup, of efflorescence. See what they have to say, that could give you some ammo when you talk to the tiler. I recommend you read this. Then call 1.800.243.4788 ext 235 if you have other questions. Good luck!...See MoreFloor 2 be grouted tomorrow...he doesn't want to grout under cabs
Comments (11)Just a quick comment. We kept the same ceramic tiles that had been down for 40 years. We liked them and they are no longer available. We only had 24 - 12" octagons left from the original purchase. Daniel, our miracle tile guy, added the tiles for the 2 ft. of additional floor space we needed and he made it with one left over. There was some slight color mismatch between the tiles that had been down and the tiles that had been in a box, but he matched the old grout perfectly. I agree that the GC should do it now for all of the above stated reasons, but, just in case, the grout can probably be matched pretty well. Also, keep any extra tiles for later, just in case. The tiles toward the front of the picture toward the carpet are new....See MoreCalin's last 2 - and grout question (black or grey)
Comments (18)BLACK ??? hahaha.... r u sure guys? well, ok... will have to trust you on this one! will go right on my yellow kitchen wall... until i find a buyer...hehehe running out of tiles and stuff. so if i wanna keep it going... i need funds! LOL ok... today will give it the black grout! TRY LINKS IN SECOND MESSAGE! CALIN...See More"Grout-able" vinyl floors - but not grouting them?
Comments (18)Also, the first time 2 years ago, the tiles' peel-off paper had word Stainmaster etc and large arrows to show the intended direction to orientate the tile. This week we bought the same exact product and there is lettering but no arrows, so we used the words to orientate the tiles in the same direction. Two years ago I researched and there were reasons to have it face the right direction, you can check it out or decide yourself. All else was the same in quality. Important to acclimate the temperature, several reasons but especially because if the tile is cool the paper doesn't release as easily from the adhesive on the tile back and you end up picking at the paper. ugh! Not counting floor and workspace prep, the 8x16 kitchen took the 2 of us about 9 hours, with husband peeling and doing measurments & any cuts and bringing the tiles to me. My job was making sure no 2 identical tiles were next each other, setting them where I wanted them for husband to pick up and peel them, and I layed the tiles as close and tight as humanly possible. Beverages and good music helps you keep your sense of humor. Take pictures throughout, you'll be glad....See Morewritersblock (9b/10a)
11 years agomabeldingeldine_gw
11 years agoenduring
11 years agoangie_diy
11 years agodesertsteph
11 years agocat_mom
11 years agoenduring
11 years agoenduring
10 years agoelphaba_gw
10 years agoshanghaimom
10 years agoPipdog
10 years agodivotdiva2
10 years agolillo
10 years agoenduring
10 years ago
Related Stories
REMODELING GUIDES9 Ways Grout–Yes, Grout–Can Add to Your Design
Choose From a Palette of Grout Colors for a Warm, Unified Look
Full Story
TILE3 Key Steps for Grouting That Looks Its Best
Get your grout right to keep your tile beautiful and for an installation that will last
Full Story
HOUSEKEEPINGHow to Clean Grout — Stains and All
If your grout is grossing you out, this deep-cleaning method will help it look new again
Full Story
MATERIALSRaw Materials Revealed: Brick, Block and Stone Help Homes Last
Learn about durable masonry essentials for houses and landscapes, and why some weighty-looking pieces are lighter than they look
Full Story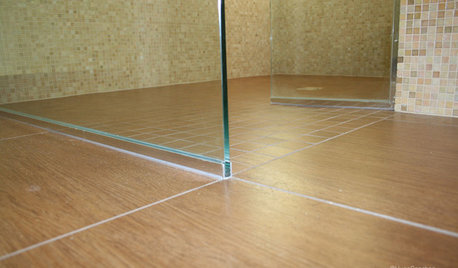
TILEEpoxy vs. Cement Grout — What's the Difference?
Grout is grout, right? Nope. Cement and epoxy versions have different appearances, durability and rules of installation
Full Story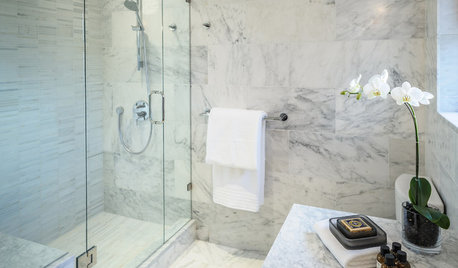
BATHROOM DESIGNConvert Your Tub Space Into a Shower — the Tiling and Grouting Phase
Step 3 in swapping your tub for a sleek new shower: Pick the right tile and test it out, then choose your grout color and type
Full Story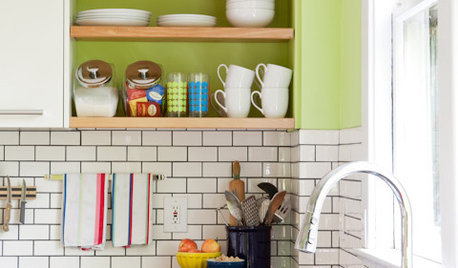
KITCHEN DESIGNSubway Tile Picks Up Gray Grout
Heading into darker territory, subway tile offers a graphic new look for kitchens, bathrooms and more
Full Story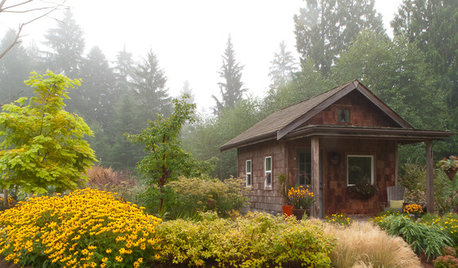
PLANTING IDEASGreat Garden Combo: A Fall Landscape Scene That Lasts
Span the seasons with trees, shrubs and grasses that offer color and texture in abundance
Full Story
LANDSCAPE DESIGNHow to Design a Coast-Loving Garden That Lasts
Good looks and longevity go hand in hand with these plants, materials and colors to make your coastal landscape easy-breezy
Full Story
KIDS’ SPACES9 Pro Tips to Create a Long-Lasting Kids’ Room
Hear what professional designers have to say about turning your nursery into a kids’ room that will last through the preteen years
Full Story




enduringOriginal Author