


Help identifying this chair
14 years ago

Sort by:Oldest
Comments (10)
Related Stories
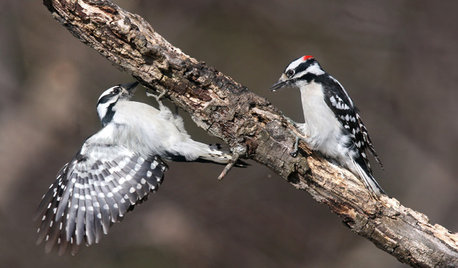
GARDENING FOR BIRDSBackyard Birds: How to Identify Two Common Woodpeckers
Downy and hairy woodpeckers have similar coloration and behavior. But there are two big differences that separate them
Full Story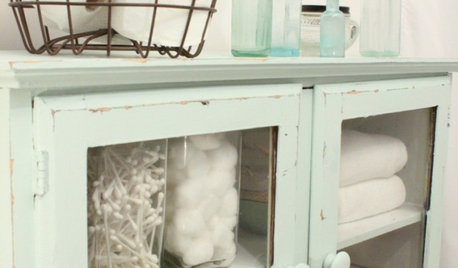
LIFEDecluttering — How to Get the Help You Need
Don't worry if you can't shed stuff and organize alone; help is at your disposal
Full Story
STANDARD MEASUREMENTSThe Right Dimensions for Your Porch
Depth, width, proportion and detailing all contribute to the comfort and functionality of this transitional space
Full Story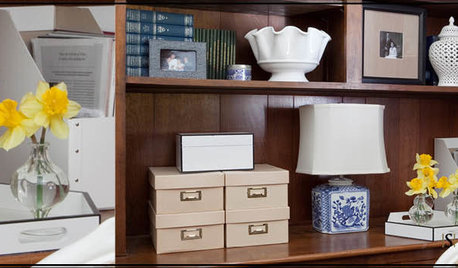
ORGANIZING4 Questions to Help You Organize Your Favorite Photos
Organize your keeper photos with a system that's just right for you, whether it's in the cloud or you can hold it in your hand
Full Story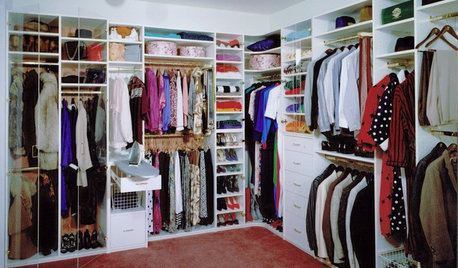
DECLUTTERINGDownsizing Help: How to Edit Your Belongings
Learn what to take and what to toss if you're moving to a smaller home
Full Story
MOVINGRelocating Help: 8 Tips for a Happier Long-Distance Move
Trash bags, houseplants and a good cry all have their role when it comes to this major life change
Full Story
DECORATING GUIDESCould a Mission Statement Help Your House?
Identify your home’s purpose and style to make everything from choosing paint colors to buying a new home easier
Full Story
STUDIOS AND WORKSHOPSYour Space Can Help You Get Down to Work. Here's How
Feed your creativity and reduce distractions with the right work surfaces, the right chair, and a good balance of sights and sounds
Full Story
TRADITIONAL STYLEGet to Know Louis-Style Chairs
If you find remembering the differences in chair styles from 3 kings’ reigns to be a royal pain, these cheat sheets can help
Full Story
REMODELING GUIDESKey Measurements for a Dream Bedroom
Learn the dimensions that will help your bed, nightstands and other furnishings fit neatly and comfortably in the space
Full Story


lindac
2ajsmamaOriginal Author
Related Discussions
Help identifying this chair
Q
Help Identify Accent Chair Style in Picture
Q
Help identify this chair please.....
Q
Please help identify these chairs
Q
User
2ajsmamaOriginal Author
calliope
User
2ajsmamaOriginal Author
lindac
calliope
2ajsmamaOriginal Author