


How I Prepare the Soil (very pic heavy)
brazosvalleygardener
16 years ago
Sort by:Oldest
Comments (11)
Related Stories

GARDENING GUIDESGardening Solutions for Heavy Clay Soils
What’s a gardener to do with soil that’s easily compacted and has poor drainage? Find out here
Full Story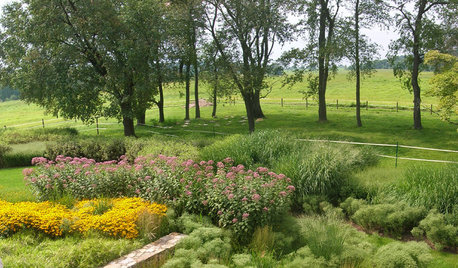
GARDENING GUIDESHow to Stop Worrying and Start Loving Clay Soil
Clay has many more benefits than you might imagine
Full Story
LIFEHow to Prepare for and Live With a Power Outage
When electricity loss puts food, water and heat in jeopardy, don't be in the dark about how to stay as safe and comfortable as possible
Full Story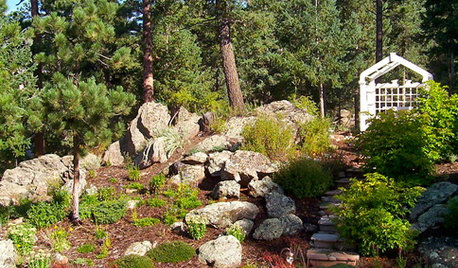
GARDENING GUIDESHave Acidic Soil in Your Yard? Learn to Love Gardening Anyway
Look to acid-loving plants, like conifers and rhododendrons, to help your low-pH garden thrive
Full Story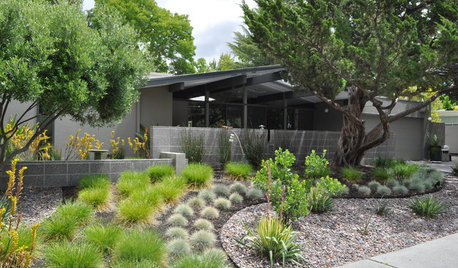
GARDENING GUIDESHow to Pick a Mulch — and Why Your Soil Wants It
There's more to topdressing than shredded wood. Learn about mulch types, costs and design considerations here
Full Story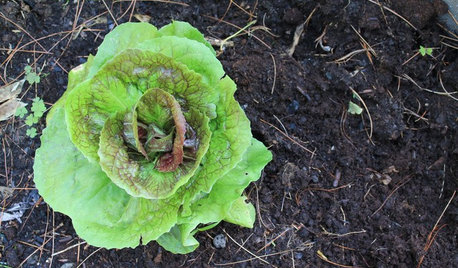
FARM YOUR YARDHow to Get Good Soil for Your Edible Garden
The nutrients in your soil feed the plants that feed you. Here are tips on getting it right — just in time for planting season
Full Story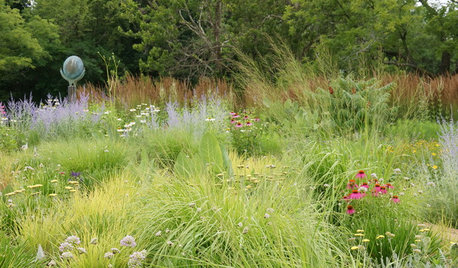
GARDENING GUIDESGet the Dirt on Your Garden’s Soil
Understand how your soil supports your plants so you can ensure your garden’s success
Full Story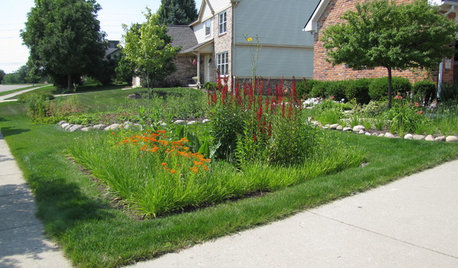
LANDSCAPE DESIGNHow to Shape a Rain Garden and Create the Right Soil for It
Learn how to grade, lay out and amend the soil in your rain garden to support your plants
Full Story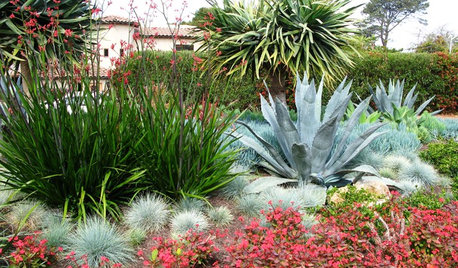
GARDENING GUIDESGardening Solutions for Dry, Sandy Soils
Has your desert or beachy site withered your gardening creativity? Try these ideas for a beautiful, easy-care landscape
Full Story
FEEL-GOOD HOME12 Very Useful Things I've Learned From Designers
These simple ideas can make life at home more efficient and enjoyable
Full Story
windclimber
suburbangreen
Related Discussions
Preparing plants sold in heavy soils for containers?
Q
Magnesium Deficiency in heavy lime soil - how do I treat?
Q
Are My Tomatoes Goners? *VERY Pic Heavy*
Q
Hard compacted, wet clay soil. How to prepare the soil for sod?
Q
gardenscout
suze9
brazosvalleygardenerOriginal Author
chalstonsc
brazosvalleygardenerOriginal Author
chalstonsc
brazosvalleygardenerOriginal Author
gardenmommytx
brazosvalleygardenerOriginal Author