


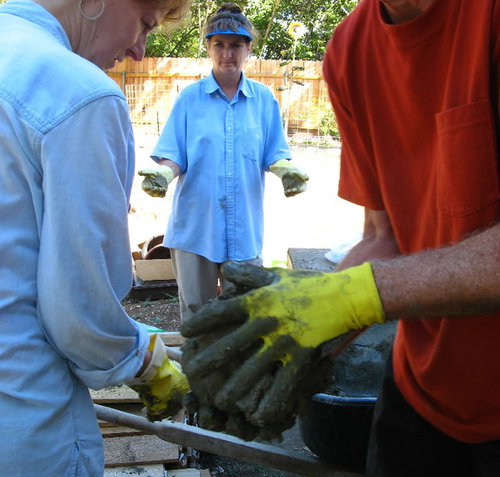
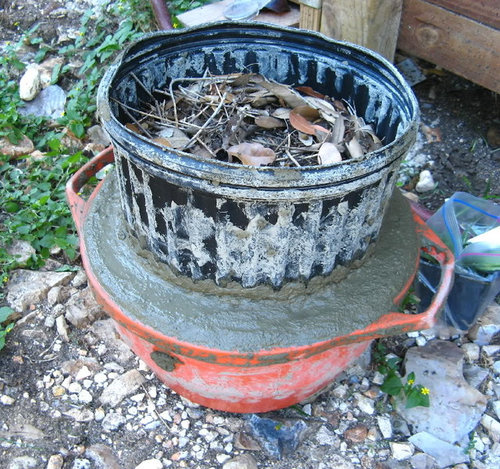
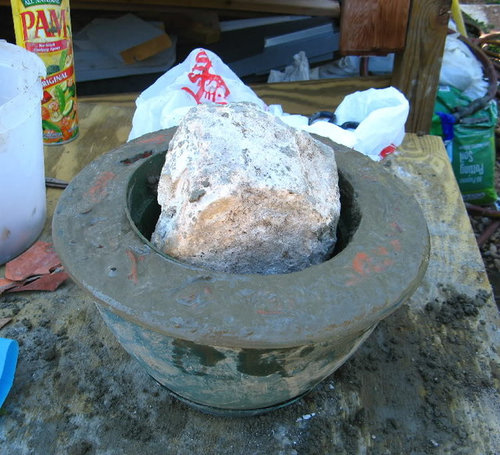
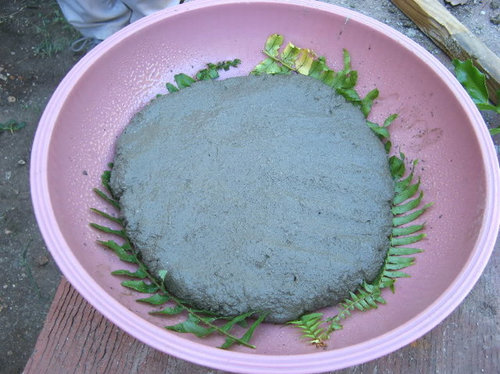
Hypertufa Party at Shirley's ... long w/pix and tips
roselee z8b S.W. Texas
12 years ago


Featured Answer
Sort by:Oldest
Comments (25)

soxxxx
12 years agolast modified: 9 years agorock_oak_deer
12 years agolast modified: 9 years agoRelated Discussions
HAVE: San Antonio Fall Swap Oct. 8, 2011--Pix of New Location
Comments (150)going to be loading my car as well soon, just in case we get some rain - I would like everything to be in there, I have other things I did not mention before - plants that is, that I am bringing too- sure there will be people there who are just starting- and I started doing clippings and now have way too many of some things out here....See MoreNEW: Fotess Sept. Swap: Very Victorian
Comments (119)Promise, I just want to thank you from the bottom of my heart for the most amazing and thoughtful 'sorry box' you sent my way in replacement of the 'broken teapot'. Thank you so very much for everything you sent. I am just overwhelmed with your generosity and kindness. I absolutely just love everything you sent....everything is perfect and arrived in perfect condition. Thank you so much! ((hugs!)) This really means a lot Promise, thank you. Included in this wonderful box of gifts..... * A very beautiful and sweet card * A super cute snowman tin filled with all kinds of goodies... * bath and body works hand sanitizer vanilla bean and holder * blistek medicated lip ointment * chapstick classic cherry * Jergens healing hands handcream * A variety of seeds including.... tomato white cherry, anise hyssop, old fashioned poppies, lumina white pumpkin, squash winter hubbard blue, winter squash queesland blue...so excited to try all of these as they were all on my 'wish' list =) * 2 beautiful Christmas hand towels * Vanilla Chai Black Tea - this looks soooo good.... * kleenex to go packs * beautiful silver angel ornaments (they will look beautiful on my pink and silver tree here soon) * a package of Lindt Milk Chocolate Truffles...oh yum! * a very creative sheet of name labels with snowflakes! Perfect, just in time for the holidays! I am just in awe that you went out of your way to do this for me, it is very much appreciated, and I thank you so very much. Your garden friend, Jayeanne...See MoreShirley poppies
Comments (15)I came to Garden Web thismorning to look for info about Shirley Poppies. This is my experience with them so far.... last fall I sprinkled Shirley Poppy seed around my flower beds in November....it was already quite cold. This spring I was disappointed to find no poppies coming up when other things began to show. Finally quite late in the spring I recognized the leaves coming in just a few places. I may have destroyed some of them as weeds before I realized what they were. When I finally found a few starting togrow I protected them with some mesh for awile so they didn't get munched and so I didn't damage them by mistake. I ended up with just three plants this year. But they have been blooming since late June. At this time the stems and leaves are beginning to look exhausted but the blossoms keep coming. I have been deadheading them as soon as the petals fall off because I assume this keeps them making more flowers. I see you mention that you have plenty of seed. So I guess you are growing them this summer. Do you deadhead them or always let them form seed? Do they comeback each year or do you put out new seed each year? Will they keep blooming if I let the seeds form completely onthe plants? I was planning to just buy fresh seed and sprinkle again this fall. I hope I get many more plants because I just love them bobbing about here and there. They're so cheerful :) According to an online seed catalog they should be sown in fall because the seed needs the cold winter to germinate. Also sow the seed without covering it because it needs sun to germinate. In the past I had not much luck and I think either the seed washed away when I water plants or maybe birds eat it. The seed is very very fine so I mixed it in a salt shaker with dry sand from the beach to make it easier to disperse....See MoreLong's New Pool Build in NW Houston/Cypress Texas
Comments (105)Hey Janet - BEAUTIFUL pool. I'm glad to see it came in just right for you guys. I'm also in Cypress. Actually, our home is up closer to Tomball (2920 and Cypress Rosehill area), but my law firm is near Jones and Grant. I just had my FIRST meeting with a PB tonight, and we're excited, but COMPLETELY overwhelmed. Do you mind giving me the full name of your PB? If you had a really good experience, I'd love to speak to them and get a bid. I'd to get at least 4 or 5 bids before I pick a PB. My wife and I have an interesting situation in that we have a LOT of room in the back yard (we are on 4/5 acre lot in the forest), but we have two massive trees that we want to work around AND build an appx 800 sq foot outdoor living room/kitchen/bar. We need JUST the right PB to make our pool integrate with our house, our lot, and our forest. We really want to do this right, and it looks like your PB did a great job! (Although I'm very impressed at your design work!)...See Morepjtexgirl
12 years agolast modified: 9 years agosoxxxx
12 years agolast modified: 9 years agocarrie751
12 years agolast modified: 9 years agorock_oak_deer
12 years agolast modified: 9 years agobossjim1
12 years agolast modified: 9 years agopjtexgirl
12 years agolast modified: 9 years agocarrie751
12 years agolast modified: 9 years agosoxxxx
12 years agolast modified: 9 years agoplantmaven
12 years agolast modified: 9 years ago
roselee z8b S.W. Texas
12 years agolast modified: 9 years agopjtexgirl
12 years agolast modified: 9 years agorock_oak_deer
12 years agolast modified: 9 years agohoneybunny2 Fox
12 years agolast modified: 9 years agorock_oak_deer
12 years agolast modified: 9 years agorock_oak_deer
12 years agolast modified: 9 years agoroselee z8b S.W. Texas
12 years agolast modified: 9 years agohoneybunny2 Fox
12 years agolast modified: 9 years agorock_oak_deer
12 years agolast modified: 9 years agohoneybunny2 Fox
12 years agolast modified: 9 years agoroselee z8b S.W. Texas
12 years agolast modified: 9 years agorock_oak_deer
12 years agolast modified: 9 years agohoneybunny2 Fox
12 years agolast modified: 9 years ago


Related Stories

KITCHEN DESIGNKitchen Counters: Durable, Easy-Clean Soapstone
Give bacteria the boot and say sayonara to stains with this long-lasting material that's a great choice for kitchen and bath countertops
Full Story
HOUSEKEEPING7-Day Plan: Get a Spotless, Beautifully Organized Living Room
A task a day sends messes away. Take a week to get your living room in shape
Full Story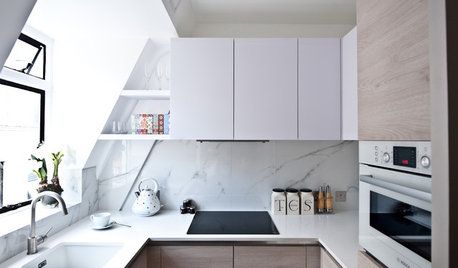
THE HARDWORKING HOMESmart Ways to Make the Most of a Compact Kitchen
Minimal square footage is no barrier to fulfilling your culinary dreams. These tips will help you squeeze the most out of your space
Full Story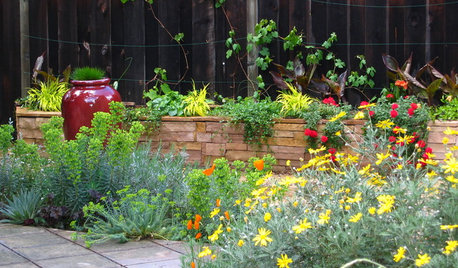
SUMMER GARDENINGHouzz Call: Please Show Us Your Summer Garden!
Share pictures of your home and yard this summer — we’d love to feature them in an upcoming story
Full Story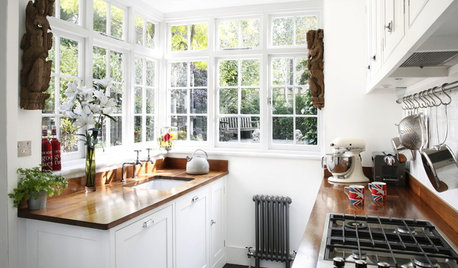
SMALL KITCHENS10 Things You Didn't Think Would Fit in a Small Kitchen
Don't assume you have to do without those windows, that island, a home office space, your prized collections or an eat-in nook
Full Story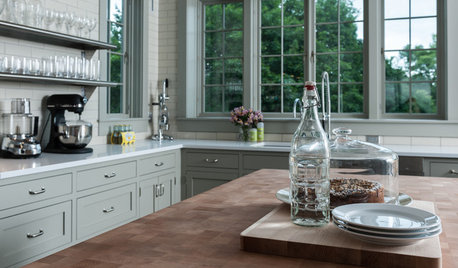
MOST POPULARKitchen Evolution: Work Zones Replace the Triangle
Want maximum efficiency in your kitchen? Consider forgoing the old-fashioned triangle in favor of task-specific zones
Full Story
ENTRYWAYSNo Entryway? Create the Illusion of One
Create the feeling of an entry hall even when your door opens straight into the living room. Here are 12 tricks to try
Full Story
DECORATING GUIDESThe '70s Are Back. Can Ya Dig It?
No need to cringe. These 21 groovy blasts from the past are updated to look fabulous today
Full Story
KITCHEN DESIGN9 Questions to Ask When Planning a Kitchen Pantry
Avoid blunders and get the storage space and layout you need by asking these questions before you begin
Full Story
roselee z8b S.W. TexasOriginal Author