


Is there an easier way?
dawnrenee
14 years ago
Sort by:Oldest
Comments (25)
Related Stories

DECORATING GUIDESBreathe Easier by Allergyproofing Your Home
Don't turn your nose up at these simple ways to keep pollen and other allergens from infiltrating your home
Full Story
MOVINGHow to Make Your Move Easier for Your Family
Say goodbye to a much-loved home and settle in quickly to a new place with these tips for transitioning
Full Story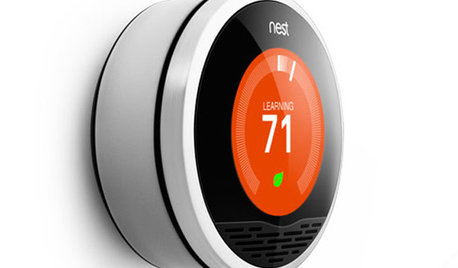
HOME TECHHome Tech: There's an Easier, Affordable Future for Home Automation
Say goodbye to the headaches and high price of current systems, and hello to home automation products for the masses
Full Story
LIFE10 Smart Organizing Ideas That Make Life Easier
Rethink where and how you store household basics, from bills to baking supplies, to buy some time and save some headaches
Full Story
DECORATING GUIDESHow to Make a Room Easier on the Eyes
Create just the right amount of visual stimulation to feel more relaxed and focused at home
Full Story
HOLIDAYS10 Things to Do Early for an Easier Holiday Season
Make a gift list and check supplies twice, then ensure that the house looks nice, and buy travel tickets if you’re leaving town
Full Story
DECORATING GUIDESJust In: 10 New Things to Make Eco-Living Easier
Finds from The 2011 West Coast Green Conference
Full Story
HOUSEKEEPING10 Things to Do Now for an Easier, Happier Summer
Set up your home for easy cleaning and cooking, and get ready for those trips to the beach
Full Story
UNIVERSAL DESIGNHouzz Tour: Accessible Design Makes Wheelchair Living Easier
A disability consultant teams up with his brothers to build his own 5-star home
Full Story
CHRISTMASGift Giving the Simple-ish Way
If buying holiday gifts drives you to the spiked holiday punch, try these easier but still rewarding traditions
Full Story
Okiedawn OK Zone 7
seedmama
Related Discussions
There must be an easier way
Q
There must be an easier way
Q
Is there an easier way to clean granite?
Q
an easier way?
Q
gldno1
ezzirah011
Okiedawn OK Zone 7
owiebrain
dawnreneeOriginal Author
greenacreslady
elkwc
soonergrandmom
Okiedawn OK Zone 7
greenacreslady
soonergrandmom
seedmama
Okiedawn OK Zone 7
owiebrain
Okiedawn OK Zone 7
Macmex
Okiedawn OK Zone 7
jeana2009
soonergrandmom
melissia
owiebrain
jeana2009
greenacreslady